

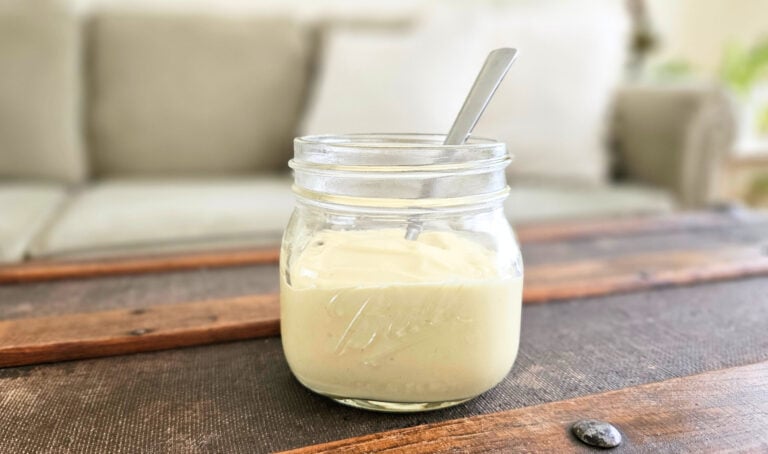
Easy Homemade Milk Kefir Cheese
Homemade milk kefir cheese is a great option for being creative with your homemade milk kefir. It is a soft, tangy, spreadable cheese perfect for bagels, toast, crackers, and more! Learn how to make this easy, probiotic-rich cheese at home.

This post may contain affiliate links. Please see our site disclosure for more information.


What is Milk Kefir?
If you are new to fermenting, I always say milk kefir is the easiest place to start. It requires only two ingredients, minimal kitchenware, and it is nearly impossible to mess up.
Milk kefir is a cultured dairy product. It is made by placing milk kefir grains in milk (I use raw milk). This causes the milk to undergo a lacto-fermentation process, allowing the naturally occurring friendly bacteria present in the milk to break down the lactose and casein. Once enough lactic acid has been produced, the milk is now preserved for several weeks.

See this post for more information on raw milk:
You really can’t go wrong with the probiotics that are abundantly available. As more information becomes available about the importance of gut health, I think it is wise to incorporate a wide variety of foods that benefit the gut microbiome.
The good bacteria and lactic acid in the digestive tract can help keep pathogens at bay, guard against infectious illness, and aid in fuller digestion of all food consumed. The numerous enzymes can also help absorb calcium and other minerals.
For more information on the benefits of consuming milk kefir and how to make your own, please see this post:
If you are regularly making milk kefir at home, it is easy to make more than you can drink in a short amount of time, especially if your grains are constantly growing!
To purchase your own activated milk kefir grains, please see here:
If you have a lot of milk kefir in your refrigerator at one time, you may want a little variety with how to use it. I personally drink milk kefir almost every single day, but versatility is good! There are several ways to use your milk kefir, which include smoothies, homemade creamy salad dressing, yogurt or buttermilk substitute in recipes, cheese, and more.
For simple recipes for kefir smoothies, please see these posts:
What is Milk Kefir Cheese?

Milk kefir cheese is the result of separating the curds and whey in milk kefir that is allowed to ferment longer than usual. The separation occurs naturally from the casein in the milk being acidified, as it sits at room temperature. After the whey is strained out, you are left with a soft, creamy, spreadable cheese.
Like I say with making milk kefir, it is nearly impossible to mess up in making milk kefir cheese.
Benefits of Fermented Dairy Products
Fermentation, in general, has been utilized for thousands of years as a means of food preservation. It allows food to last longer, be transported, and be available for greater stretches of time throughout the year.
Fermentation also has many health benefits for people, especially fermented dairy. When dairy is fermented it provides calcium, phosphorus, fat, carbohydrates, and protein. These nutrients effect bone health, the cardiovascular system, metabolism, the central nervous system, inflammation, and cancer.
Fermented dairy also provides both prebiotics and probiotics, which have an effect on the microbiome.
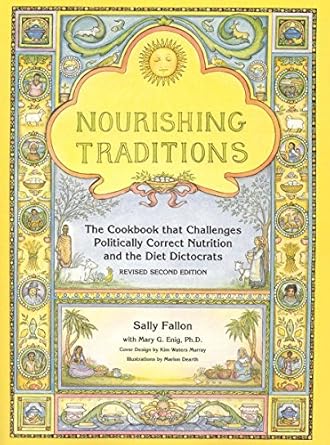
Nourishing Traditions by Sally Fallon
Nourishing Traditions by Sally Fallon is arguably one of the best places to start when venturing into changing your diet from modern and conventional to whole-food based and traditional. Between the nutritional information and the wide variety of recipes, you will be prepared to turn over a new leaf.
Benefits of Kefir Cheese
Homemade milk kefir cheese is just one of the many fermented cheese products you can make at home. Between the nutritional value and the simplicity, it is a great place for beginner cheese makers to start.
Here are just a few of the benefits:
- Great source of protein and essential amino acids
- Lactic acid acts as a natural preservative
- Mostly lactose free- more tolerable for people with a lactose sensitivity
- Higher concentration of nutrients
- Good bacteria- supports gut health, aids digestion, and boosts the immune system
- Good source of calcium, magnesium, and phosphorus
How to Make Milk Kefir Cheese
If you are nervous to start making cheese at home, kefir cheese is a simple place to begin.
Ingredients
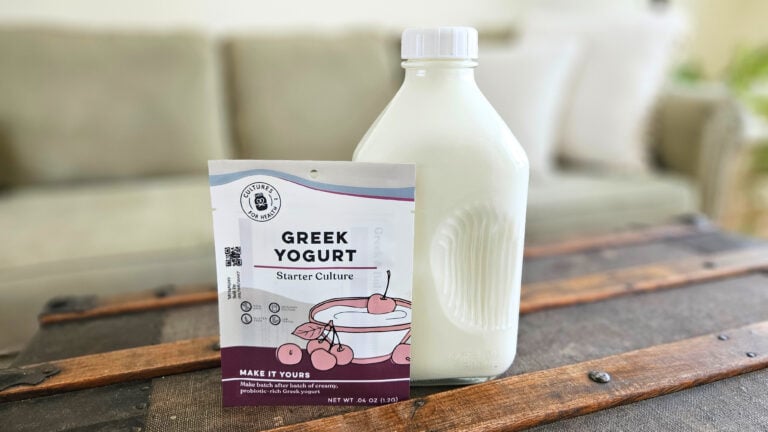
- 3 cups raw milk
- 1 tbsp activated milk kefir grains
Equipment
- 2 quart size mason jars (32oz)
- 2 coffee filters or breathable cloths
- 2 rubber bands
- twine
- 1 mesh strainer
- 1 bowl (medium-sized)
- 1 spoon
- 1 funnel
- 1 flour sack towel or 2-3 sheets of cheesecloth
Instructions
Tap/click the images for a description of each step ⬇️


The first step is to make homemade milk kefir.
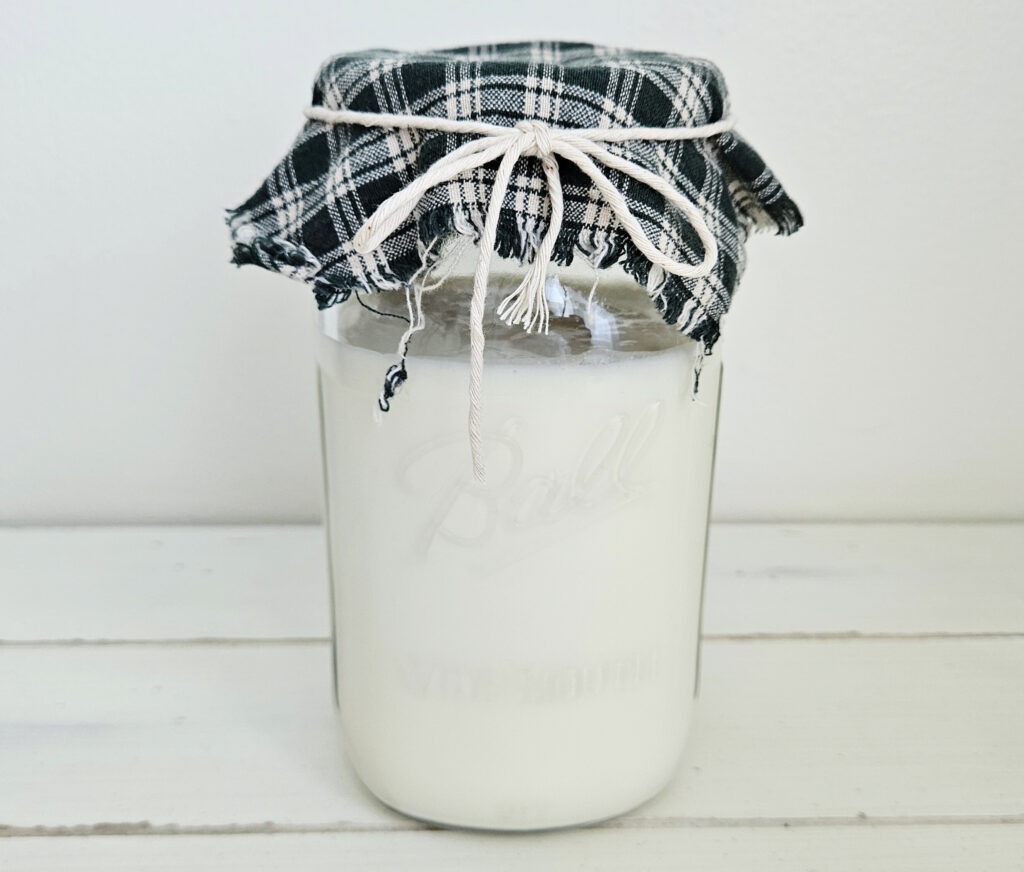
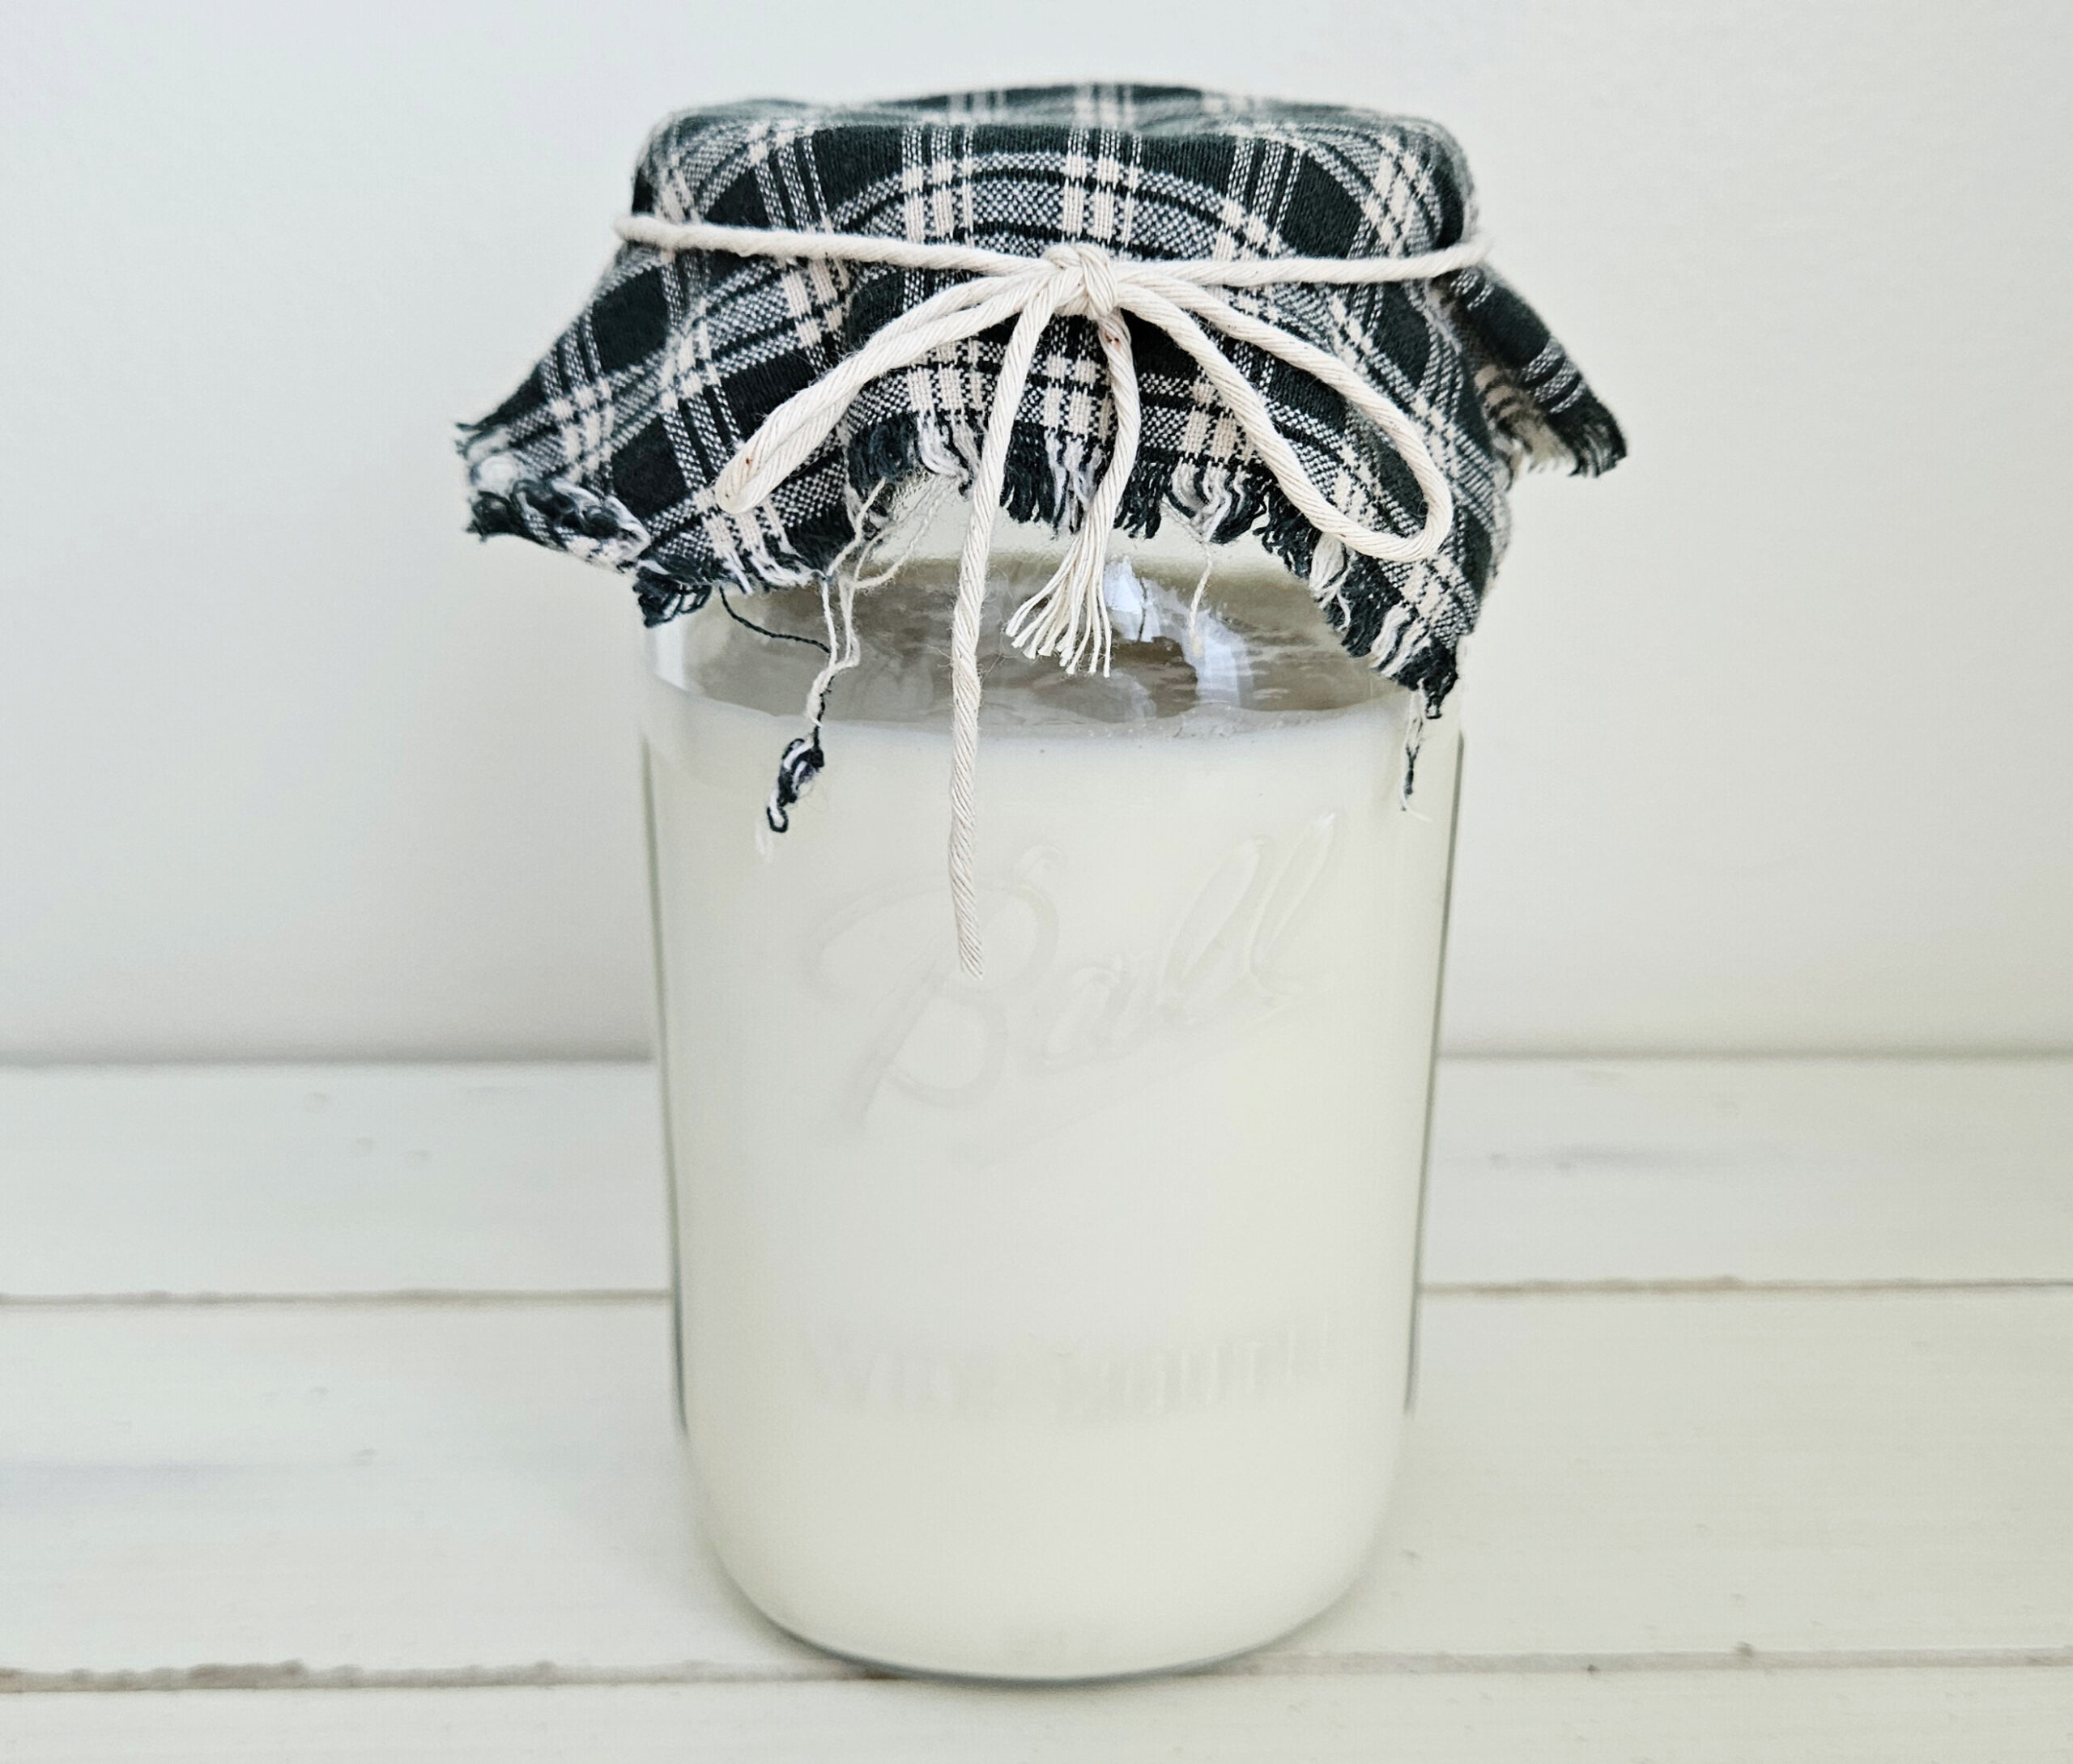
- Place kefir grains and raw milk in a quart size mason jar.
- Cover the top of the mason jar with a coffee filter or cloth, and secure with a rubber band or twine.
- Place on countertop and allow to culture for 12-48hrs, until the desired thickness is reached.
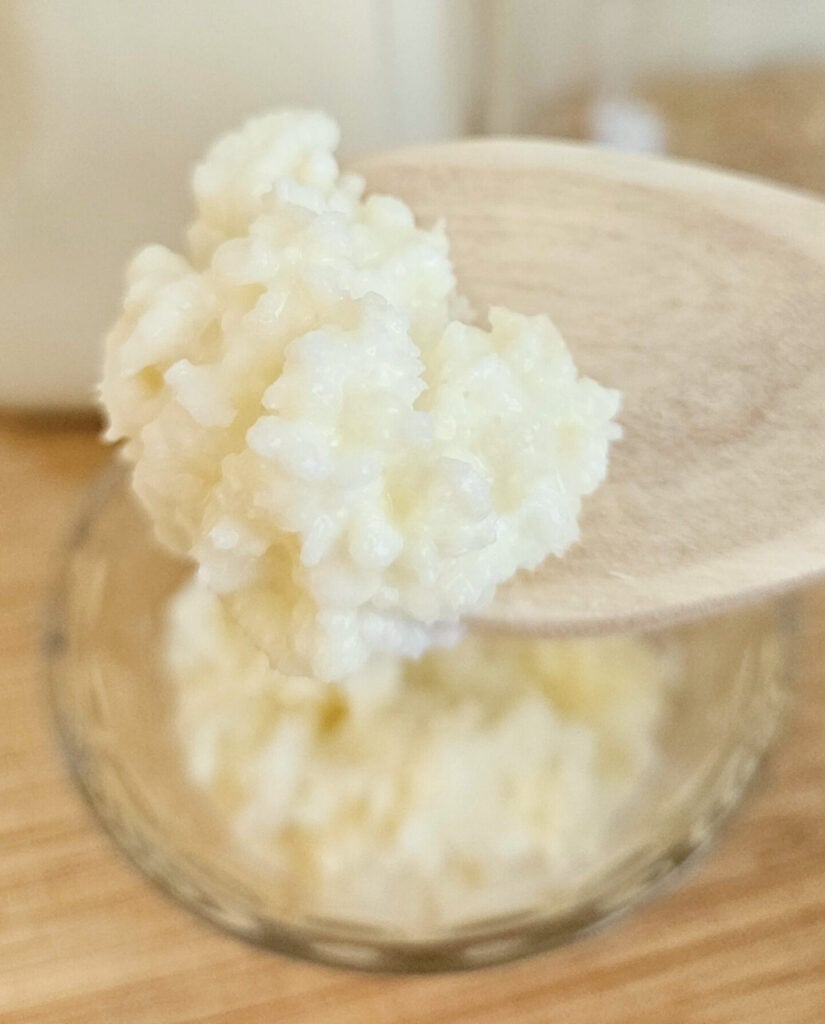
- Using a fine mesh strainer and spoon, strain the milk kefir into a bowl, separating the grains from the milk kefir. Place your grains in a new jar with milk. You can either start the process again or place in the refrigerator to take a break.
The second step is the cheese making process.
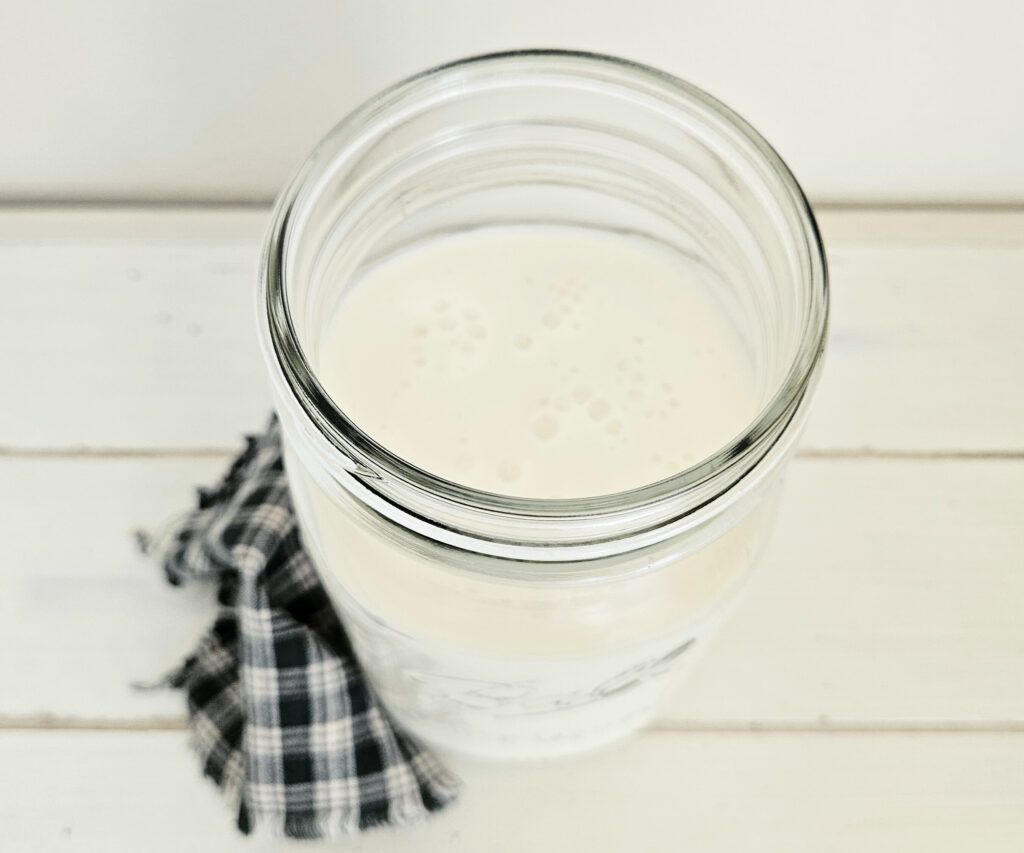
- Using your funnel, pour the milk kefir into a new mason jar and cover with a coffee filter or breathable cloth, and secure with a rubber band or twine. Allow to sit at room temperature until the curds and whey separate, up to 12hrs. I usually let it sit overnight.
- After you see a significant separation of the curds and whey, place a flour sack towel, or several layers of cheesecloth, over a strainer sitting on top of a bowl. Pour the curds and whey onto the strainer and allow to strain for about 30min.
- Lift up the towel or cheesecloth from the strainer and tie the edges together with twine. You’ll also want to tie the towel or cheesecloth to a spoon in order to now hang the cheese. Hanging will allow more whey to be released.
- You can place the spoon with the hanging cheese on top of a tall bowl, a tall jar, a rack, or stick the spoon in between your kitchen cabinet door pulls. Any way that allows you to hang the cheese and let the whey drip into a bowl or jar will work fine.
- Allow to strain according to your desired texture for the cheese. The longer you strain, the more firm your cheese will be. I usually start the cheese making process in the morning and let it strain all day.
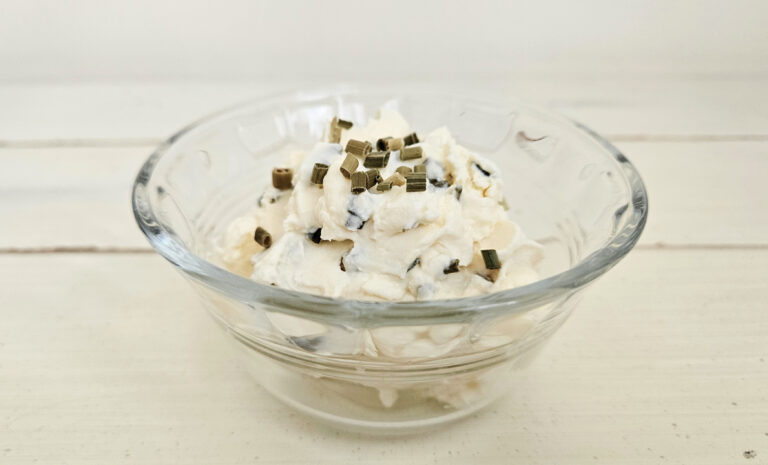
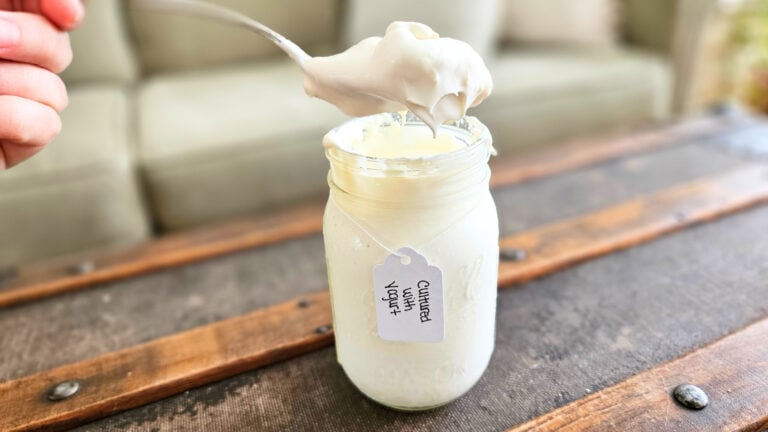
- After you are satisfied with the amount of whey that has been released, remove the curds (now cheese) from the towel or cheesecloth. Can be served as is or you can mix in any add-ins that you may like. With this cheese recipe, my favorite add-in is chives. I keep freeze-dried chives in my cabinet. I think the chives compliment the tangy flavor of the kefir cheese very well.
- Keep the kefir cheese refrigerated in an air-tight container and use within a week or two. Don’t forget to save the whey!
Uses for Whey Include:
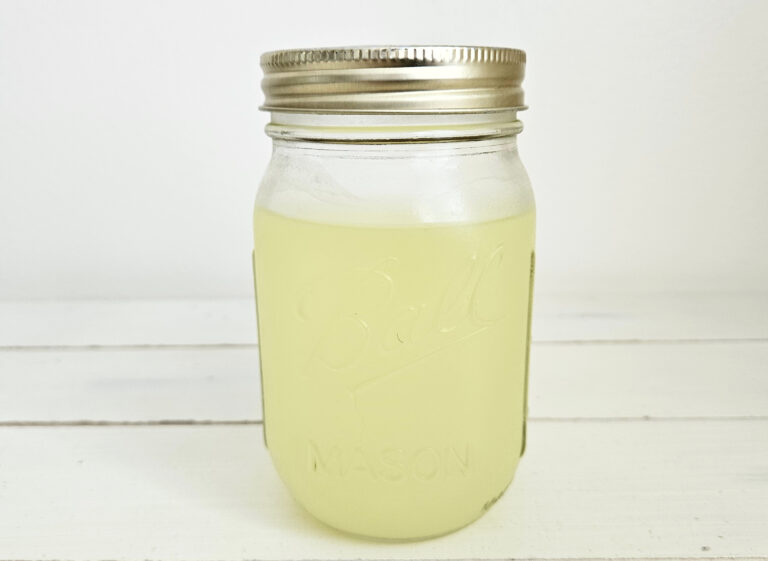
- Baking
- Fermenting vegetables
- Soaking grains
- Smoothies
- Homemade ricotta cheese
- Animal feed
- Freeze for later!
Tips
- There are no hard and fast rules with timing for the different steps involved in making kefir cheese (within reason). You can play around and vary the timing of how long to let the milk kefir culture, how long to let the curds and whey separate from the milk kefir, and how long to let the whey strain from the curds.
- The longer you allow the milk kefir to culture and the longer you allow the curds and whey to separate, the more intense and sour the flavor will be.
- The longer you allow the whey to strain from the curds, the more firm the cheese will be. I personally have never strained the whey for more than a day. I like an easy spreadable cheese.
- There any many add-ins that you can use with this recipe. Some tasty add-ins include: chives, olive oil, salt, garlic, fresh basil, fresh dill, honey, and more! Feel free to experiment.
Ways to Enjoy
Milk kefir cheese is both simple and versatile. It can be enjoyed in its most plain state, it can be spruced up with various add-ins, and it can be used in many different recipes. Here are some ways to enjoy it:
- On bagels, toast, or crackers as a plain cheese spread
- On bagels, toast, or crackers with add-ins mixed in or on top such as olive oil, salt, garlic, herbs, and honey
- Sour cream, cream cheese, or ricotta replacement in recipes
- Cheese dip for a veggie platter
- Serve with pita bread, meat, and veggies
favorite kefir cheese
My favorite way to use kefir cheese is to mix it with salt and chives and spread it on toast 😋.
FAQs
Related Posts
Any way you try it, you can’t go wrong. I love being creative in working in healthy, real food into our diet.

Milk Kefir Cheese
Equipment
- 2 quart size mason jars (32oz)
- 2 coffee filters or breathable cloths
- 2 rubber bands
- 1 string of twine
- 1 bowl (medium-sized)
- 1 spoon
- 1 funnel
- 1 flour sack towel or 2-3 sheets of cheesecloth
Ingredients
- 3 cups raw milk
- 1 tbsp activated milk kefir grains
Instructions
- Place kefir grains and raw milk in a quart size mason jar. Cover the top of the mason jar with a coffee filter or cloth, and secure with a rubber band or twine.
- Place on countertop and allow to culture for 12-48hrs, until the desired thickness of milk kefir is reached.
- Using a fine mesh strainer and spoon, strain the milk kefir into a bowl, separating the grains from the milk kefir. Save your kefir grains for future batches.
- Using your funnel, pour the milk kefir into a new mason jar and cover with a coffee filter or breathable cloth secured with a rubber band or twine.. Allow to sit at room temperature until the curds and whey separate, up to 12hrs. I usually let it sit overnight.
- After you see a significant separation of the curds and whey, place a flour sack towel, or several layers of cheesecloth, over a strainer sitting on top of a bowl. Pour the curds and whey onto the strainer and allow to strain for about 30min.
- Lift up the towel or cheesecloth from the strainer and tie the edges together with twine. You’ll also want to tie the towel or cheesecloth to a spoon in order to now hang the cheese. Hanging will allow more whey to be released.
- You can place the spoon with the hanging cheese on top of a tall bowl, a tall jar, a rack, or stick the spoon in between your kitchen cabinet door pulls. Any way that allows you to hang the cheese and let the whey drip into a bowl or jar will work fine.
- Allow to strain according to your desired texture for the cheese. The longer you strain, the more firm your cheese will be. I usually start the cheese making process in the morning and let it strain all day.
- After you are satisfied with the amount of whey that has been released, remove the curds (now cheese) from the towel or cheesecloth. Can be served as is or you can mix in any add-ins that you may like.
- Keep the kefir cheese refrigerated in an air-tight container and use within a week or two. Don't forget to save the whey!
Notes
- There are no hard and fast rules with timing for the different steps involved in making kefir cheese (within reason). You can play around and vary the timing of how long to let the milk kefir culture, how long to let the curds and why separate from the milk kefir, and how long to let the whey strain from the curds.
- The longer you allow the milk kefir to culture and the longer you allow the curds and whey to separate, the more intense and sour the flavor will be.
- The longer you allow the whey to strain from the curds, the more firm the cheese will be. I personally have never strained the whey for more than a day. I like an easy spreadable cheese.
- There any many add-ins that you can use with this recipe. Some tasty add-ins include: chives, olive oil, salt, garlic, fresh basil, fresh dill, honey, and more! Feel free to experiment.
This is a personal blog. All posts, recipes, recommendations, and how-tos are for informational use and personal viewing pleasure only. Blog posts are not written by AI.
Sources:
- https://pmc.ncbi.nlm.nih.gov/articles/PMC10950975/
- https://www.culturedfoodlife.com/43-ways-to-use-kefir-cheese/?srsltid=AfmBOoq048w6SINH7z9mEmYHlFso6QBX3HPr-tXop3B-fcxMWXCBD2Uk
- https://kefirko.com/blog/kefir/ferment-strain-savour-enjoying-homemade-kefir-cheese/
- https://thesavvysaige.com/shop/books/nourishing-traditions-by-sally-fallon/


subscribe