

9 Ways to Make Homemade Butter from Scratch
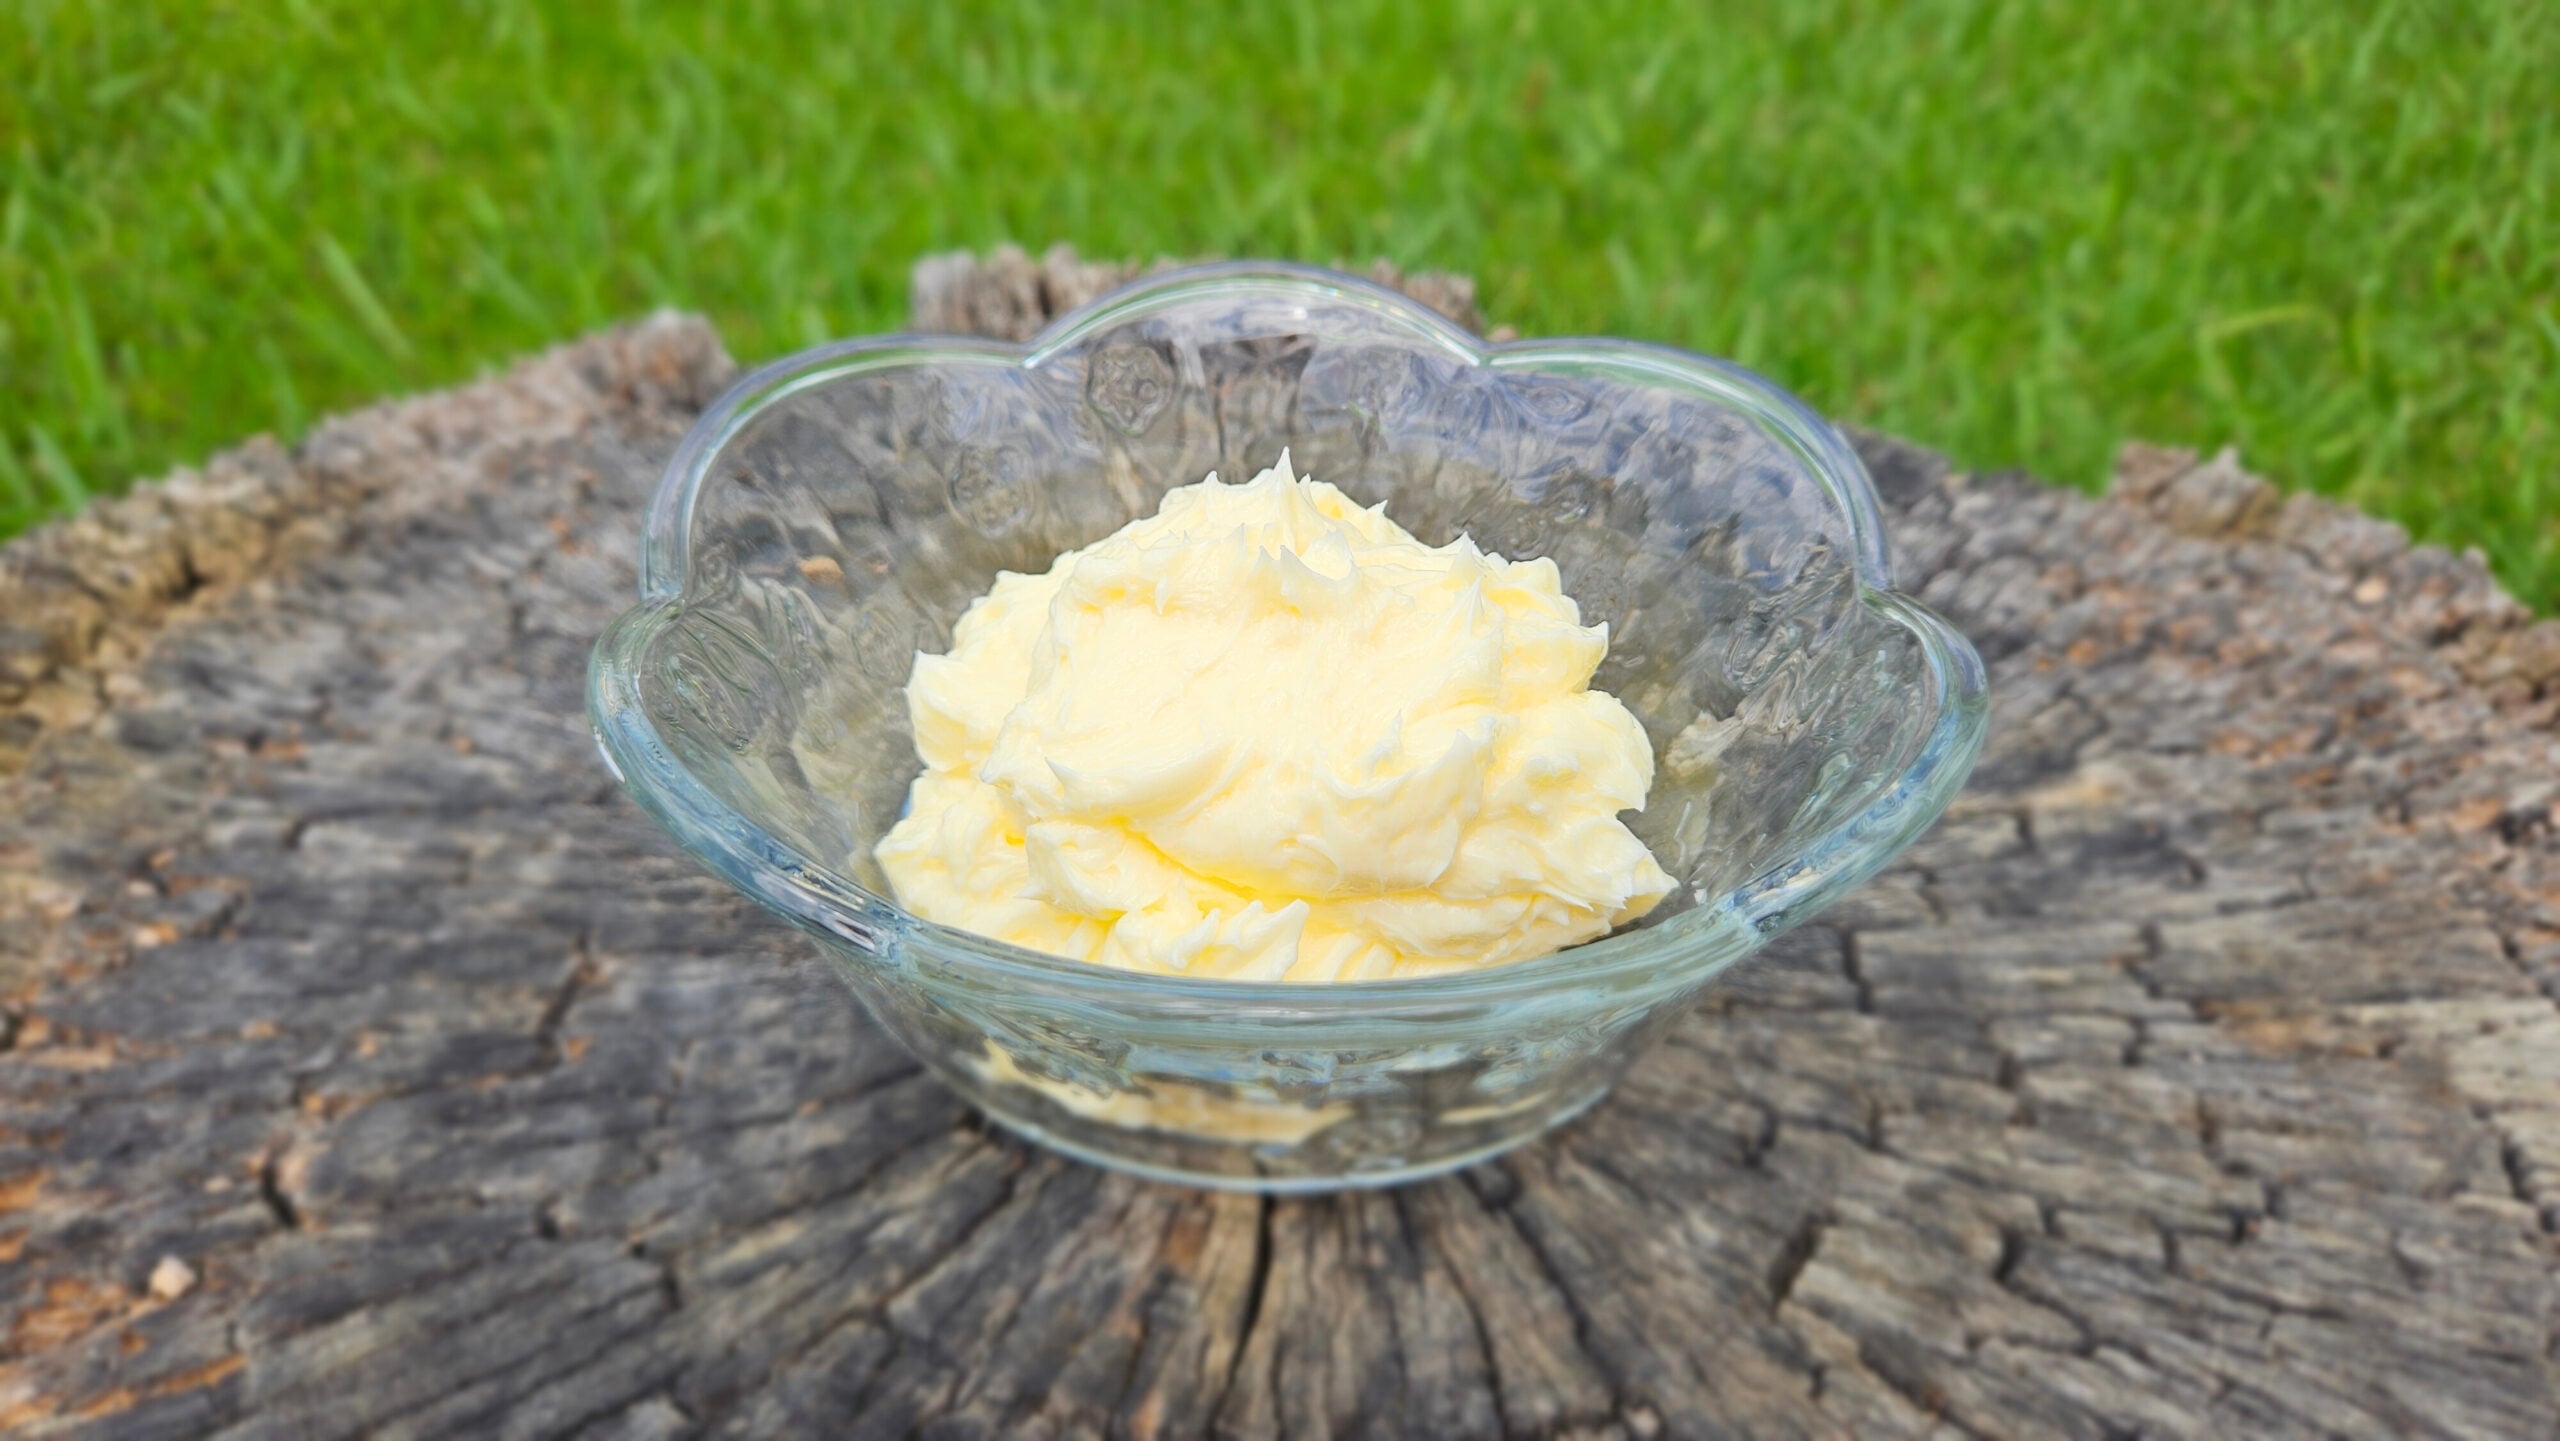
Homemade butter is one of my favorites. It is rich, creamy, packed full of fat-soluble vitamins, and extra tasty when made from scratch.

This post may contain affiliate links. Please see our site disclosure for more information.


Making homemade butter is super simple. It requires only one ingredient (two if you prefer your butter salted) and minimal kitchenware. It is quick to make, no matter which method you choose.
Follow along as I take you through nine ways to make homemade butter from scratch.
Why Make Homemade Butter?

Homemade butter is far superior to store-bought butter for several reasons. If you compare store-bought butter vs. homemade butter (preferably made from raw cream) side-by-side, you’ll be able to see that there are noticeable differences in color and taste.
Always trust your senses, they exist for a reason!
Fat-Soluble Vitamins
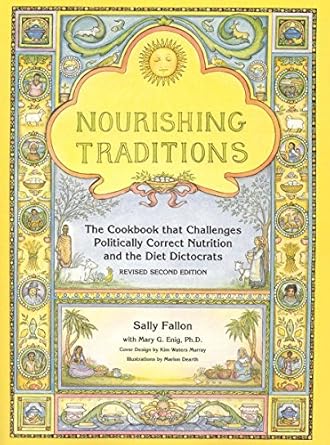
Homemade butter made from cream skimmed off the top of raw milk is loaded with fat-soluble vitamins such as vitamin A (retinol), vitamin D, vitamin K, and vitamin E. According to Nourishing Traditions by Sally Fallon, Vitamin A is more easily absorbed from butter than from other sources.
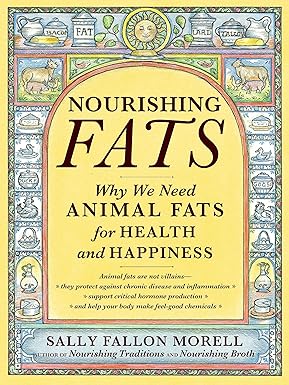
Nourishing Fats by Sally Fallon
Animals fats are either blamed for all chronic disease or praised for returning people back to health. What do you think? Personally, I will never give up butter!! Nourishing Fats by Sally Fallon is a great resource for making healthy decisions 🙂.
Vitamins A and D are necessary for growth, healthy bones, brain development, the nervous system, and for normal sexual development.
These fat-soluble vitamins only occur in large amounts when the butter is made from milk produced by cows that are eating green grass. A diet of rapidly growing green grass will produce a nice deep yellow butter.

The Wulzen Factor
Researcher Rosalind Wulzen discovered the Wulzen Factor aka the “antistiffness” factor in raw animal fat. She concluded that this antistiffness factor protects humans and animals from degenerative arthritis and calcification of the joints. It can also help protect against hardening of the arteries, cataracts, and calcification of the pineal gland.
Unfortunately, pasteurization destroys this factor, which is why it’s so important to consume raw dairy products, such as homemade butter.
The Price Factor
The Price Factor, aka Activator X, was discovered by Dr. Weston A. Price, the dentist who inspired the book Nourishing Traditions by Sally Fallon. Dr. Price discovered that this factor is a powerful catalyst that helps the body absorb and utilize minerals. It appears in organ meats from grazing animals, some seafood, and in butter that comes from cows grazing on rapidly growing grass in the spring and fall.
Activator X disappears when cows are fed cottonseed meal, soy-based feeds, and hay. Fortunately, it is not destroyed by pasteurization.
Arachidonic Acid
Arachidonic acid (AA) is found in small amounts only in animal fats. It plays a role in the function of the brain, it is a vital component of cell membranes, and it is a precursor to important prostaglandins.
Short and Medium-Chain Fatty Acids
There are about 12-15% short and medium-chain fatty acids in butter. This type of saturated fat is absorbed directly from the small intestine to the liver, giving you quick energy. These fatty acids have antimicrobial, antitumor, and immune system supporting properties.
12-carbon lauric acid is highly protective. It is found in small amounts in butterfat and in large amounts in coconut oil.
Four-carbon butyric acid is unique to butter and has antifungal and antitumor properties.
Omega-3 and Omega-6 Essential Fatty Acids
These two essential fatty acids occur only in small amounts in butter, but the important part is they occur in nearly equal amounts. This balance prevents the problems associated with overconsumption of omega-6 fatty acids.
Conjugated Linoleic Acid (CLA)
CLA, which has strong anticancer properties, is found in butter from pasture-fed cows. It encourages muscle buildings and helps prevent weight gain. When cows are fed grain or processed feed, CLA disappears.
Lecithin
Lecithin assists in the assimilation and metabolization of cholesterol and other fat constituents.
Cholesterol
Cholesterol is essential for growth and development. It is needed to produce various steroids that protect against cancer, heart disease, and mental illness.
Glycosphingolipids
Glycosphingolipids are a type of fat that protects against gastrointestinal infections. This protection is especially important for the very young and the elderly.
Trace Minerals
Many trace minerals, including manganese, zinc, chromium, and iodine are found in the fat globule membrane of butterfat. Butter is also rich in selenium, which has antioxidant properties.
(source)
Type of Milk Used
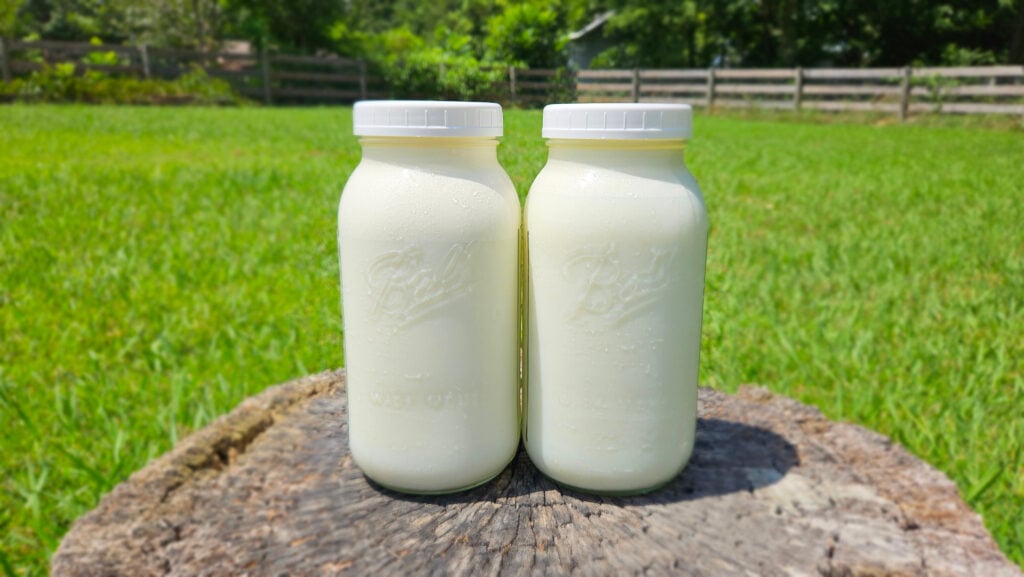
Does it matter which type of cream you use in order to make homemade butter? I would say yes, it makes a huge difference.
All of the components of butter listed above are found in butter made from raw cream. When commercial milk is pasteurized (which makes sense for commercial farming practices- the smell of a commercial dairy is awful if you ever drive past one) you are left with a milk product devoid of all the protective bacteria, beneficial nutrients, and digestive enzymes. It is largely subpar as opposed to raw milk in its natural state as it is intended to be.
Store-Bought Heavy Whipping Cream

Store-bought cream will make homemade butter from any of the various methods described. So, if you enjoy the process, and for some reason can only purchase organic cream and not organic butter near you, organic heavy whipping cream is a good alternative to raw cream.
However, raw cream sourced from a clean, local dairy will be your best option for health, taste, and quality of the homemade butter.
Sweet Cream vs. Cultured Homemade Butter

If using cream from raw milk, you have two options with the type of butter you can make. You can either make sweet cream butter, which is made from fresh cream, or you can make cultured butter, which is made from fermented cream.
Either route you take, you’ll want to make sure your cream is at room temperature before you begin. It is more difficult and takes a lot more time to make butter from cold cream.
For sweet cream homemade butter, simply allow the cream to sit on the counter until it reaches room temperature. Pick your desired method and have at it!
For cultured homemade butter, allow the raw cream to sit at room temperature for about 8hrs to sour. This will result in a sour, tangy homemade butter. This type of homemade butter has all the benefits of raw cream, but the additional benefits of the fermentation process. (You can vary the fermentation time based upon your preferences. You can allow it to ferment anywhere from just a couple of hours to a full 24hrs.)
9 Ways to Make Homemade Butter

Now that we’ve covered the why, let’s move on to the how.
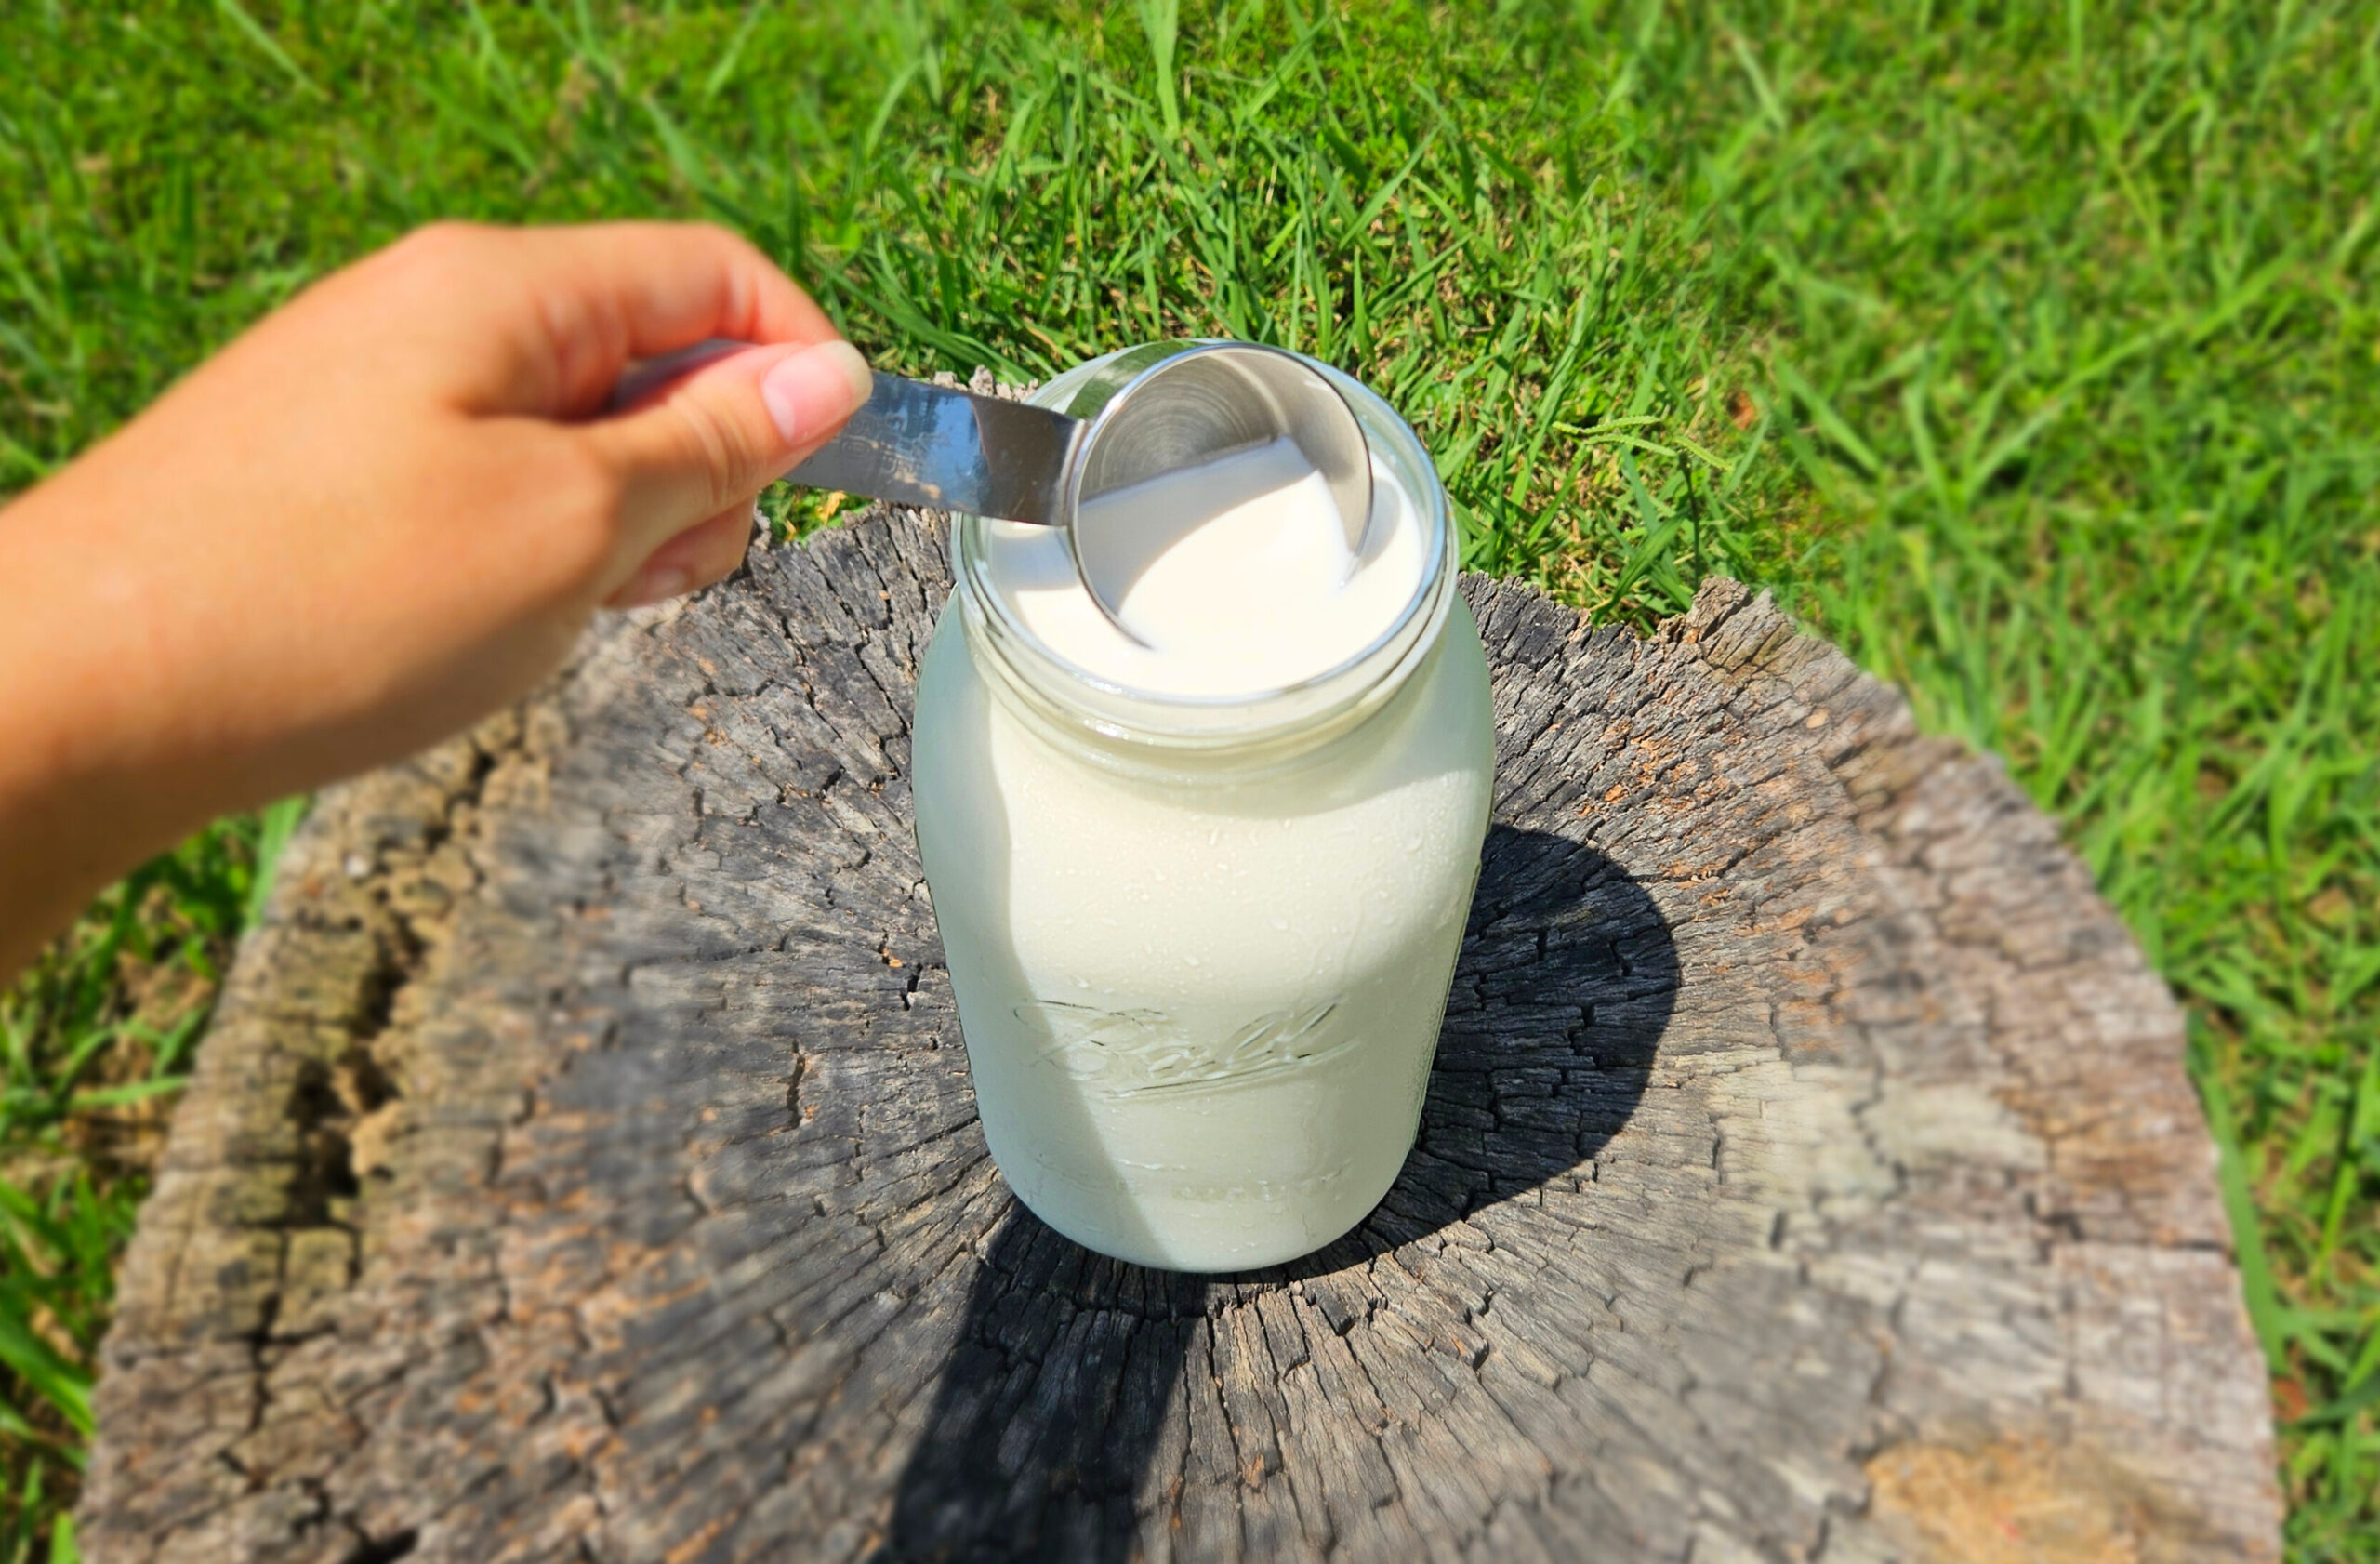
For every method, you will either have to purchase the cream already separated, or skim the cream from the top of raw milk with a measuring cup. Be careful to watch the color difference when skimming. As you see streaks of the lighter colored milk in the measuring cup, you’ll want to stop skimming in order to reduce how much milk is in your cream.
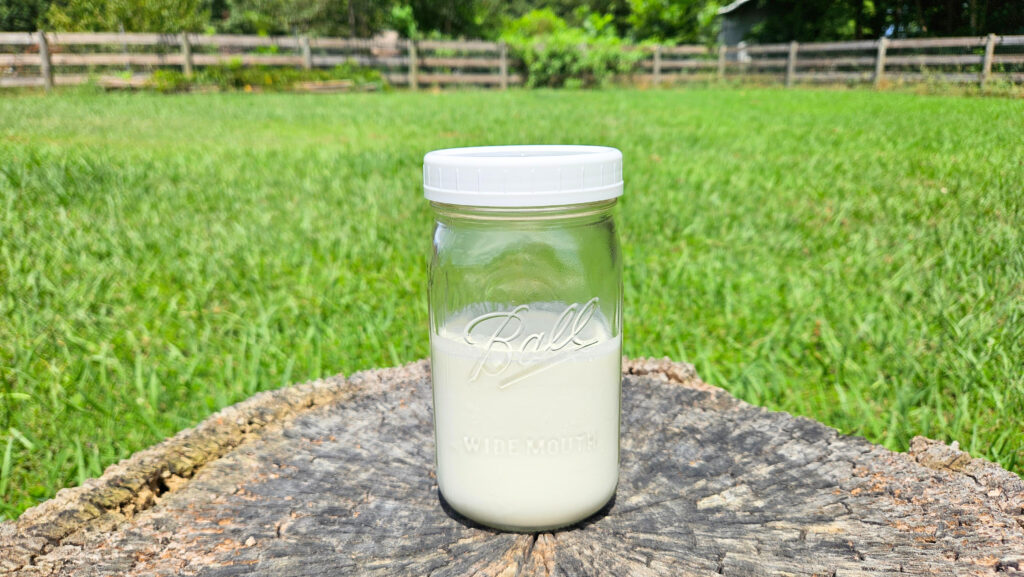
Mason Jar Method
The first way that we’ll cover to make homemade butter is the mason jar method. It is simple, but it will give your arms a good workout!
Tap/click images for a description of each step ⬇️

Instructions
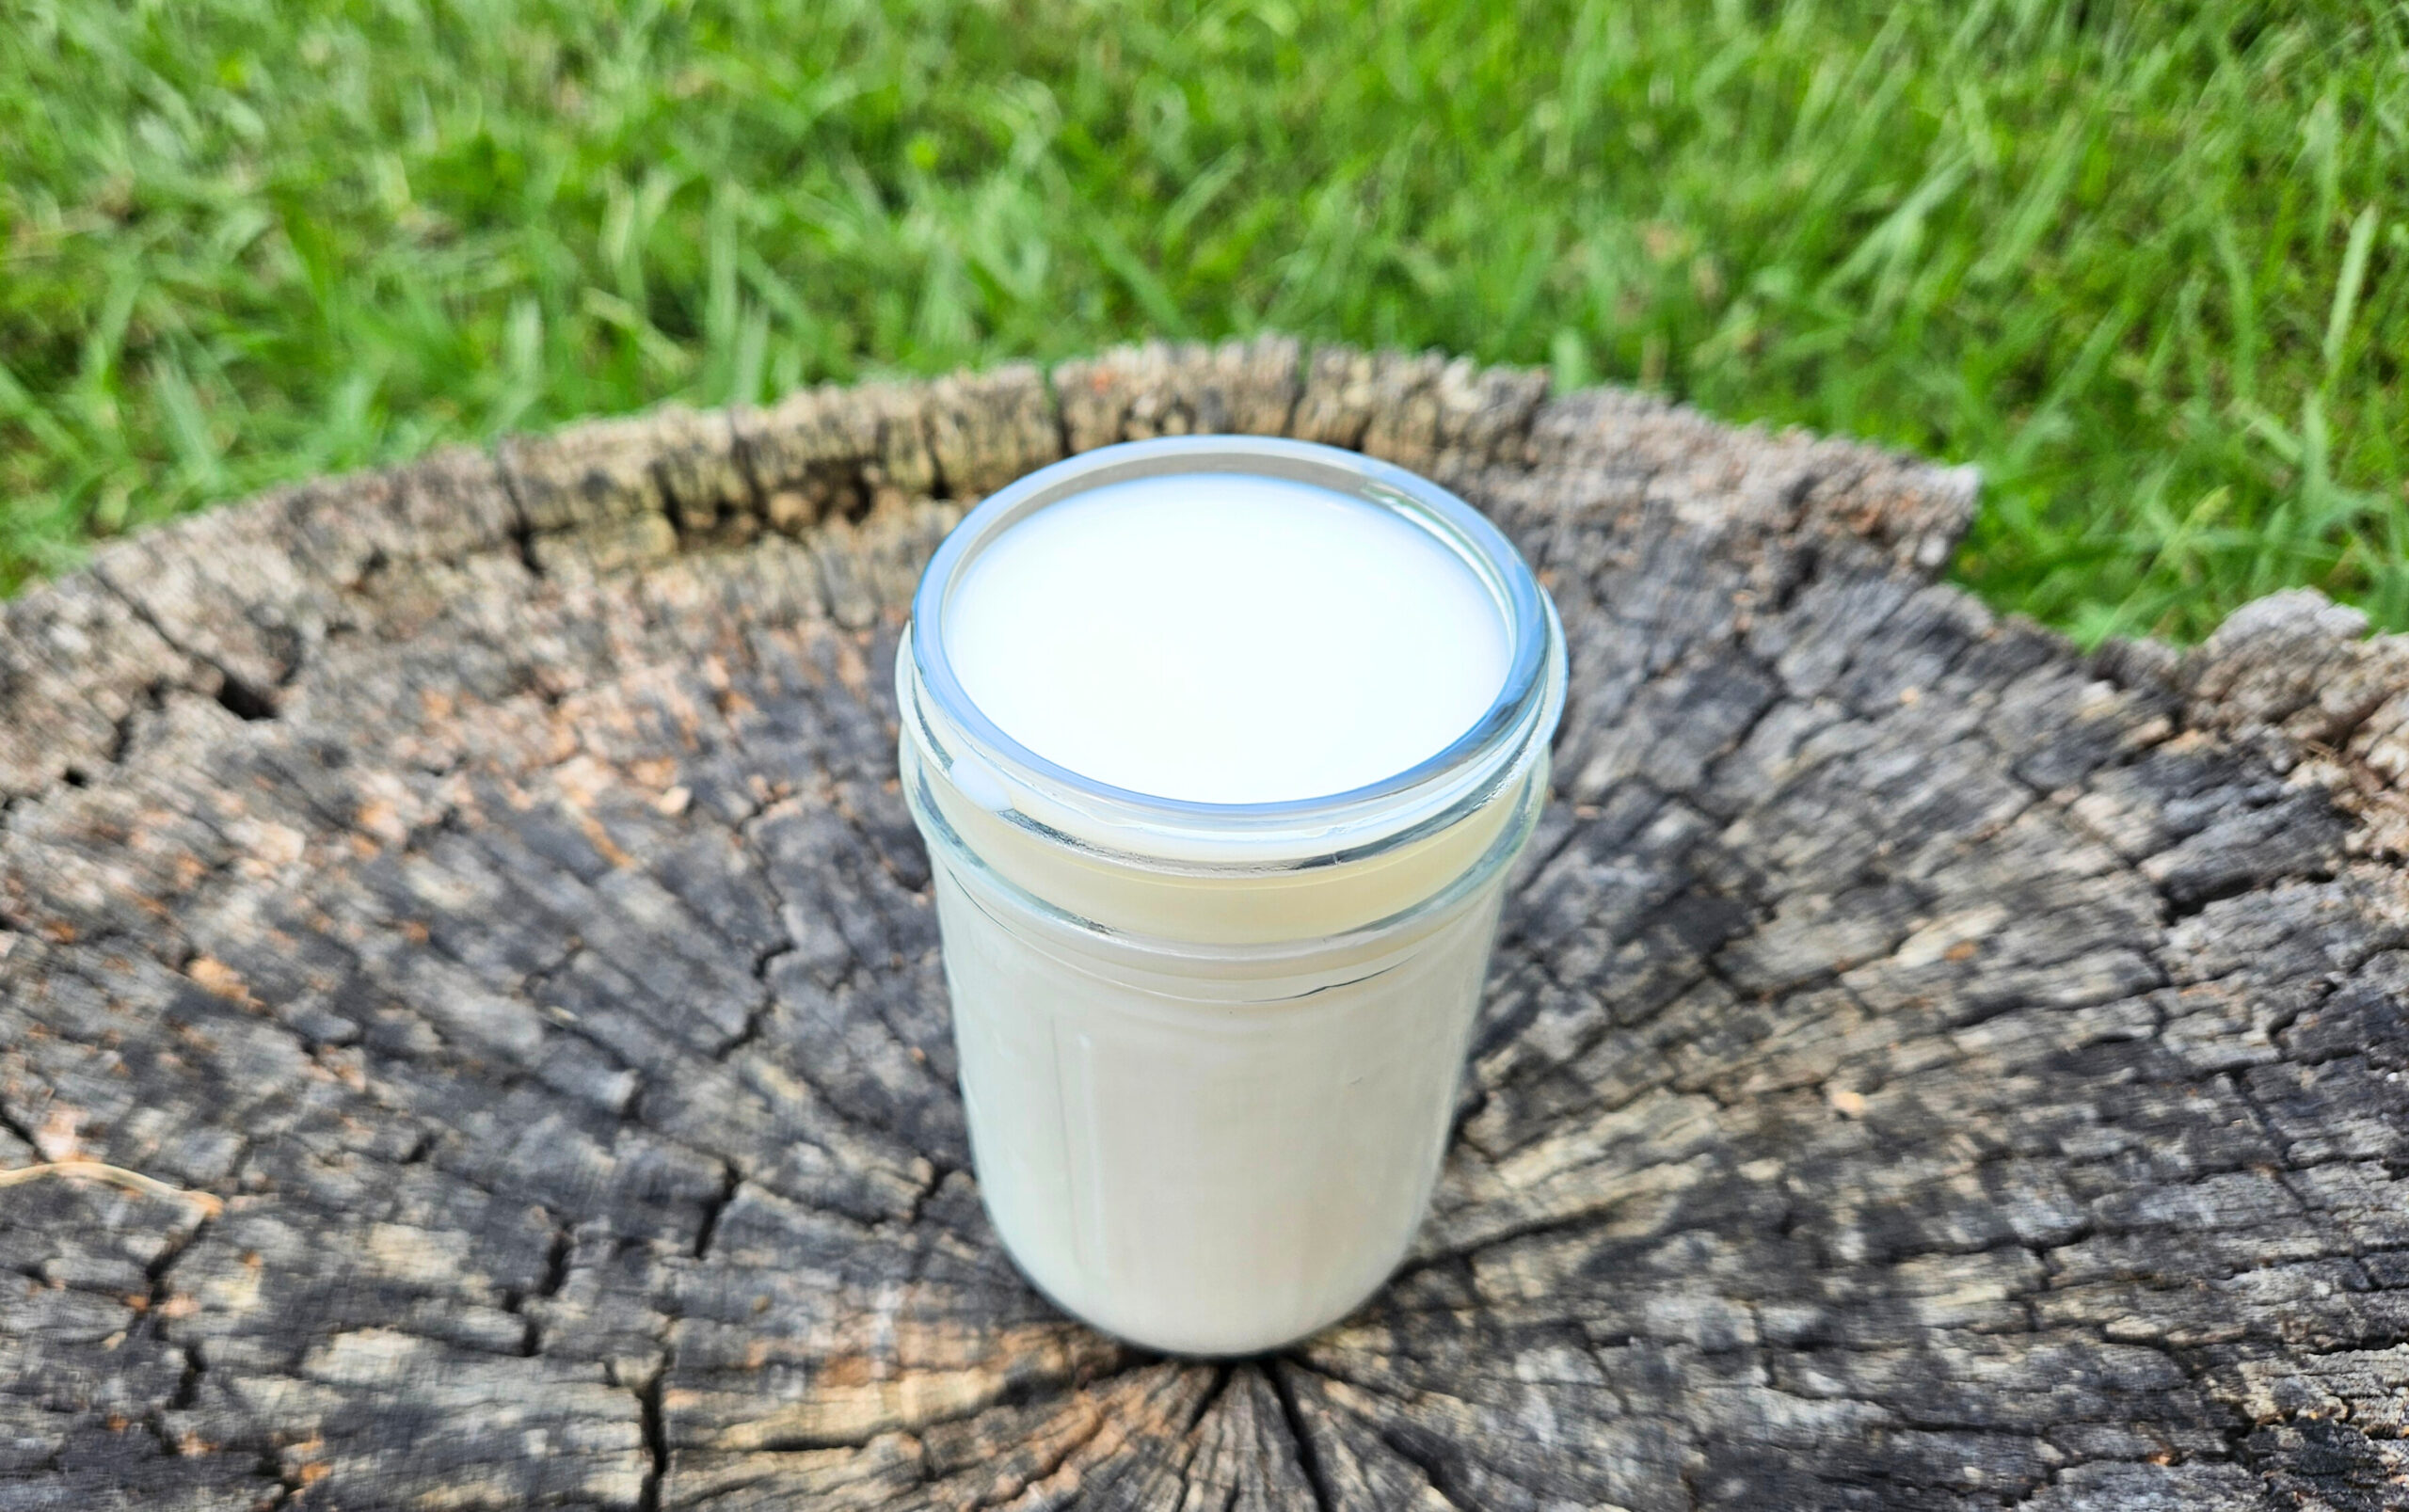
- Pour your raw cream into a quart size mason jar, preferable no more than halfway full.
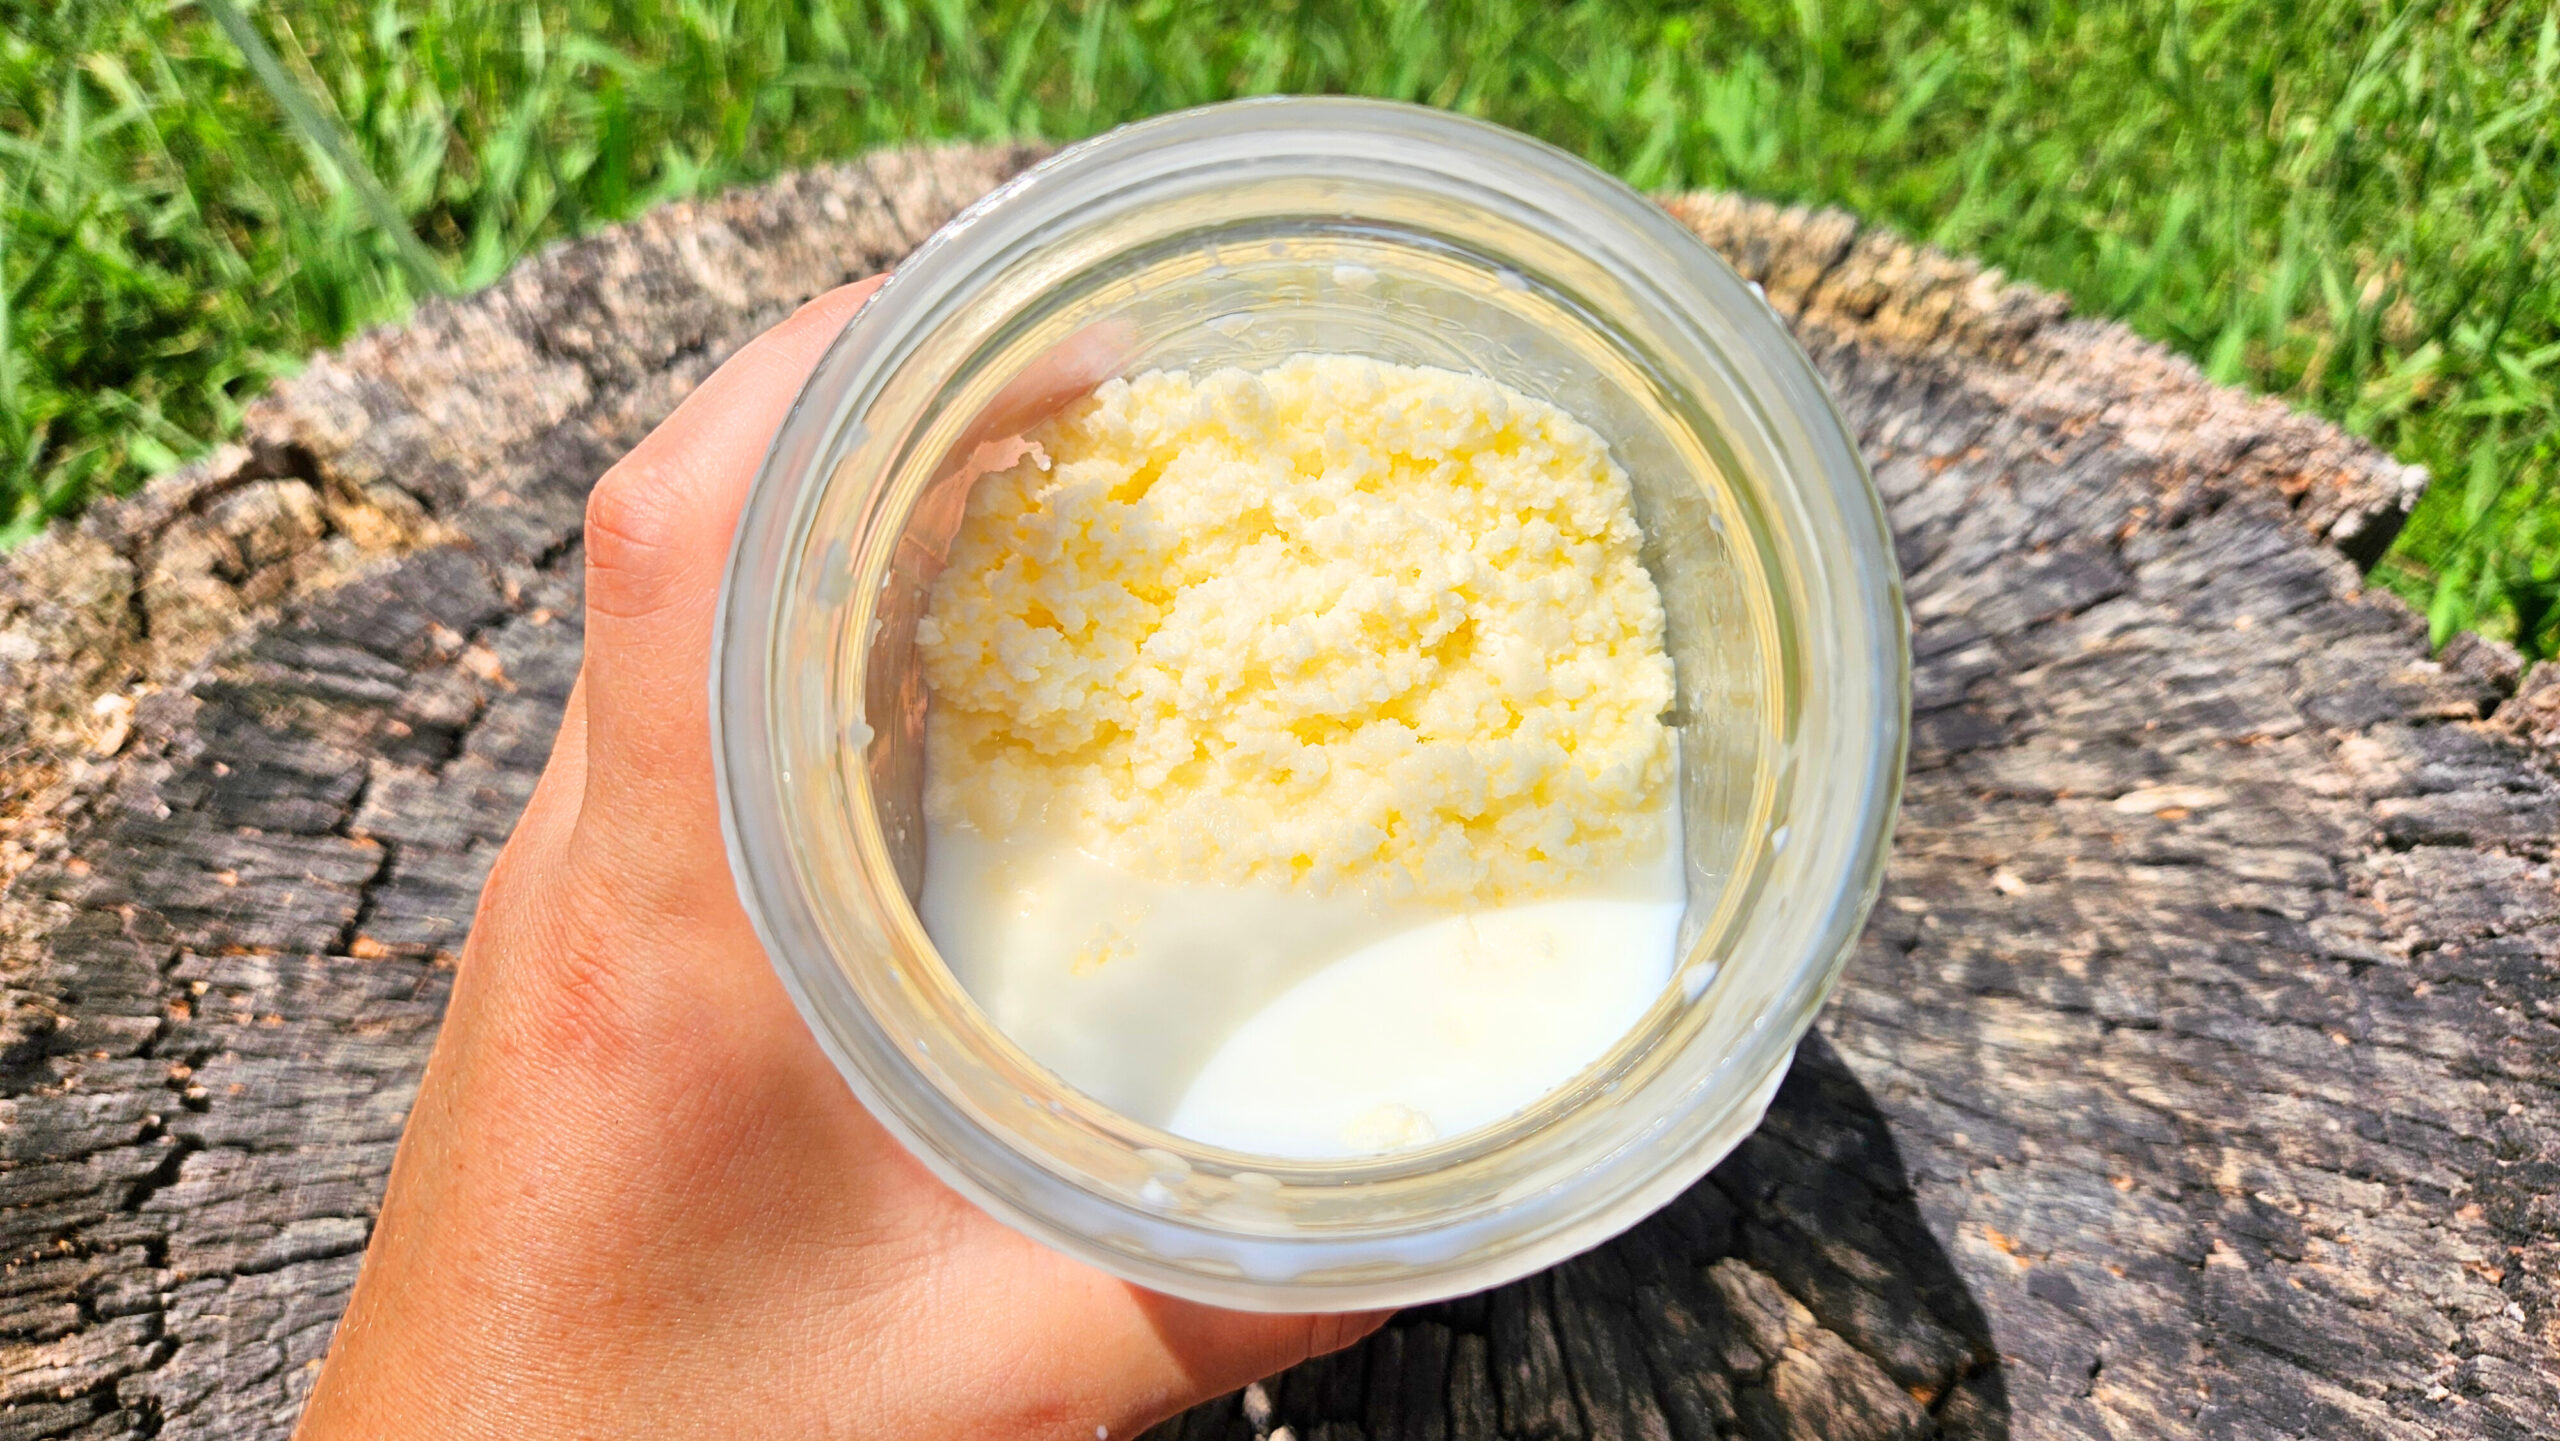
- Shake vigorously until the milk separates into butter and buttermilk, approximately 10-20 minutes.
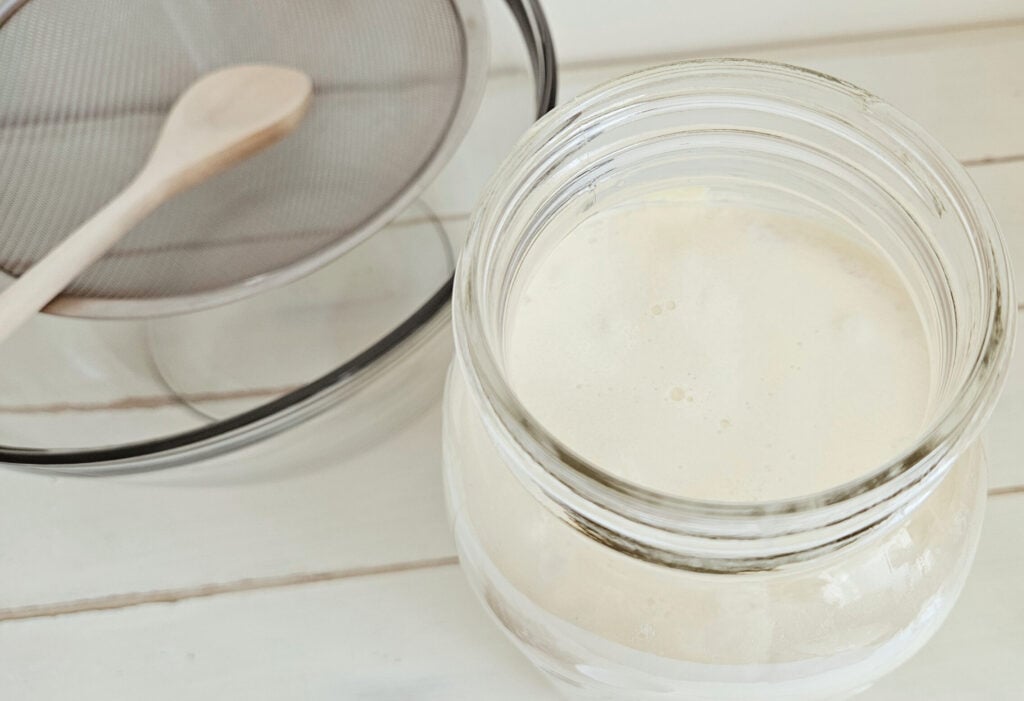
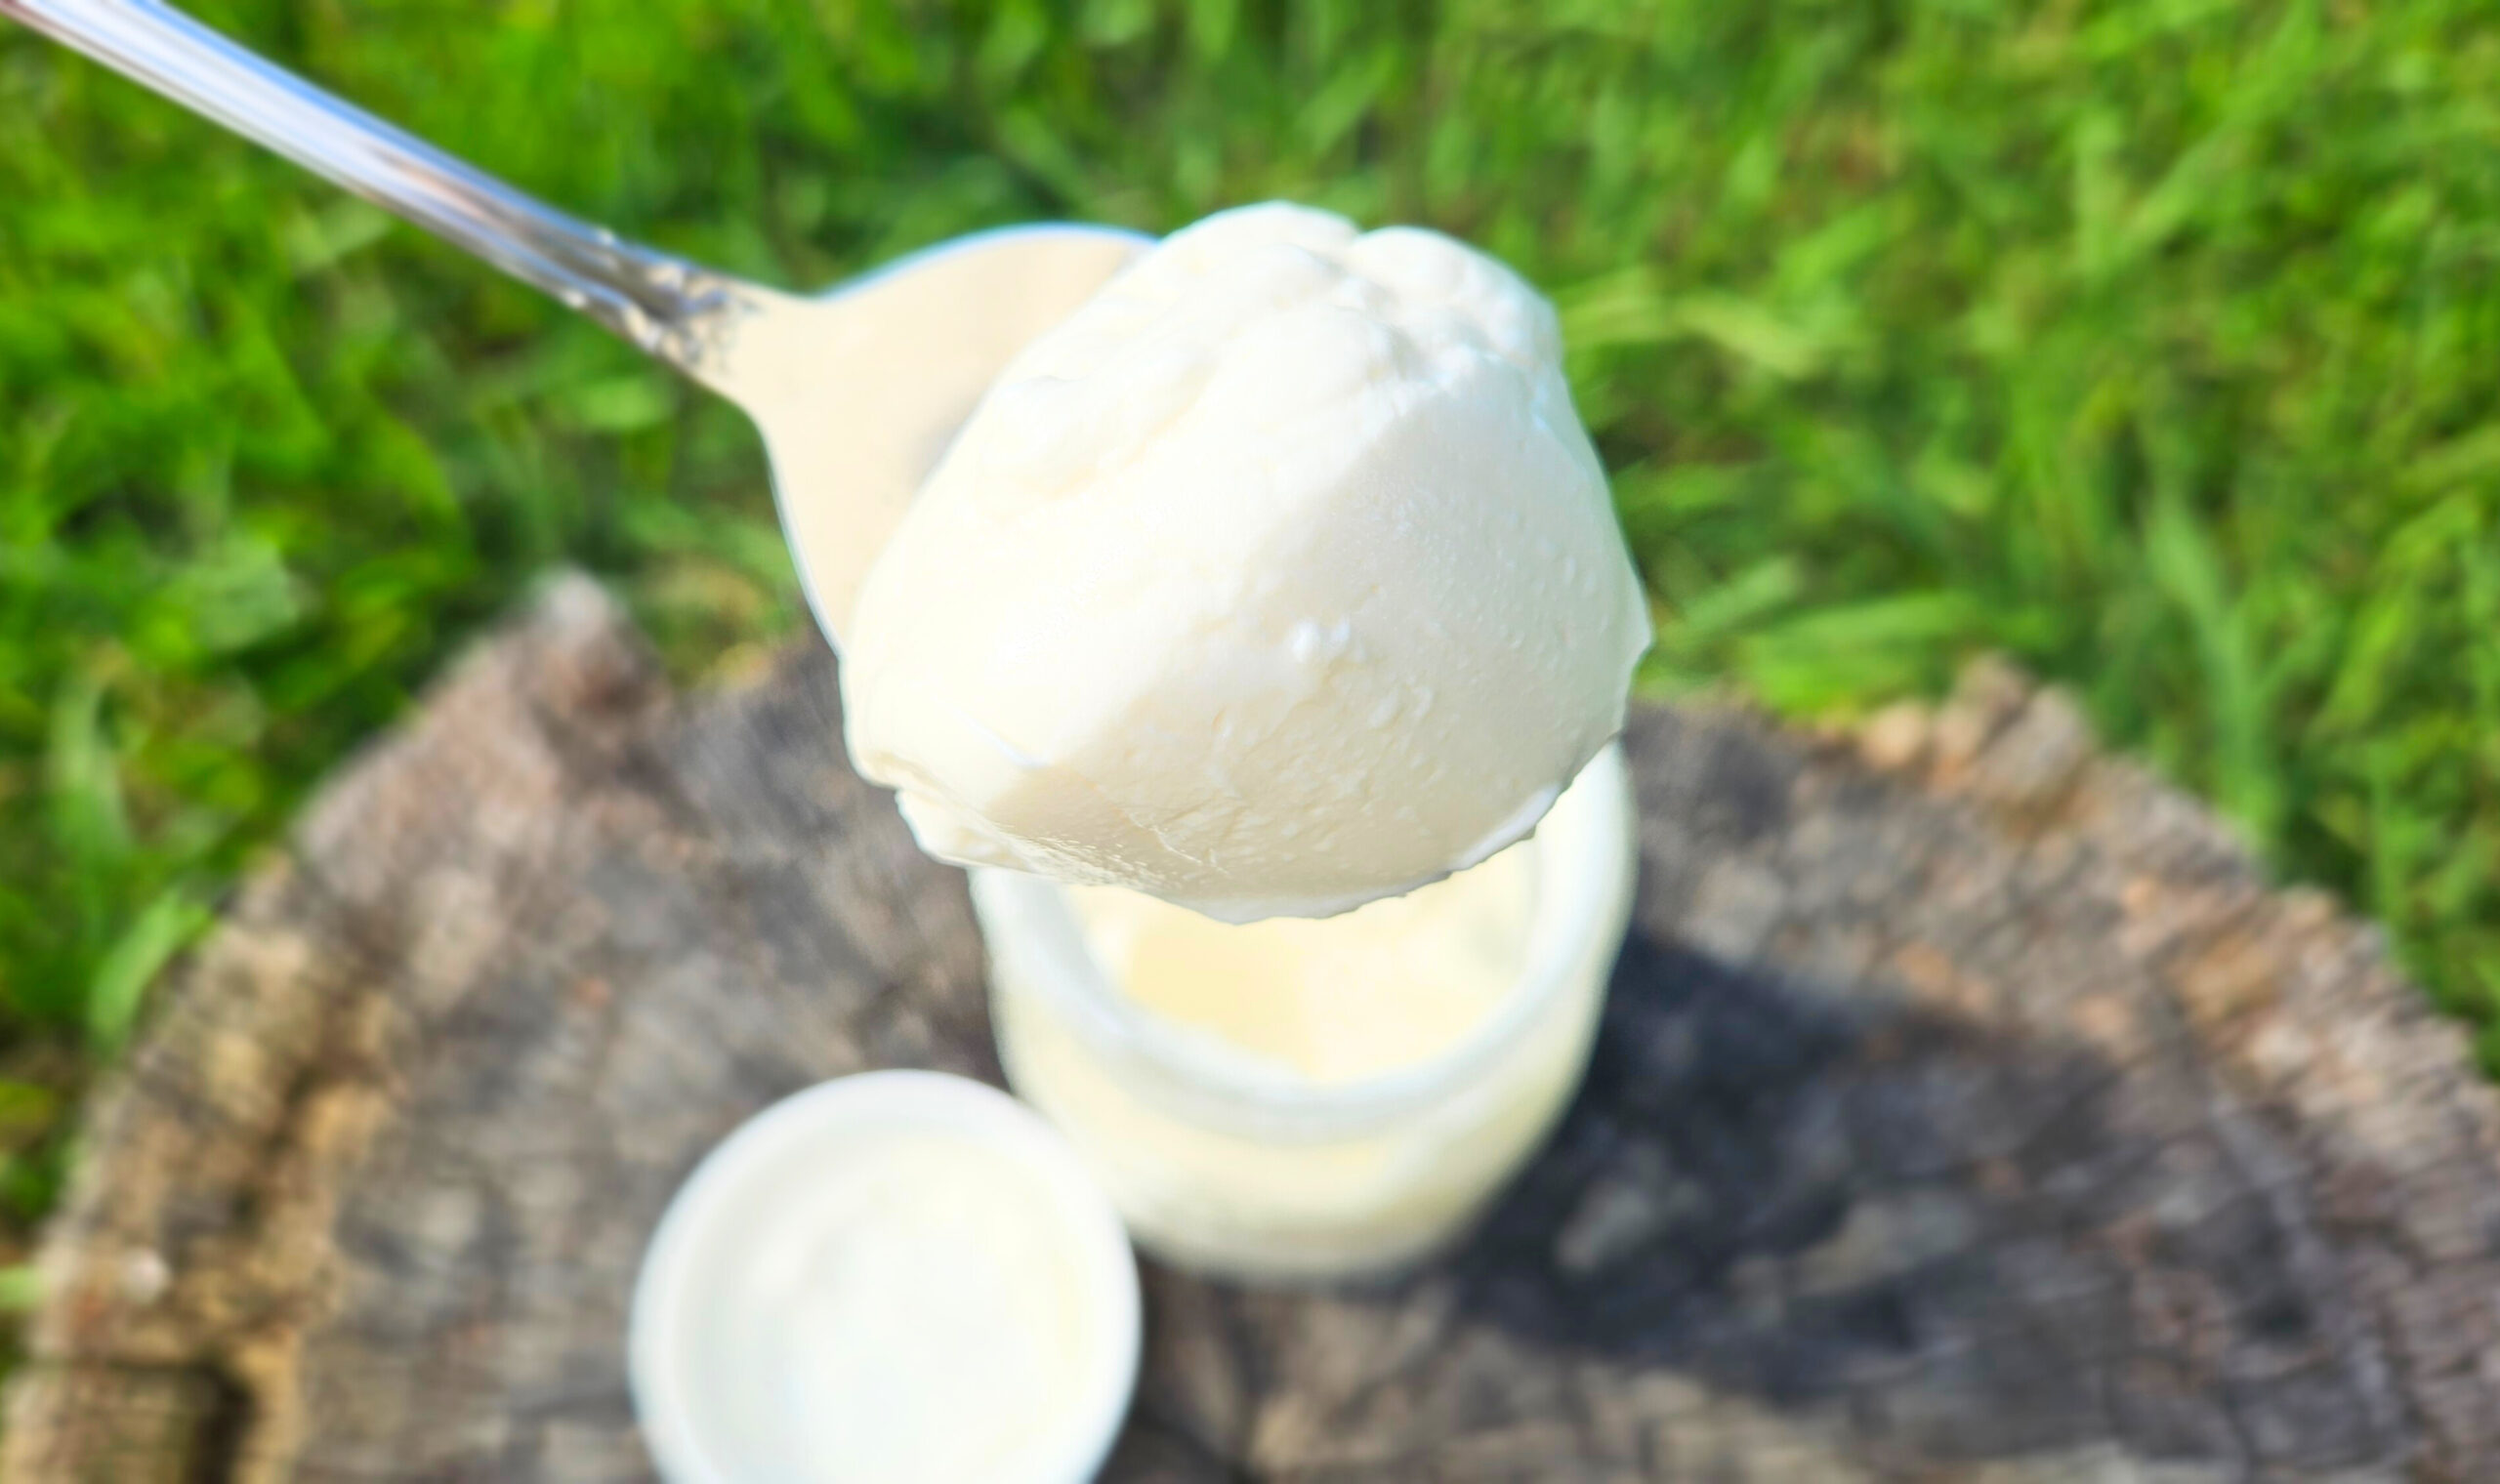
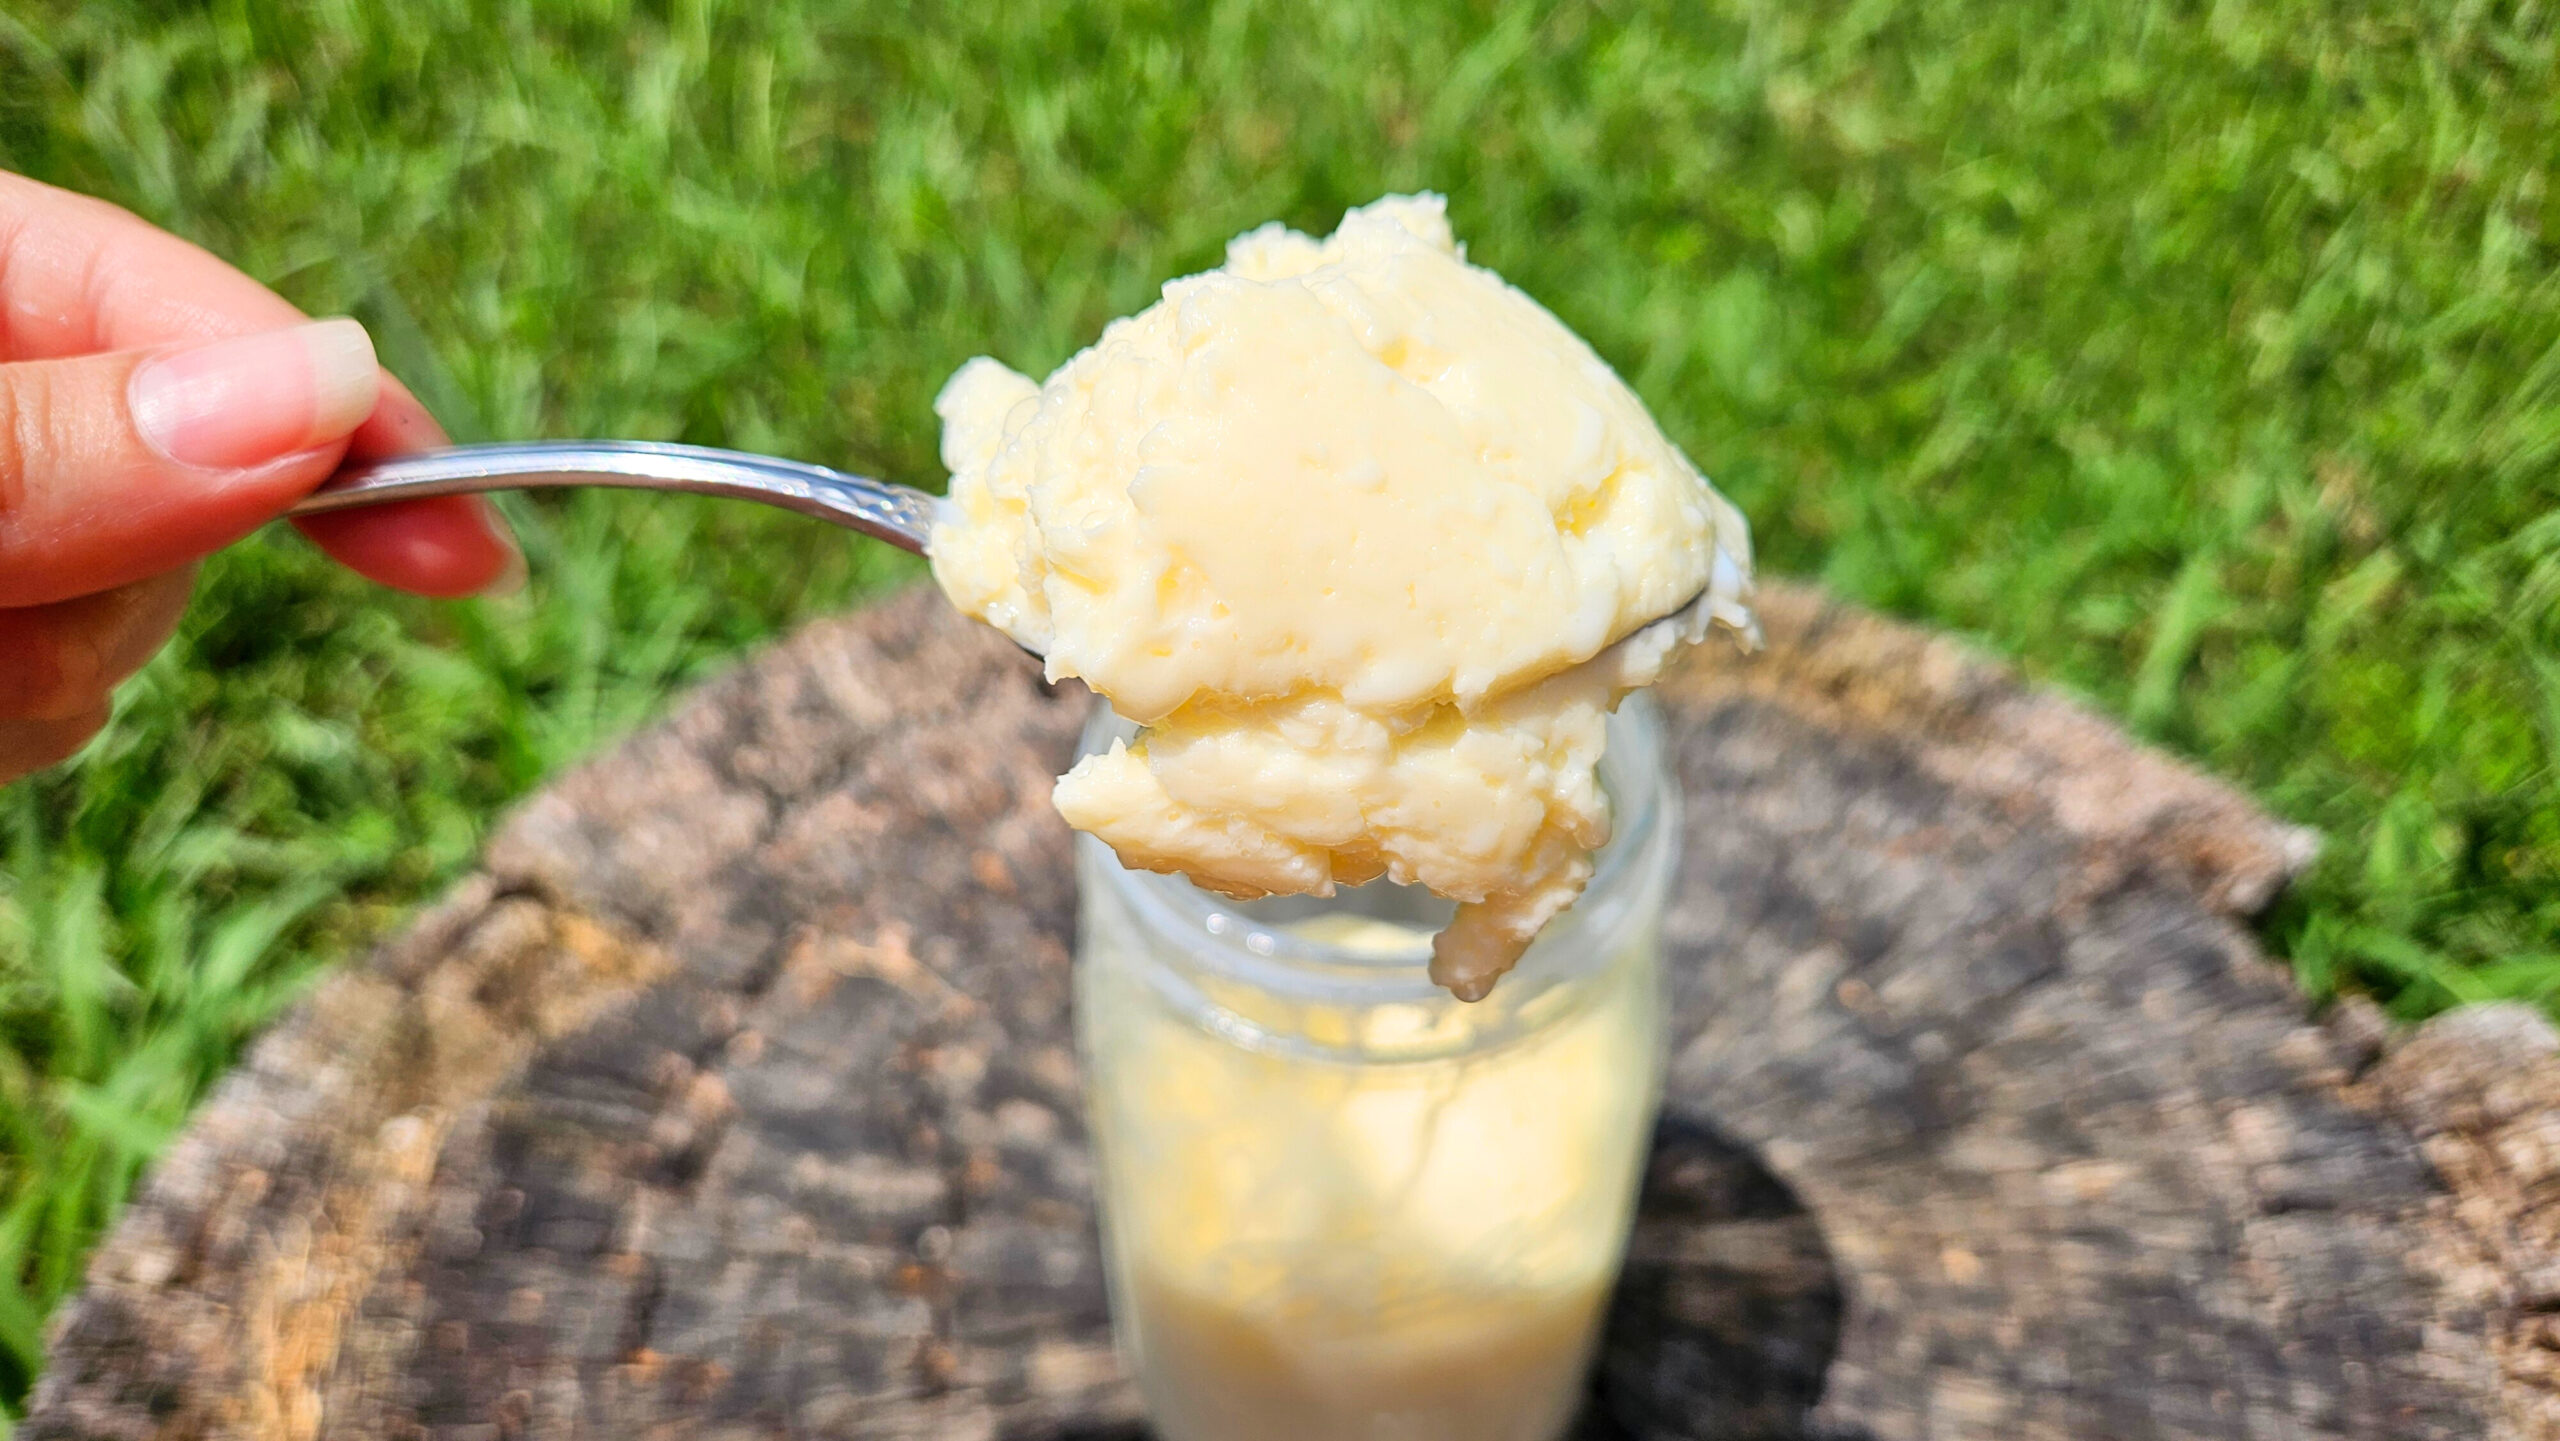
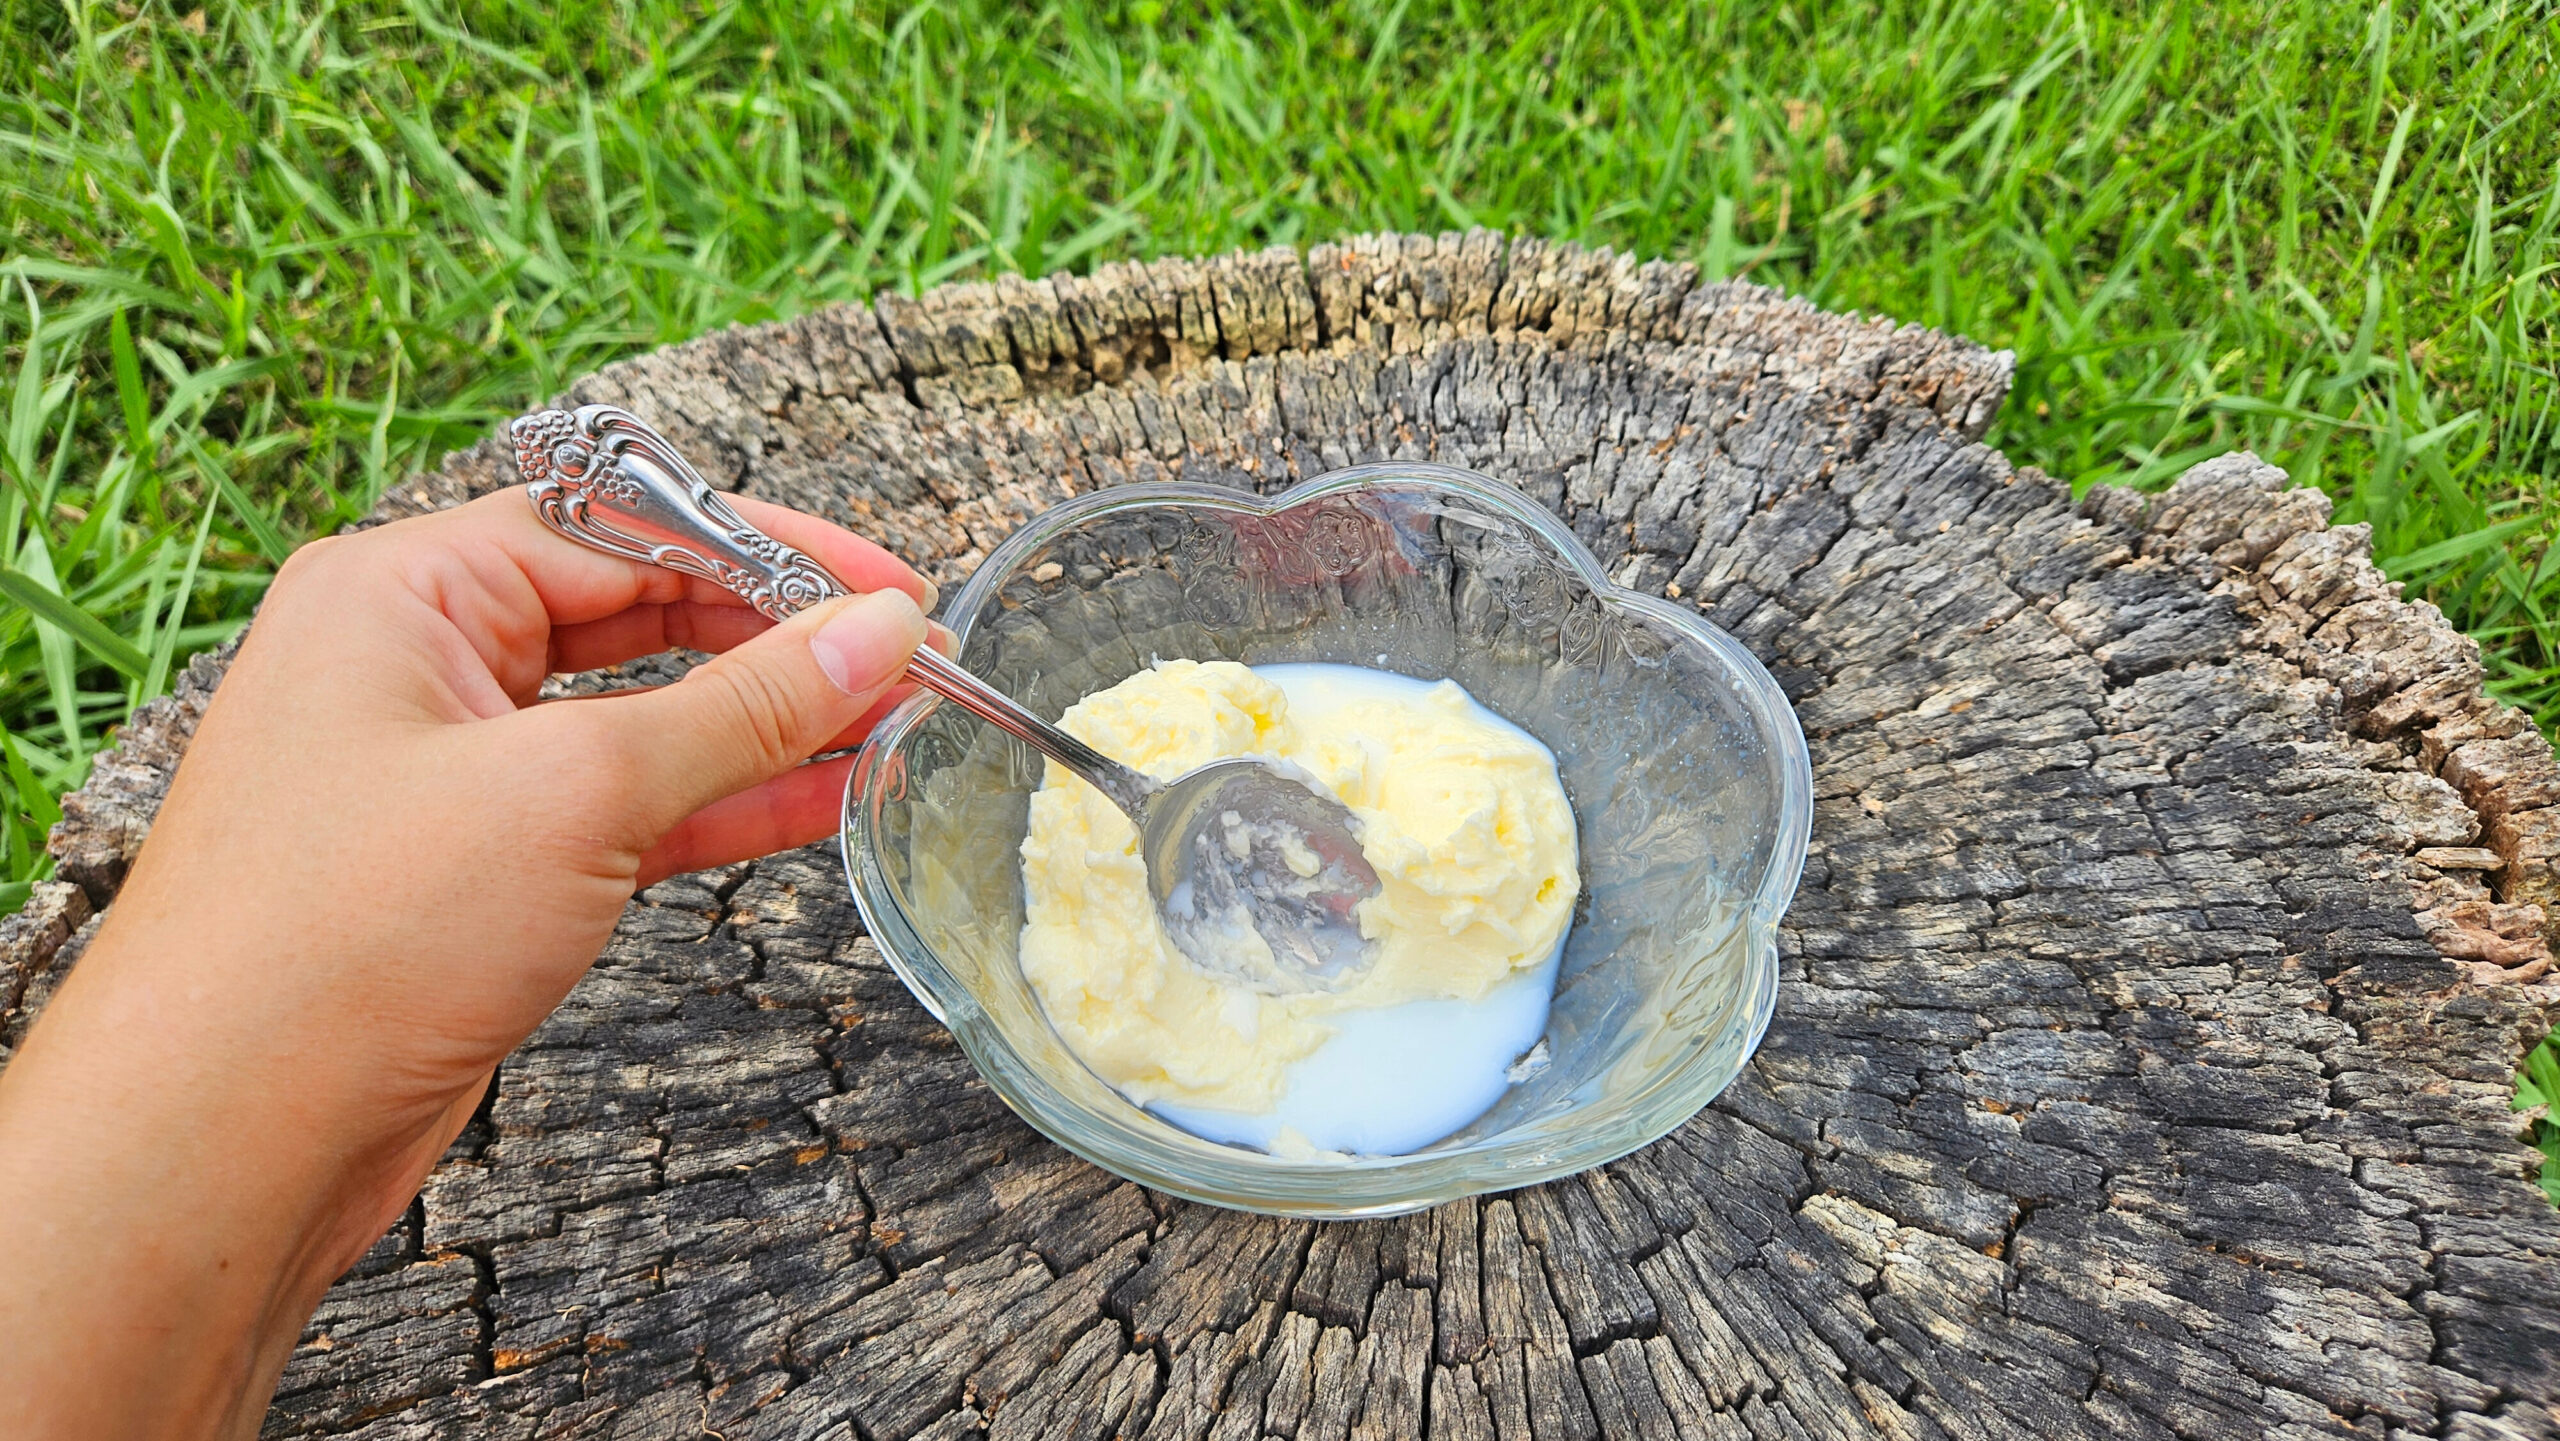
- Using a strainer, separate the butter from the buttermilk.
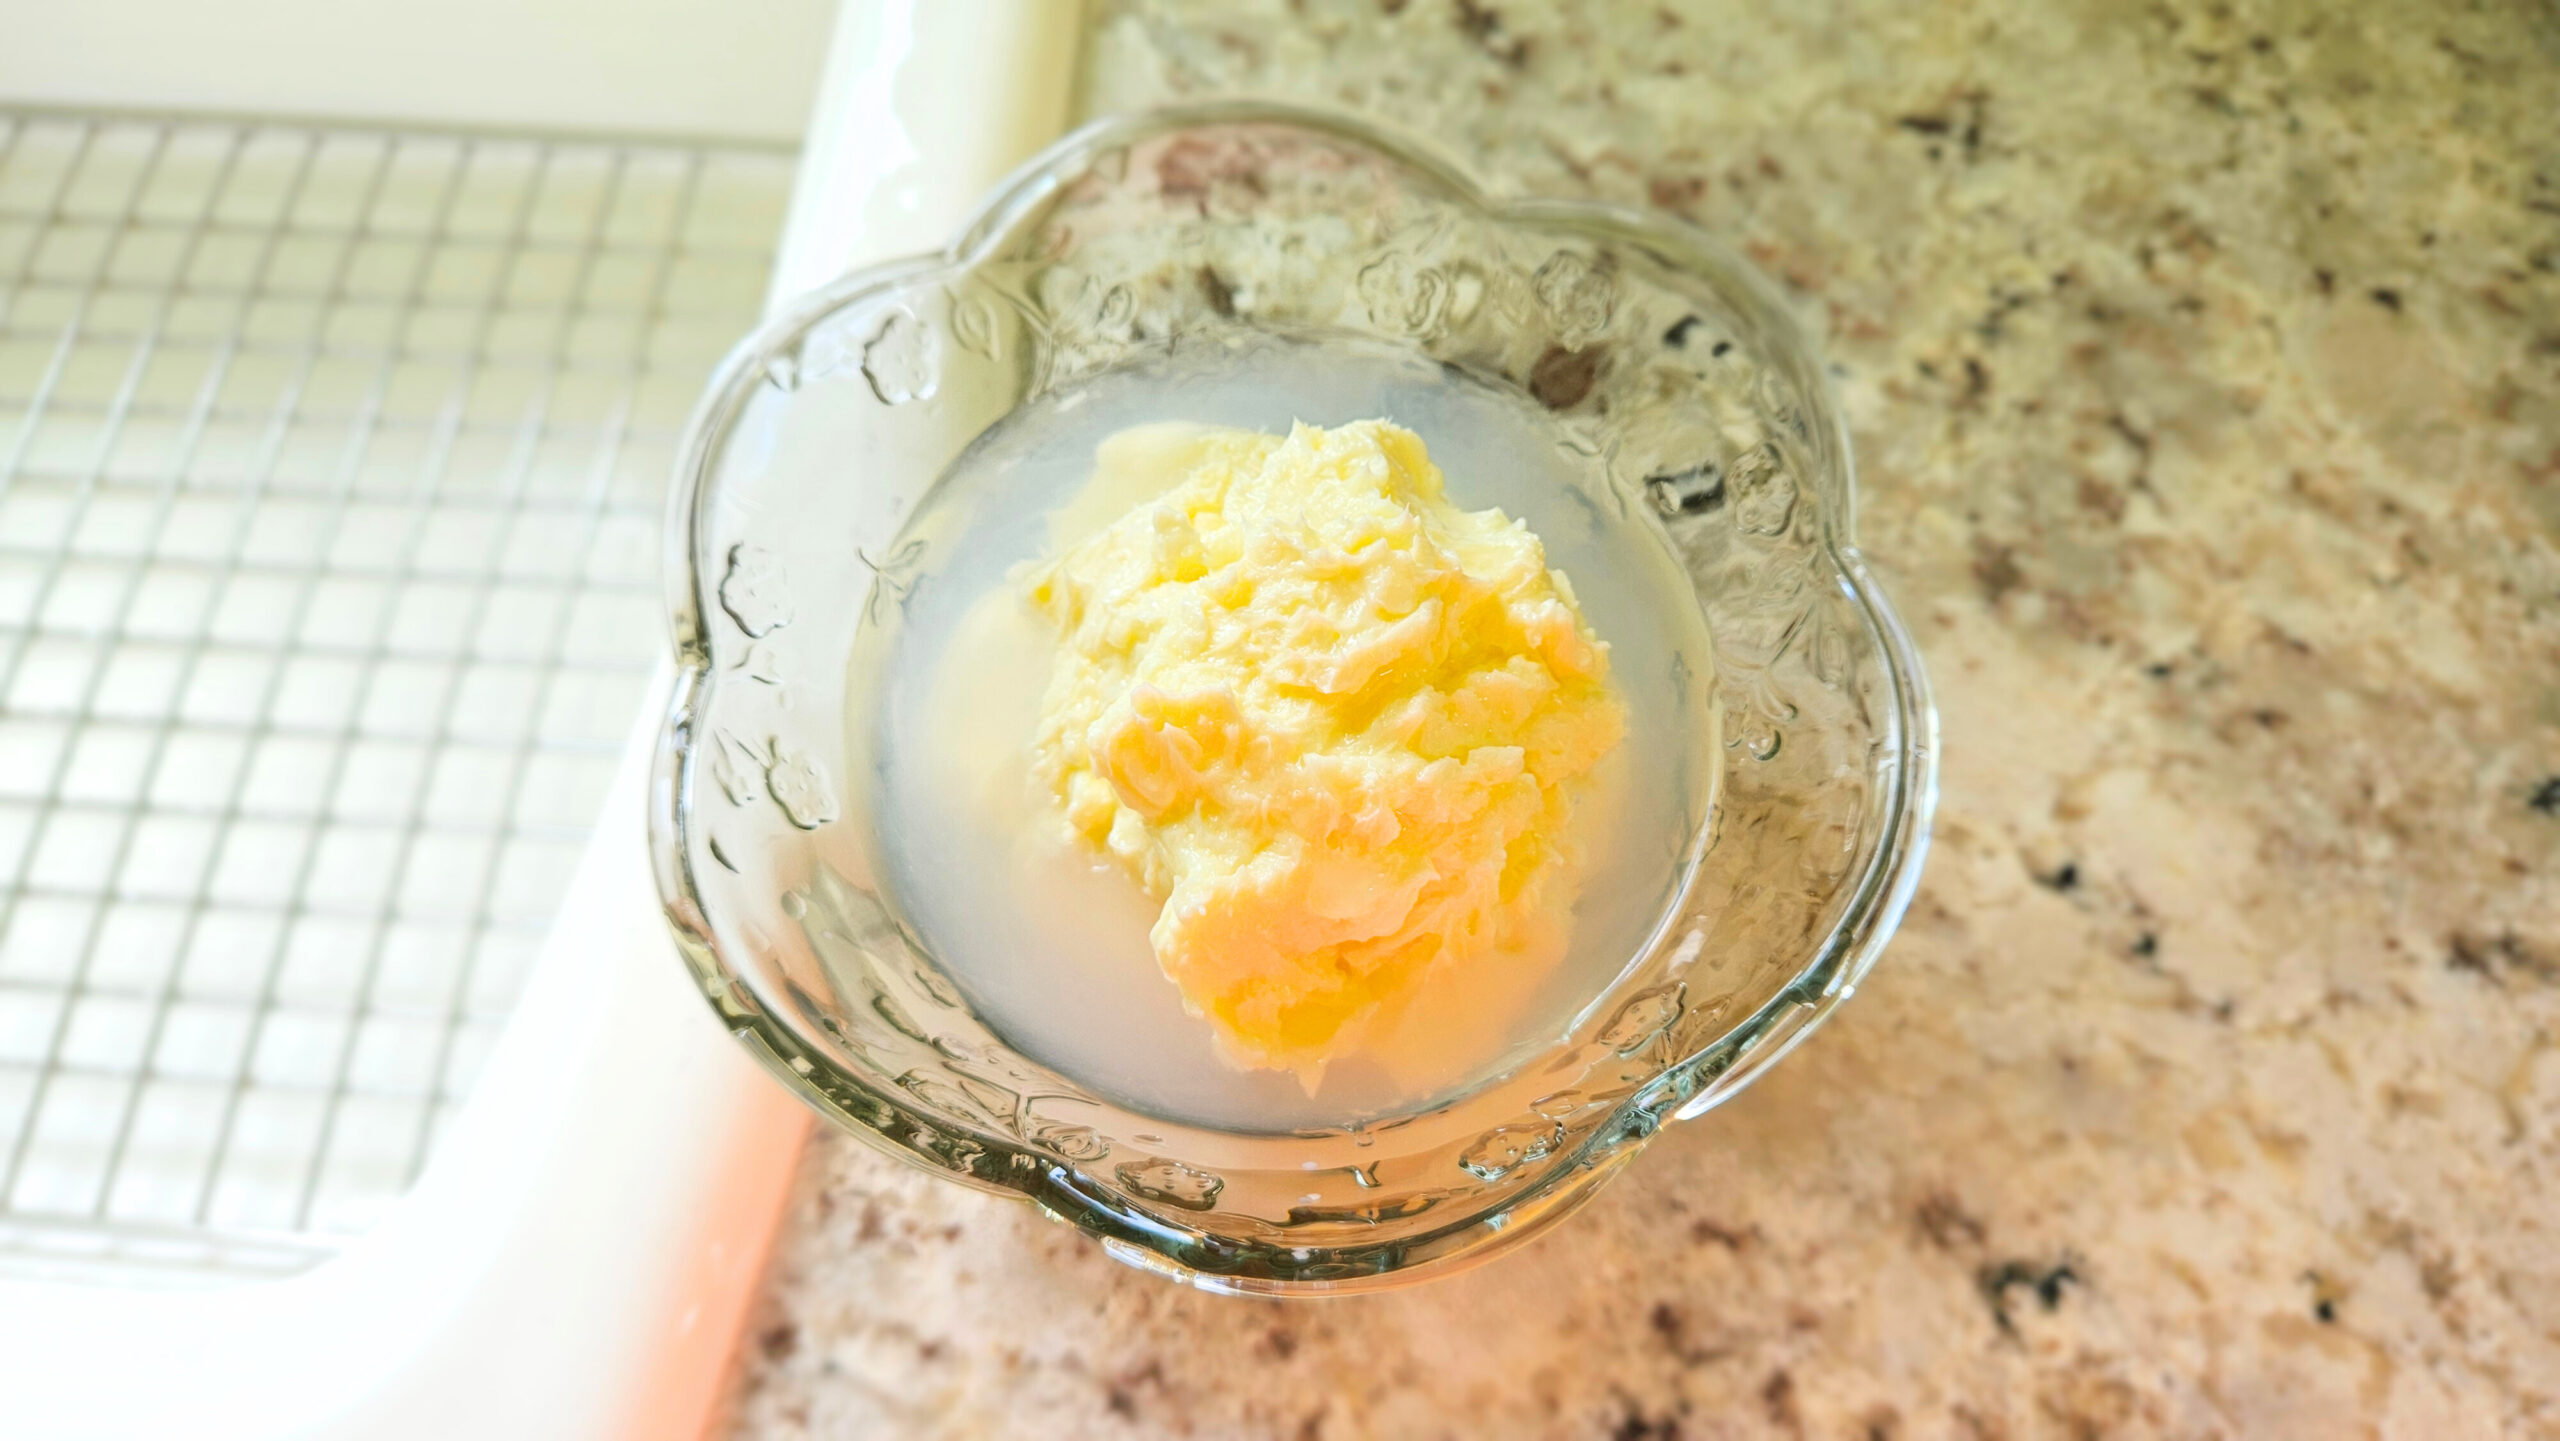
- Separate any remaining milk from the homemade butter by either squeezing the butter with your hands or pressing the butter against the side of a bowl. Rinse with cool water.
- Add salt to taste if desired.
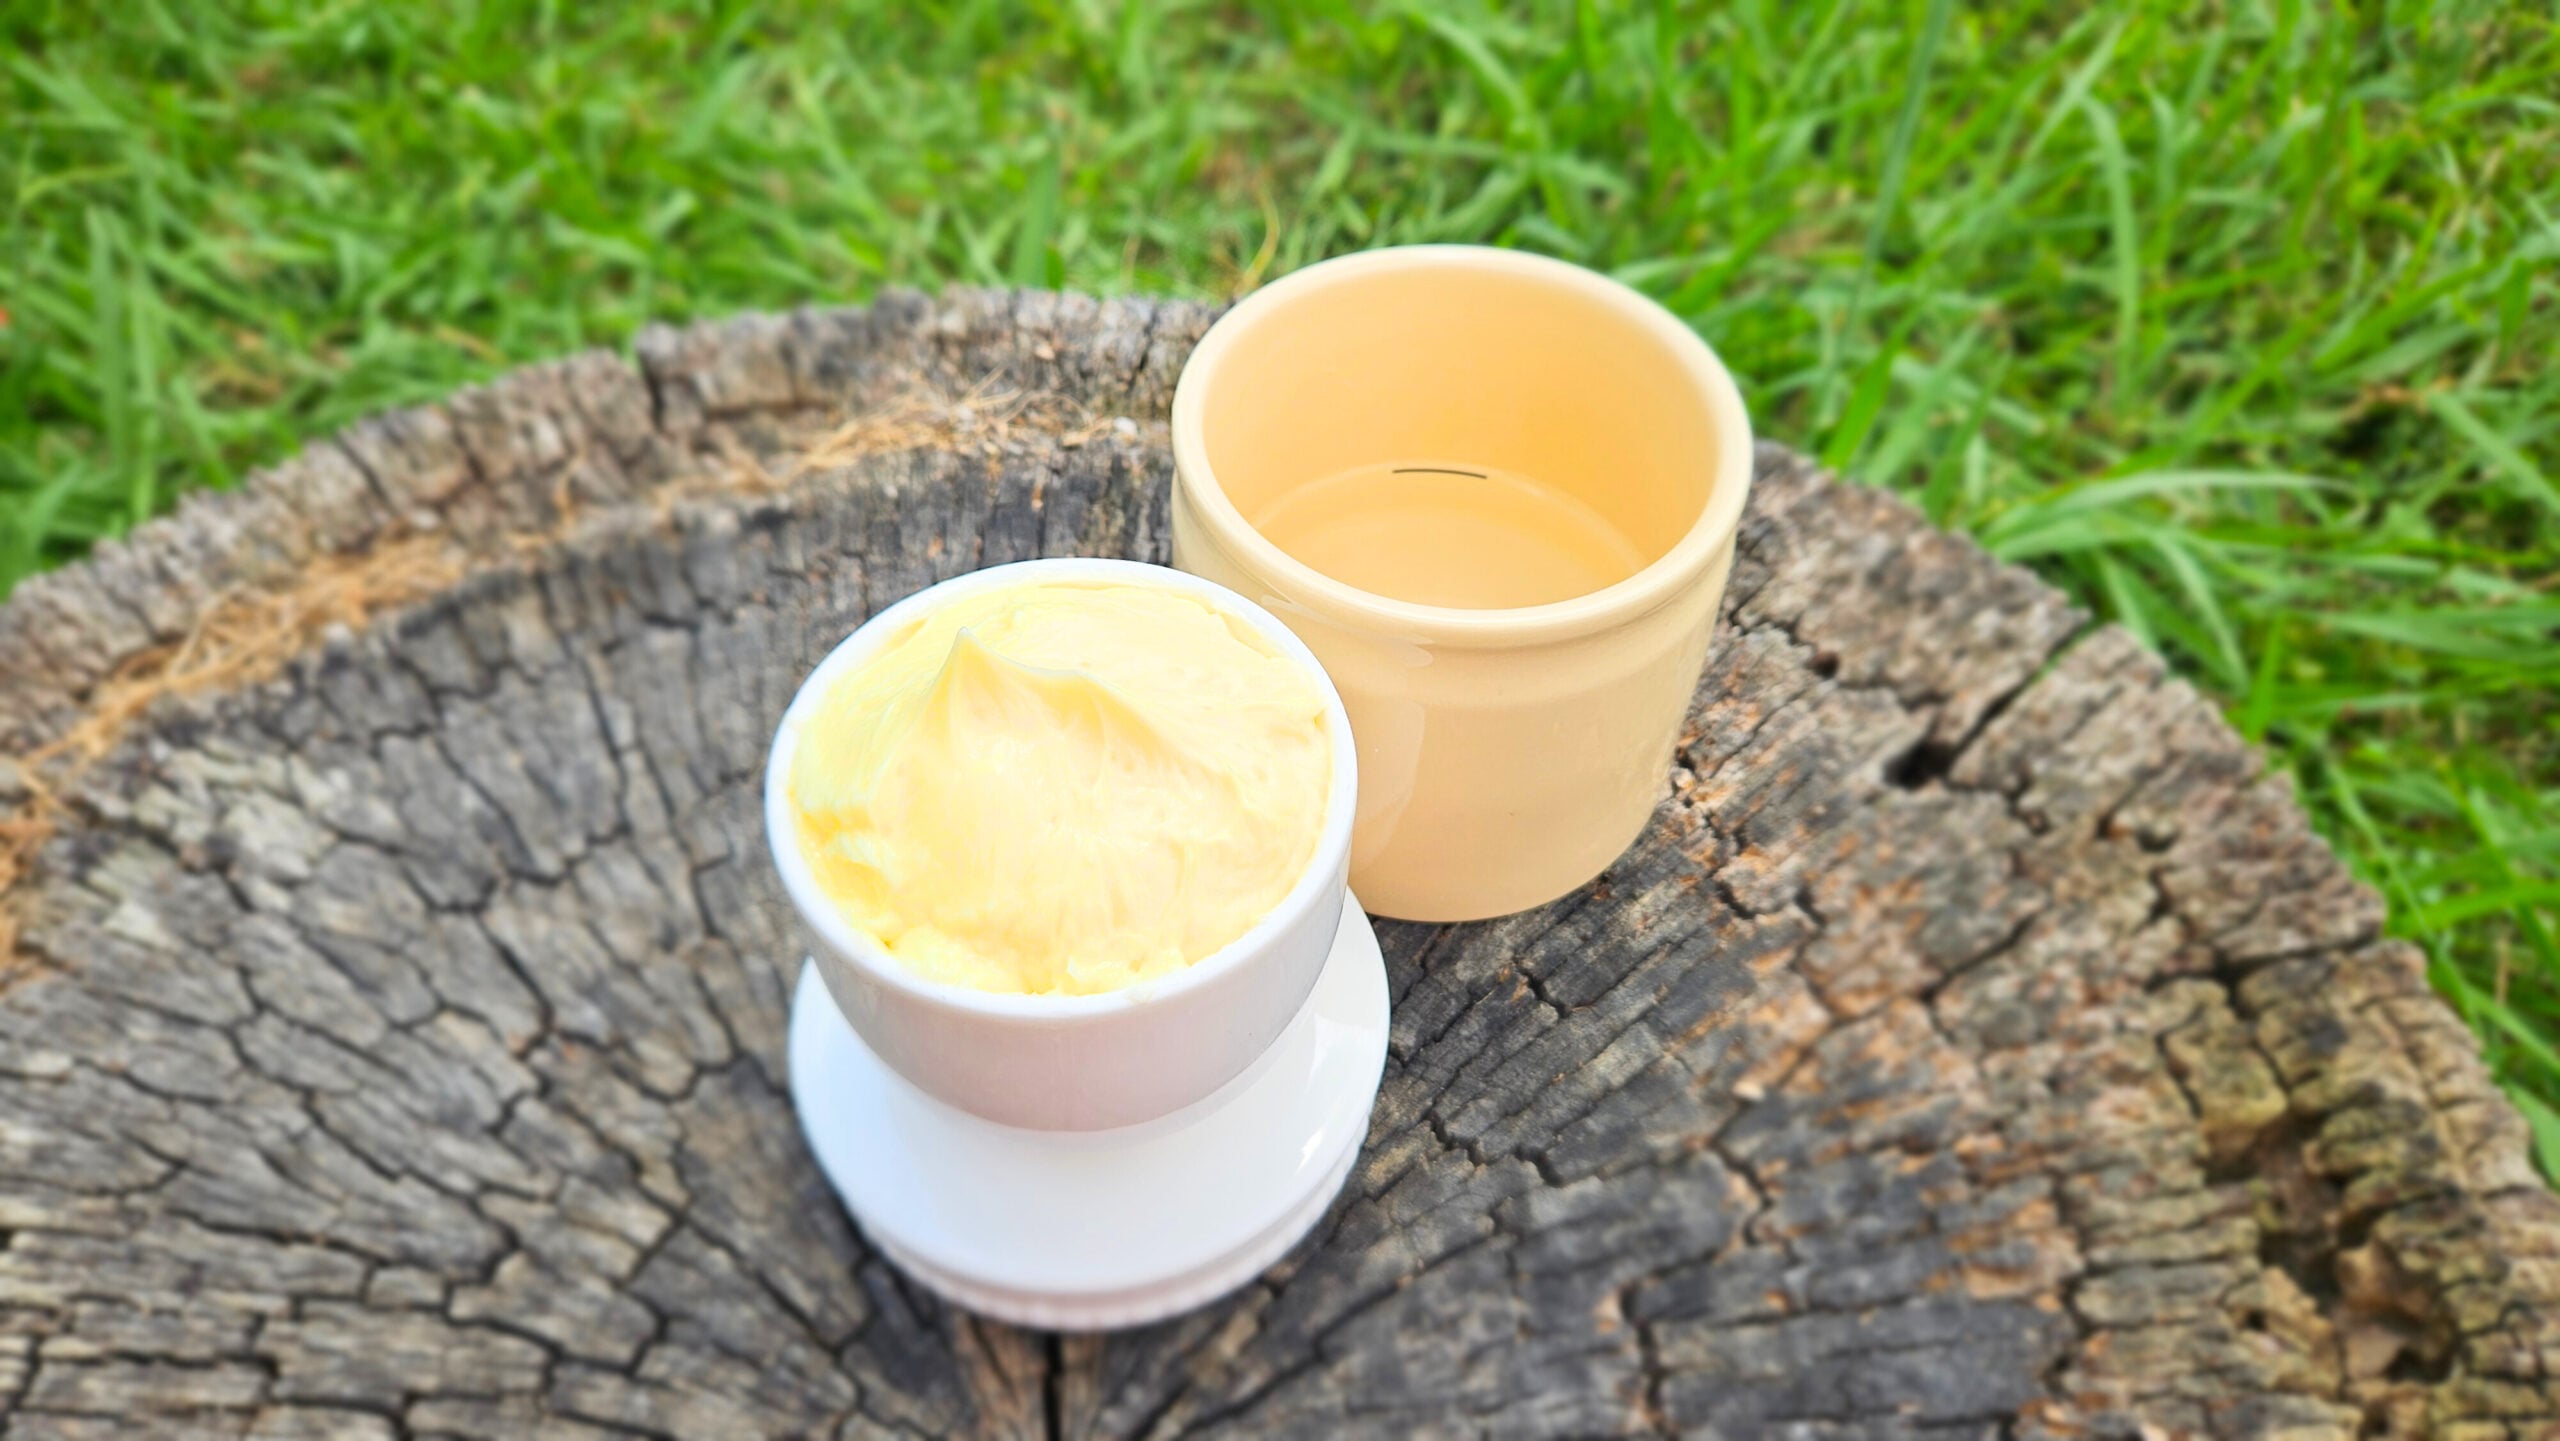
- Store in the refrigerator or a butter crock.
Blender Method
This method for making homemade butter is probably the easiest and the cleanest (no chance of splatter with the lid on 👌).
Instructions
- Pour raw cream into blender and blend on high until butter and buttermilk separate, approximately 5-10 minutes. Periodically scrape the sides of the blender.
- Using a strainer, separate the butter from the buttermilk.
- Separate any remaining milk from the homemade butter by either squeezing the butter with your hands or pressing the butter against the side of a bowl. Rinse with cool water.
- Add salt to taste if desired.
- Store in the refrigerator or a butter crock.
Immersion Blender Method
Easy method to make homemade butter with an easy clean-up, but you do have to stand there the whole time holding the immersion blender vs. a regular countertop blender. Slight risk of splatter if you fill the mason jar too full.
Instructions
- Pour raw cream into a wide mouth mason jar, preferably no more than halfway full.
- Insert immersion blender and blend on high until butter and buttermilk separate, approximately 5-10 minutes. You can use the regular blender attachment or the whisk attachment.
- Using a strainer, separate the homemade butter from the buttermilk.
- Separate any remaining milk from the butter by either squeezing the butter with your hands or pressing the butter against the side of a bowl. Rinse with cool water.
- Add salt to taste if desired.
- Store in the refrigerator or a butter crock.
Hand Mixer Method
Super simple method for homemade buttter. Just make sure you are careful with your bowl size and mixer speed to reduce splatter. More likely to splatter once the butter is close to forming.
Instructions
- Pour raw cream into a bowl, preferably no more than halfway full.
- Insert hand mixer and beat on medium-high until butter and buttermilk separate, approximately 10-20 minutes.
- Using a strainer, separate the homemade butter from the buttermilk.
- Separate any remaining milk from the butter by either squeezing the butter with your hands or pressing the butter against the side of a bowl. Rinse with cool water.
- Add salt to taste if desired.
- Store in the refrigerator or a butter crock.
Stand Mixer Method
A very common way to make homemade butter. You’ll want to put the splash guard on top of the mixing bowl, and possibly even a towel on top of the splash guard.

Instructions
- Pour raw cream into mixer bowl, preferably no more than halfway full.
- Using the whisk attachment and splash guard, mix until the butter and buttermilk separate, approximately 10-20 minutes. Start on a low speed and gradually increase.
- Using a strainer, separate the butter from the buttermilk.
- Separate any remaining milk from the butter by either squeezing the butter with your hands or pressing the butter against the side of a bowl. Rinse with cool water.
- Add salt to taste if desired.
- Store in the refrigerator or a butter crock.
Food Processor Method
Similar to the blender method, using a food processor will allow you to make homemade butter in a clean, hands-off manner.
Instructions
- Add raw cream to food processor.
- Using the chopping or whisking blade, process on high until the butter and buttermilk separate, approximately 5-10 minutes.
- Using a strainer, separate the butter from the buttermilk.
- Separate any remaining milk from the butter by either squeezing the butter with your hands or pressing the butter against the side of a bowl. Rinse with cool water.
- Add salt to taste if desired.
- Store in the refrigerator or a butter crock.
Manual Butter Churner
I don’t have one yet, but these seem like a really cool kitchen gadget to have.
Instructions
- Add raw cream to churner (check instructions for your specific model).
- Manually crank the churn until the butter and buttermilk separate, approximately 20-30 minutes.
- Using a strainer, separate the homemade butter from the buttermilk.
- Separate any remaining milk from the butter by either squeezing the butter with your hands or pressing the butter against the side of a bowl. Rinse with cool water.
- Add salt to taste if desired.
- Store in the refrigerator or a butter crock.
Electric Butter Churner
Also another cool kitchen gadget! Most electric butter churners seem geared towards making large quantities of butter.
Instructions
- Add raw cream to your electric butter churner and turn it on (check instructions for your specific model).
- Allow to churn until the butter separates from the buttermilk, approximately 15-30 minutes depending on the amount of cream used and the model of the butter churner.
- Using a strainer, separate the butter from the buttermilk.
- Separate any remaining milk from the butter by either squeezing the butter with your hands or pressing the butter against the side of a bowl. Rinse with cool water.
- Add salt to taste if desired.
- Store in the refrigerator or a butter crock.
Hand-turned Stoneware Churn
This method is as old-fashioned as it gets. I think it’s very beneficial passing down skills and methods from the past.
Instructions
- Add raw cream to stoneware churn, filling no more than 2/3 of the way full.
- Agitate the cream by turning the handle. You can either rotate the handle or plunge it. Continue this until the butter separates from the buttermilk, approximately 20-45 minutes.
- Using a strainer, separate the homemade butter from the buttermilk.
- Separate any remaining milk from the butter by either squeezing the butter with your hands or pressing the butter against the side of a bowl. Rinse with cool water.
- Add salt to taste if desired.
- Store in the refrigerator or a butter crock.
Cost-Benefit Analysis

In figuring out the cost-benefit analysis of making your own homemade butter, it is extremely important to compare products that are essentially the same. Not everything that is labeled “butter” is the same as far as which ingredients are used and the quality of those ingredients used.
For example, store brand non-organic butter vs. store brand organic butter, vs. name brand organic butter, vs. locally made raw butter will all be different prices for obvious reasons. In evaluating the cost of making my own homemade butter, I completed the cost-benefit analysis comparing the cost of making raw homemade butter myself vs. buying raw butter in my state of Tennessee. It would be an unfair analysis to compare butter made from pasteurized cream to butter made from unpasteurized cream.
As of August 2025, these are my findings:
Homemade Butter
- 1 gallon of raw milk costs $9.00
- 2 cups of cream skimmed from the top of the raw milk
- 2 cups of cream = 1 cup (8oz) of butter and 1 cup (8oz) of buttermilk
- $9.00 = 1 gallon of raw milk (minus 2 cups), 8oz (1/2 lb) raw butter, 8oz raw buttermilk
- $18.00 = 2 gallons of raw milk (minus 4 cups, 16oz (1lb) raw butter, 16oz raw buttermilk
Raw Butter Purchased from a Tennessee Farm
- $20.00 = 16oz (1lb) raw butter
- $5.00 = drop location pick-up fee
- $25.00 total
As you can see, I actually spend $7.00 less, and get more products, by purchasing raw milk and making my own homemade butter from that raw milk. Yes, time is involved, but I unfortunately don’t live close enough to the farm to even be able to purchase their raw butter. As of now, I’ll be sticking with making my own!
If you live in Tennessee, here is the link to the farm I compared pricing with:
Ways to Use Buttermilk
Don’t forget to save the buttermilk when making homemade butter! Here are some ways to use it:
- Buttermilk pie
- Batter for frying (chicken, fish, onion rings, fried green tomatoes, etc.)
- Baking: biscuits, pancakes, muffins, waffles, scones, etc.)
- Cornbread
- Marinades
- Salad dressings
- Sauces
- Smoothies
- Ice cream
- Pets! (my dog LOVES buttermilk)
Tips
- You can buy raw cream from a local dairy farm, or you can skim the cream from the top of your raw milk. For 1 gallon of raw milk, I usually get about 2-3 cups of cream.
- Always use cream at room temperature, even if making sweet cream butter and not cultured butter. Room temperature cream makes butter a lot quicker than cold cream.
- Cream that is closer to one week old will also turn into butter quicker than cream that is only one day old.
- Your cream will go through a few stages before turning into butter. It will froth and thicken, turn to whipped cream, and then eventually separate into butter and buttermilk.
- Wrap a towel around the splash guard on your stand mixer. Even with the splash guard, it will still splatter!
- Make sure you get ALL of the milk you possibly can get out of the homemade butter when squeezing and rinsing. Any leftover milk will make the butter go bad quicker than if it is free of milk.
- Refrigeration or a butter crock are best ways to store homemade butter. Even with my caution to squeeze and rinse all the milk away, it is nearly impossible to get it all. I’d rather refrigerate my homemade butter and make sure it lasts as long as possible vs. sitting on the counter and turning sour unintentionally. A butter crock will also work since the water acts as a seal.
- Save your buttermilk! It is so handy for many different recipes.
- Homemade butter can be enjoyed plain, salted, or with any combination of herbs you like!
FAQs
Related Posts
I hope you enjoy these tips and find the best method to make your own homemade butter. Be sure to use raw cream 😉!

Homemade Butter
Equipment
- SEE BELOW
Ingredients
- 2-3 cups raw cream
- salt (optional)
Instructions
- Pour raw cream into equipment corresponding to desired method. See below for 9 methods.
- Agitate cream until it separates into homemade butter and buttermilk.
- Using a strainer, separate the butter from the buttermilk.
- Separate any remaining milk from the homemade butter by either squeezing the butter with your hands or pressing the butter against the side of a bowl. Rinse with cool water.
- Add salt to taste if desired.
- Store in the refrigerator or a butter crock.
Notes
- Mason Jar Method
- Blender Method
- Immersion Blender Method
- Hand Mixer Method
- Stand Mixer Method
- Food Processor Method
- Manual Butter Churner
- Electric Butter Churner
- Hand-turned Stoneware Churn
- You can buy raw cream from a local dairy farm, or you can skim the cream from the top of your raw milk. For 1 gallon of raw milk, I usually get about 2-3 cups of cream.
- Always use cream at room temperature, even if making sweet cream butter and not cultured butter. Room temperature cream makes butter a lot quicker than cold cream.
- Cream that is closer to one week old will also turn into butter quicker than cream that is only one day old.
- Your cream will go through a few stages before turning into butter. It will froth and thicken, turn to whipped cream, and then eventually separate into butter and buttermilk.
- Wrap a towel around the splash guard on your stand mixer. Even with the splash guard, it will still splatter!
- Make sure you get ALL of the milk you possibly can get out of the homemade butter when squeezing and rinsing. Any leftover milk will make the butter go bad quicker than if it is free of milk.
- Refrigeration or a butter crock are best ways to store homemade butter. Even with my caution to squeeze and rinse all the milk away, it is nearly impossible to get it all. I’d rather refrigerate my homemade butter and make sure it lasts as long as possible vs. sitting on the counter and turning sour unintentionally. A butter crock will also work since the water acts as a seal.
- Save your buttermilk! It is so handy for many different recipes.
- Homemade butter can be enjoyed plain, salted, or with any combination of herbs you like!
This is a personal blog. All posts, recipes, recommendations, and how-tos are for informational use and personal viewing pleasure only. Blog posts are not written by AI.


subscribe