

How to Make Raw Milk Greek Yogurt
Greek yogurt is one of my favorite healthy breakfast items. Learn how to make it yourself with just two ingredients.
This post may contain affiliate links. Please see our site disclosure for more information.


I am a forever convert to raw milk. I am also 100% not a morning person. Between the two, Greek yogurt is something I typically gravitate toward for an easy breakfast routine. It is quick, healthy, and tasty.
Since I like to consume my dairy products raw whenever possible, I have been making my own homemade Greek yogurt from raw milk for several years now.
Follow along and I’ll show you an easy, low-mess way to make your own raw milk Greek yogurt using mason jars and a crockpot.
Why Make Homemade Greek Yogurt?
Homemade Greek yogurt, made from raw milk, surpasses store-bought yogurt any day of the week! While I love that I can buy good quality yogurt at my local grocery store (Nancy’s is my favorite brand), it does have the downside of not being raw.
Yes, there can still be live active cultures that are added in after the milk has been pasteurized, but if you’ve read my post about raw milk, you’ll understand why I like to keep my milk unpasteurized.
You can read more about raw milk here:
Since I have not come across anyone selling raw milk Greek yogurt in my area, I stick to making it myself!
In addition to the type of milk that is used, I also enjoy making homemade Greek yogurt because I can easily avoid unwanted ingredients that may be disclosed or undisclosed, I save money (see here for the cost-benefit analysis), and I have gained a very practical kitchen skill.
With how easy it is to buy everything already made at grocery stores, there is the trade-off of losing practical life skills. Learning how to cook from scratch and ferment your own food increases your awareness of how food is actually made, or at least supposed to be made.
What is the Difference Between Greek Yogurt and Regular Yogurt?
While Greek yogurt and regular yogurt are both fermented dairy products, Greek yogurt differs from regular yogurt in it’s taste, texture, and protein content.
Greek yogurt is usually thicker and has a bit more of a tangier taste than regular yogurt. This taste and texture difference is due to Greek yogurt having the whey strained from it.
Due to the straining process of removing the whey, Greek yogurt is much more dense than regular yogurt, which is why it has a higher protein content.
The one downside to Greek yogurt, at least as far as making it goes, is that it takes more milk to make Greek yogurt than regular yogurt due to straining the whey. After straining the whey, your volume of yogurt has been reduced. I am personally not bothered by this because I love the taste and texture of Greek yogurt much more so than regular yogurt.
What are the Different Ways to Culture Homemade Greek Yogurt?
There are three ways you can make homemade Greek yogurt (that I am aware of).
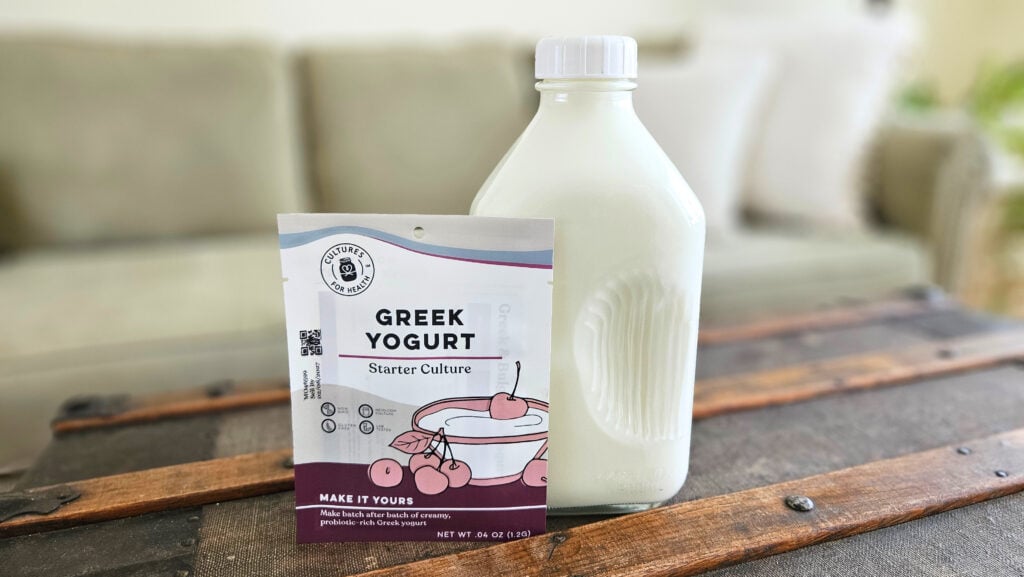
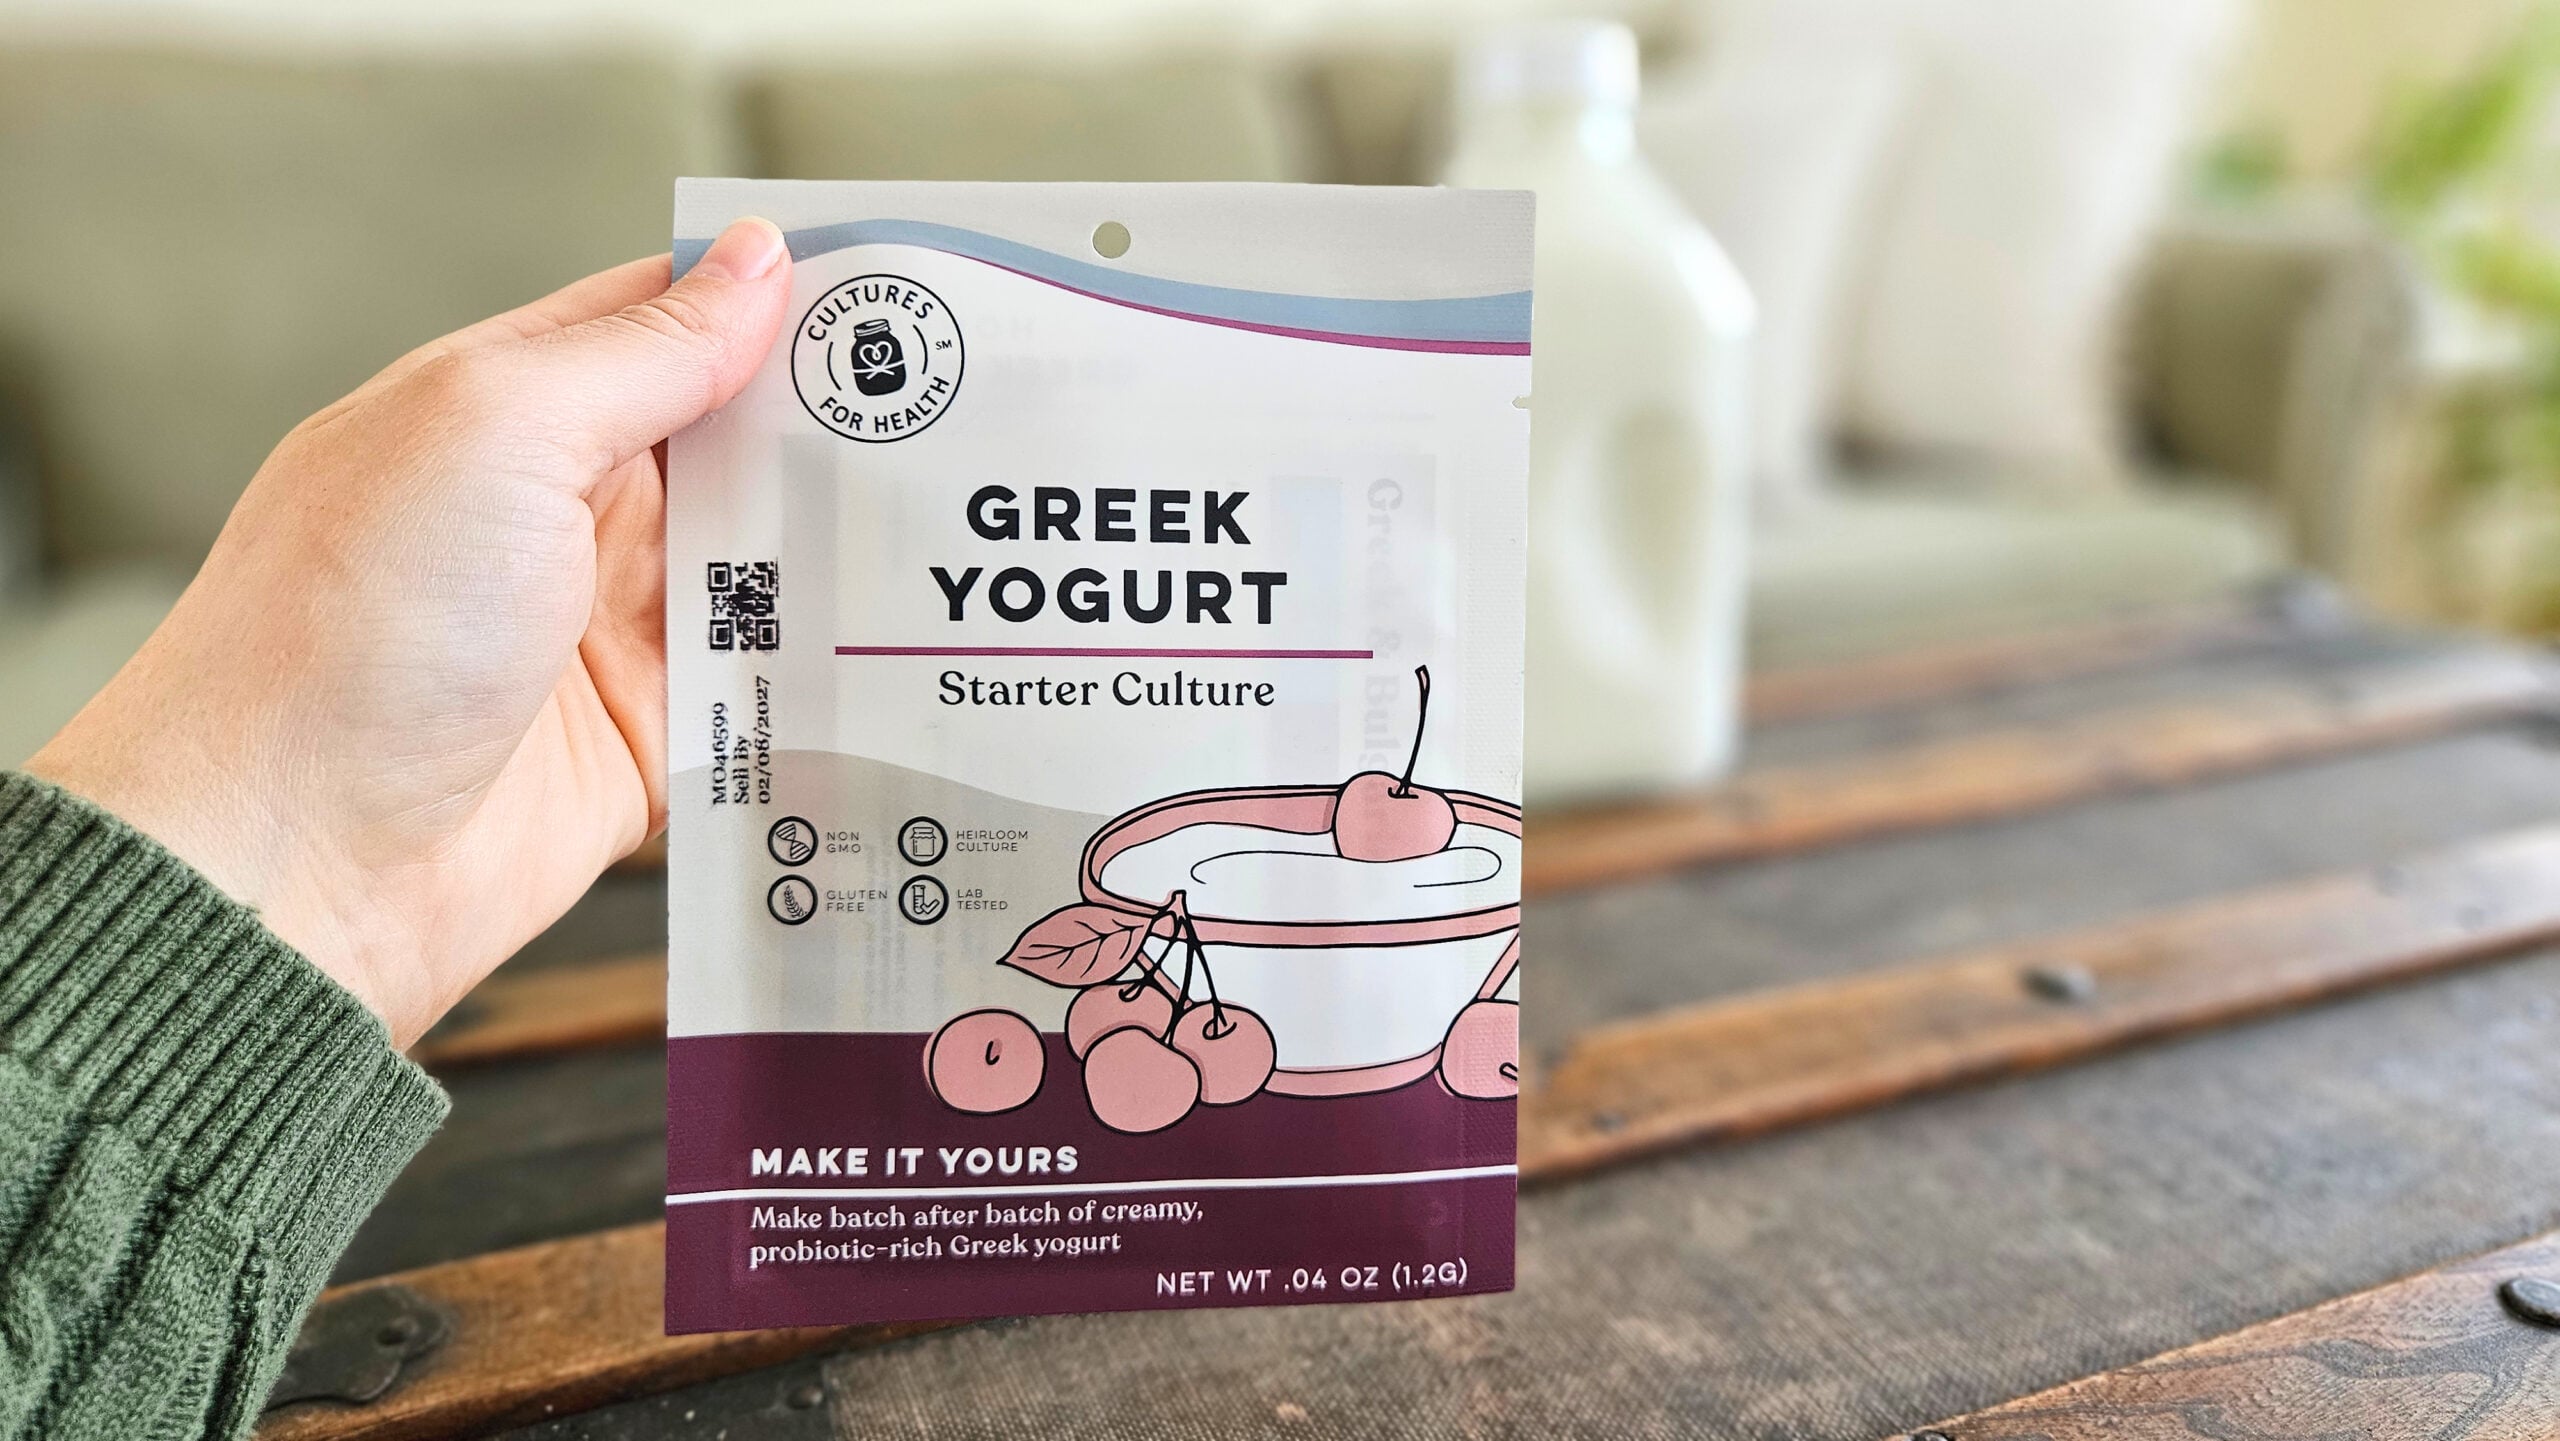
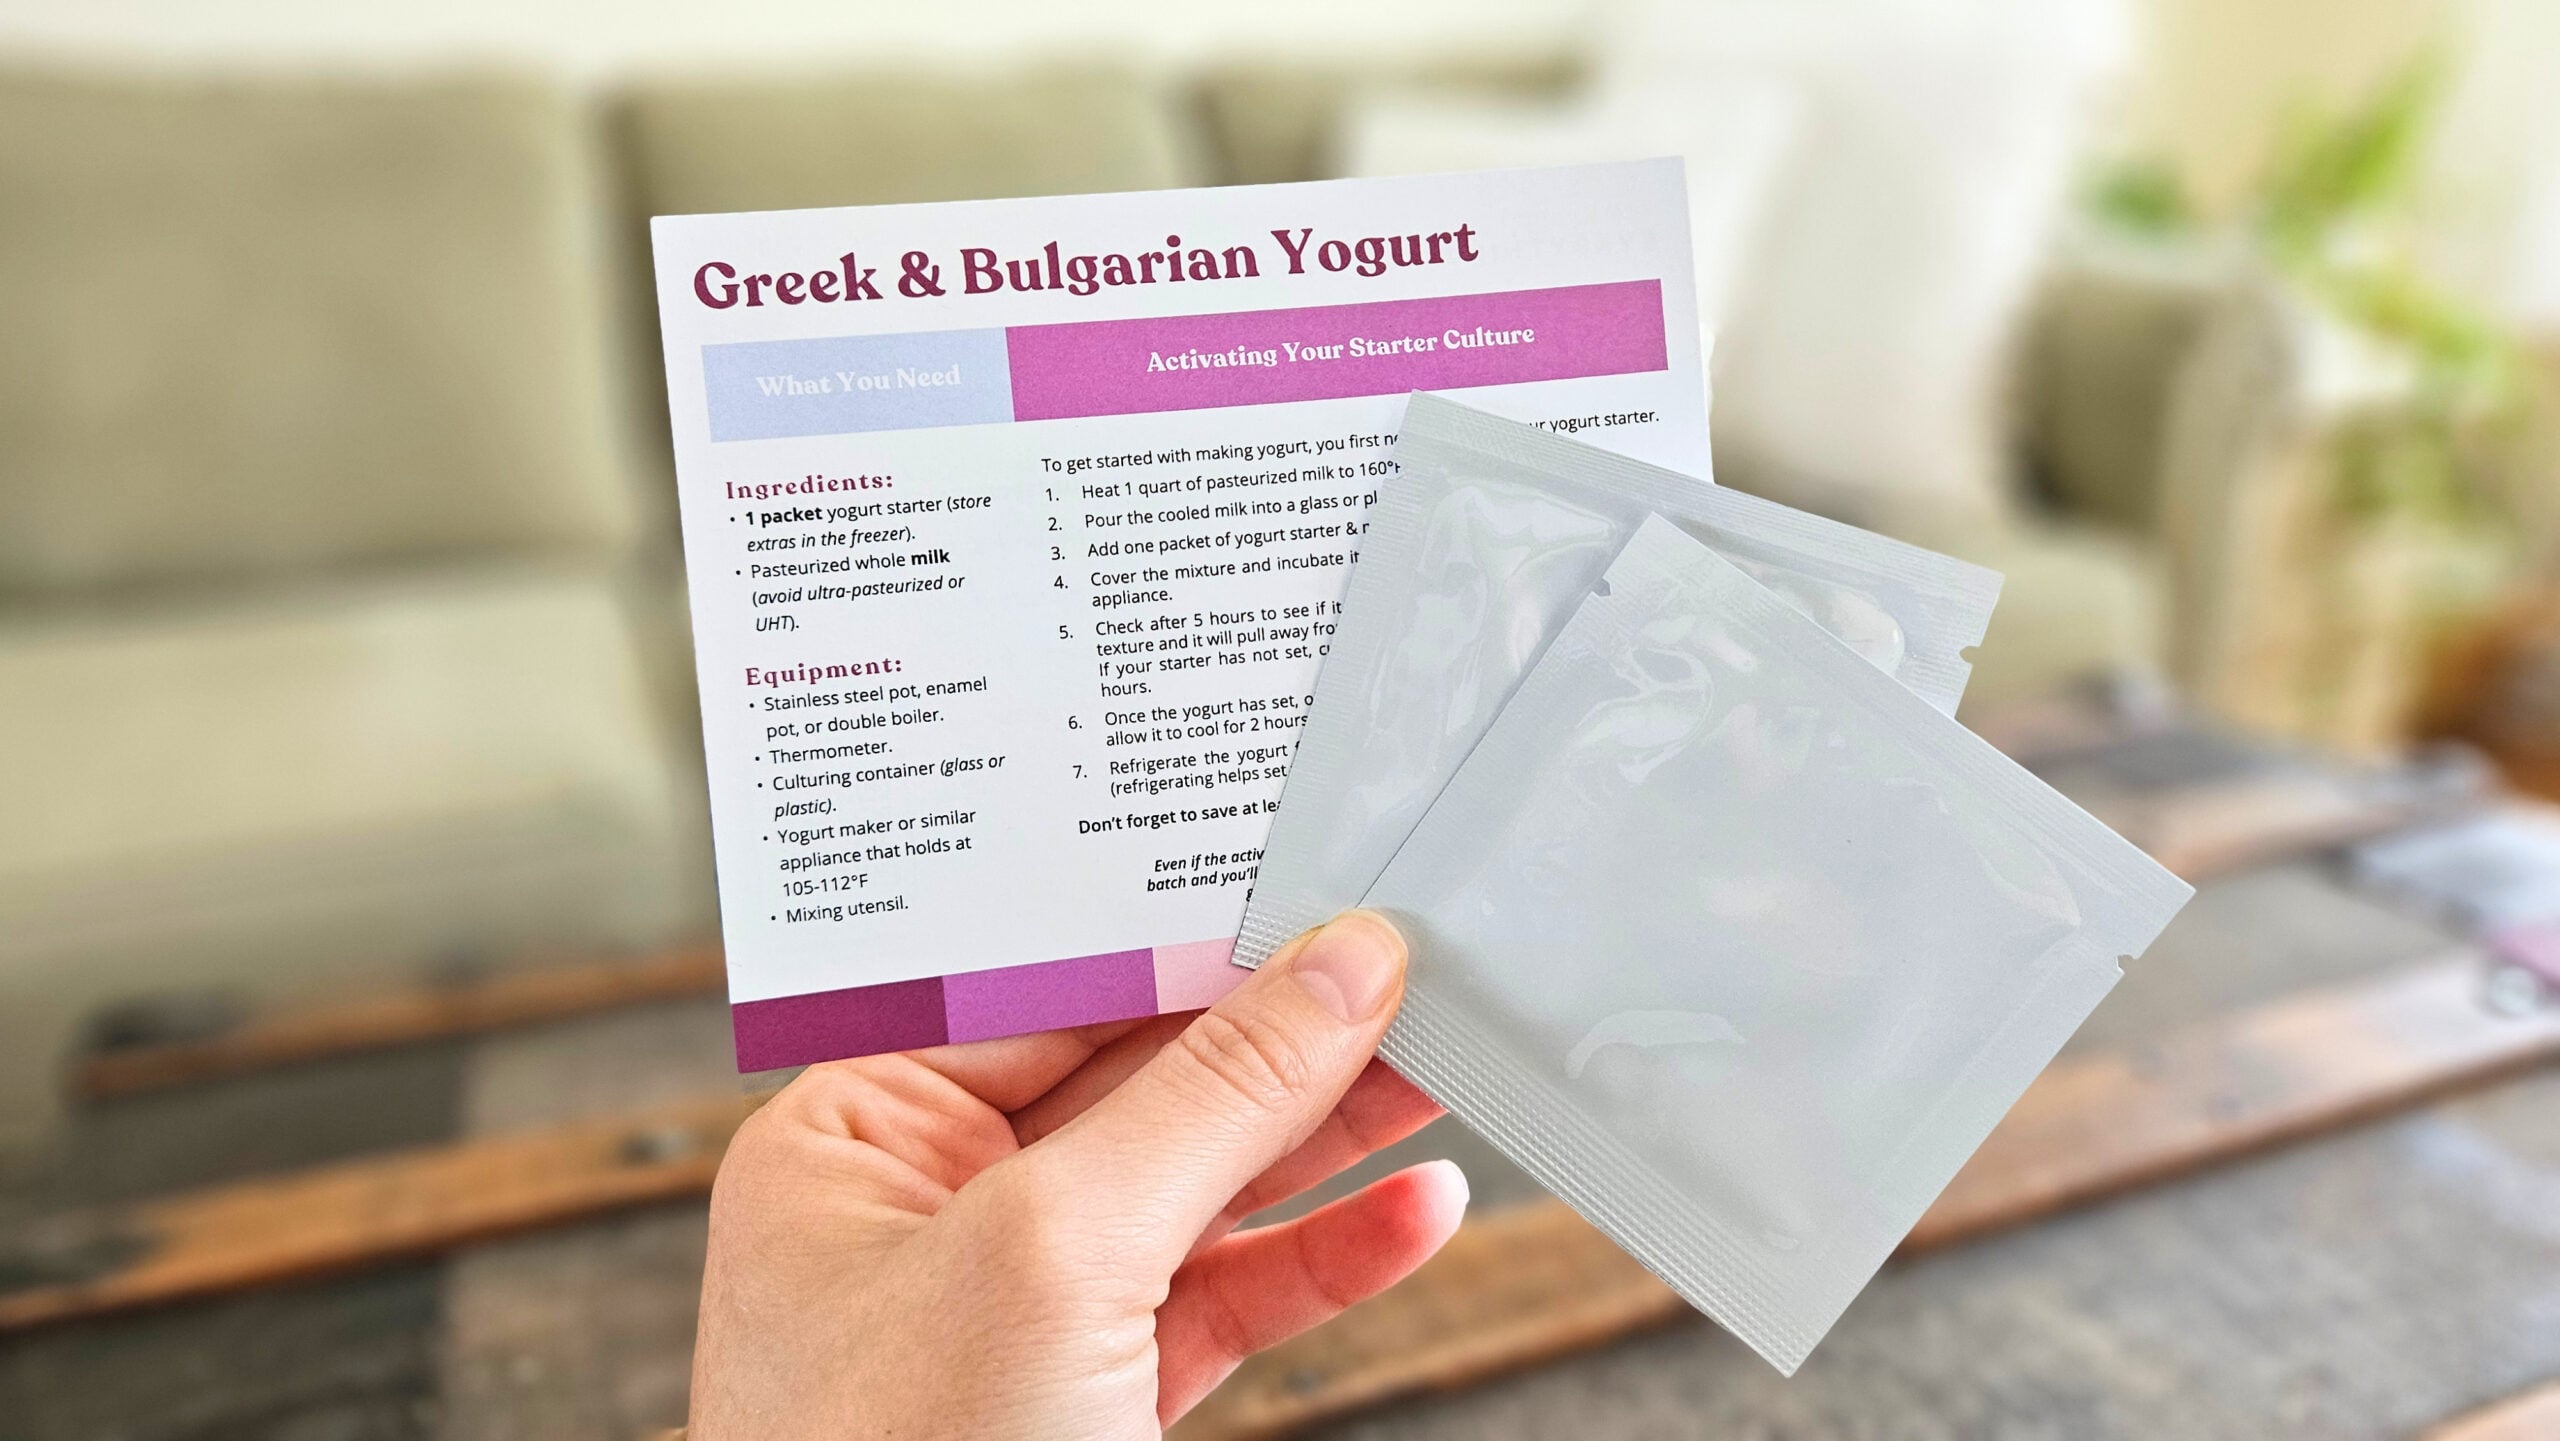
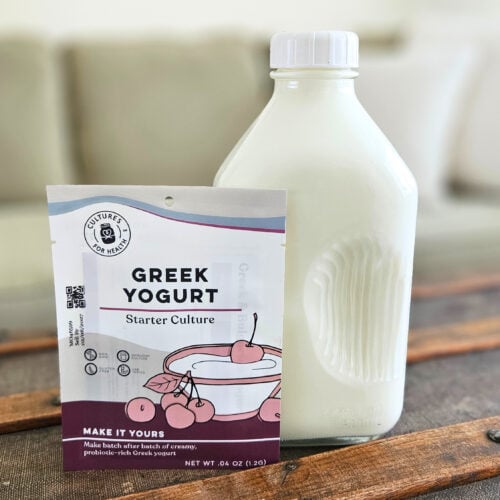
The first way you can make Greek yogurt at home is by using a starter culture. I bought my Greek yogurt starter culture from Cultures for Health. It is an heirloom culture that is non-GMO, gluten-free, and lab tested. Heirloom cultures tend to have more strains of beneficial bacteria in comparison to commercial starters, making this my favorite method of making yogurt.
Additionally, heirloom cultures can be re-cultured indefinitely, as long as you are making fresh batches every 7 days. Re-culturing just means saving enough yogurt from one batch, to then culture the next batch. That is a commitment to keep it going, but with how frequently my husband and I eat Greek yogurt, it actually makes sense to make it once a week.
If you go this route of making Greek yogurt, simply follow the instructions included with the heirloom culture, and be sure to save a portion of yogurt from each batch. You only use the dried heirloom culture packet once, and then use the yogurt that is made from that to culture the next batch and so on.
Another method of making homemade Greek yogurt is by purchasing Greek yogurt from the store and using that as your beneficial bacteria to culture your milk. If you go this route, you need to be sure to buy yogurt that states it has “live active cultures”. My favorite brand of yogurt for doing this is Nancy’s.
The last method that I am aware of for making homemade Greek yogurt is by using probiotic capsules. I have not tried this yet, but it would make sense that you would need to buy probiotics with specific bacteria necessary for yogurt production. This is definitely on my list of things to try!
Raw Milk vs. Pasteurized Milk for Making Greek Yogurt
There are pros and cons to both raw milk and pasteurized milk when it comes to making homemade Greek yogurt.
Most recipes you come across, and even the Greek yogurt starter culture from Cultures for Health, will say in the instructions to use pasteurized milk. One of the reasons for this is because the bacteria in raw milk (since it is not a dead product) can sometimes interfere with the bacteria in a yogurt culture. While that makes sense on paper, and I’ve even seen this same argument applied to making milk kefir, I have never had a problem.
I make both my milk kefir and my Greek yogurt from raw milk and it always cultures, as long as the temperature is favorable for culturing. Temperature seems to be more important than the milk being pasteurized.
To learn how to make raw milk kefir, please see this recipe:
One of the positives that I hear about using pasteurized milk to make homemade yogurt is that the yogurt will be thicker when it’s done. I have never used pasteurized milk to make yogurt, but my homemade yogurt, whether it’s Greek or another variety, does tend to be a little runny. That seems to be standard with raw milk yogurt.
However, I would rather have slightly runny yogurt that needs to be strained than to take dead milk and try to bring it to life with yogurt cultures. In principle, I like sticking with my raw milk.
Additionally, since I make Greek yogurt, and Greek yogurt is only Greek yogurt because the whey has been strained from it (not because thickeners have been added), then whether I use raw milk or pasteurized milk is irrelevant for me because either way I will be straining my yogurt.
The straining process is an extra step, but it’s not difficult and it produces a great final product that is thick and flavorful.
If you want to check out some ways to use the whey that is acquired through the straining process, please see here:
How to Make Raw Milk Greek Yogurt
Simple step-by-step instructions for making homemade Greek yogurt with a low-mess process. This recipe has been reduced to using 1 quart of milk just for ease of demonstration. You can easily multiply this and make as much as can fit in your crockpot. My crockpot can hold 4 quarts at a time.
Ingredients
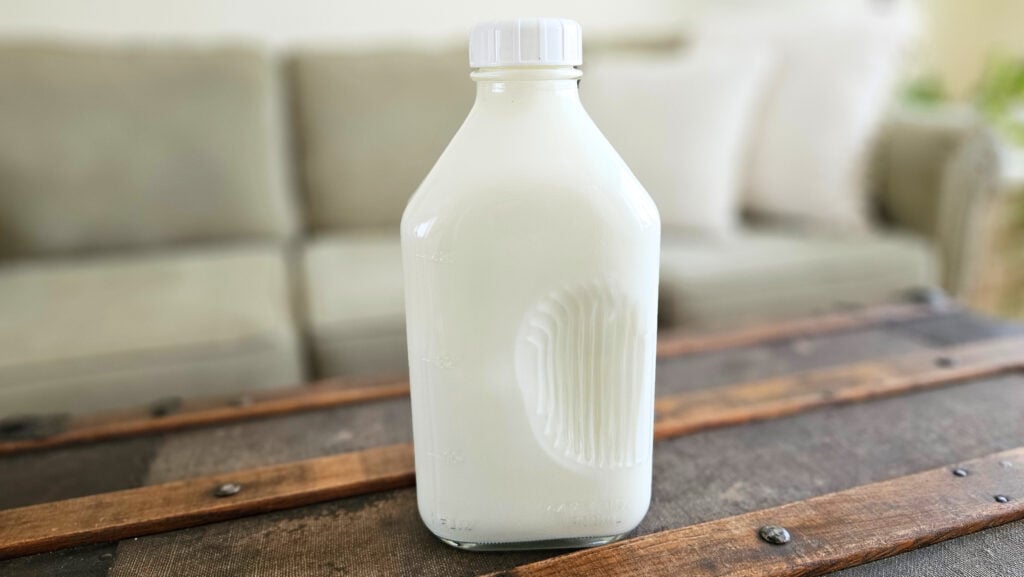
- 1 quart of raw milk
- 1 tbsp yogurt (from a previous batch of homemade yogurt or from store-bought yogurt with live active cultures)
- water
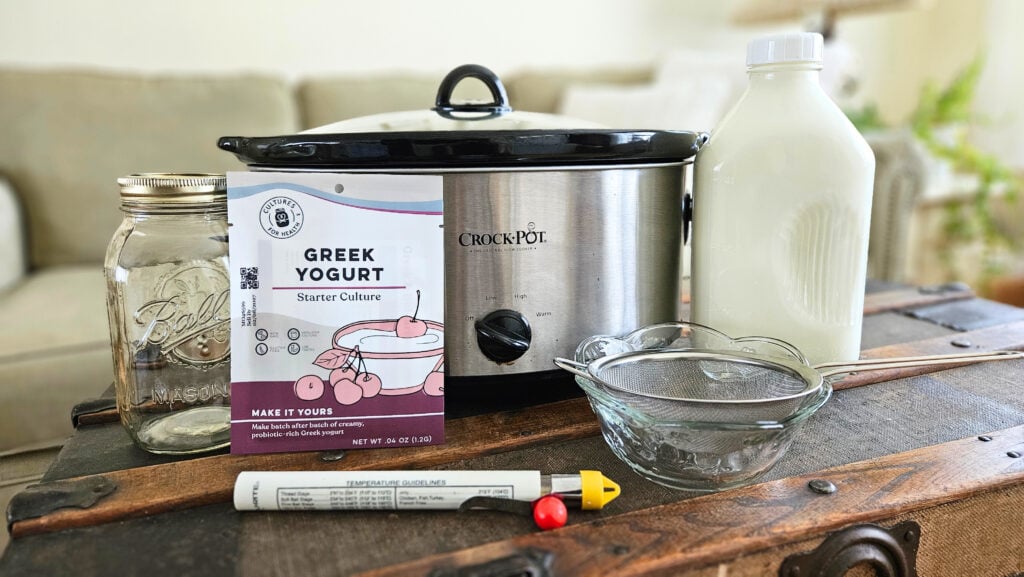
Equipment
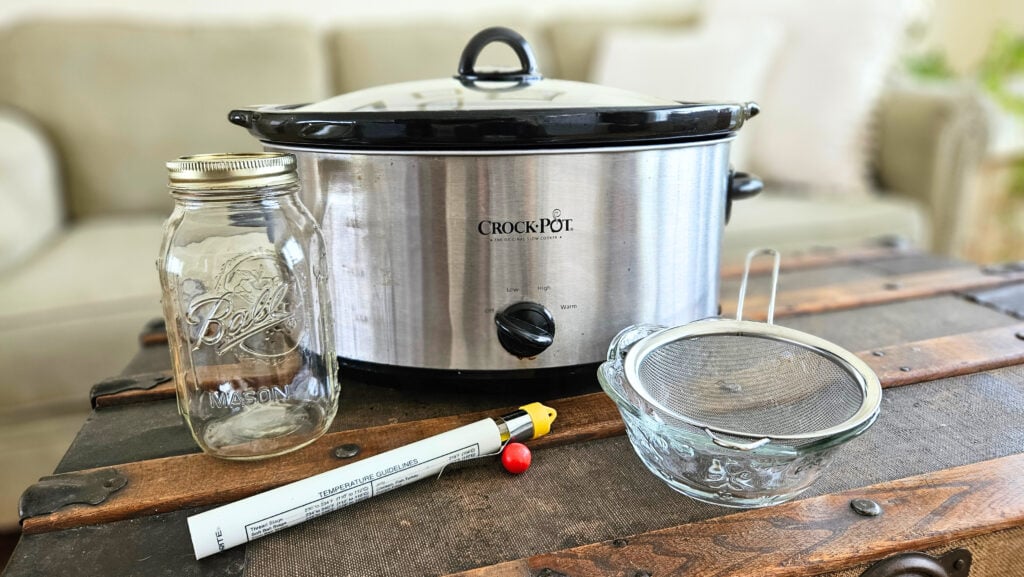
- 1 quart size mason jar
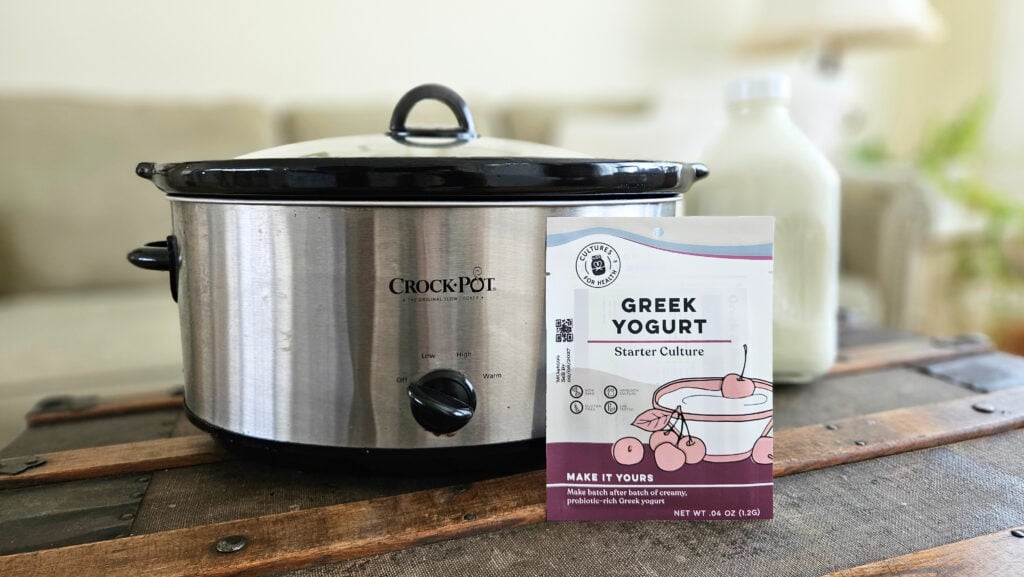
- 1 crockpot
- 1 bowl
- 1 fine mesh strainer
- 1 thermometer (optional)
Instructions
Tap/click the images for a description of each step ⬇️
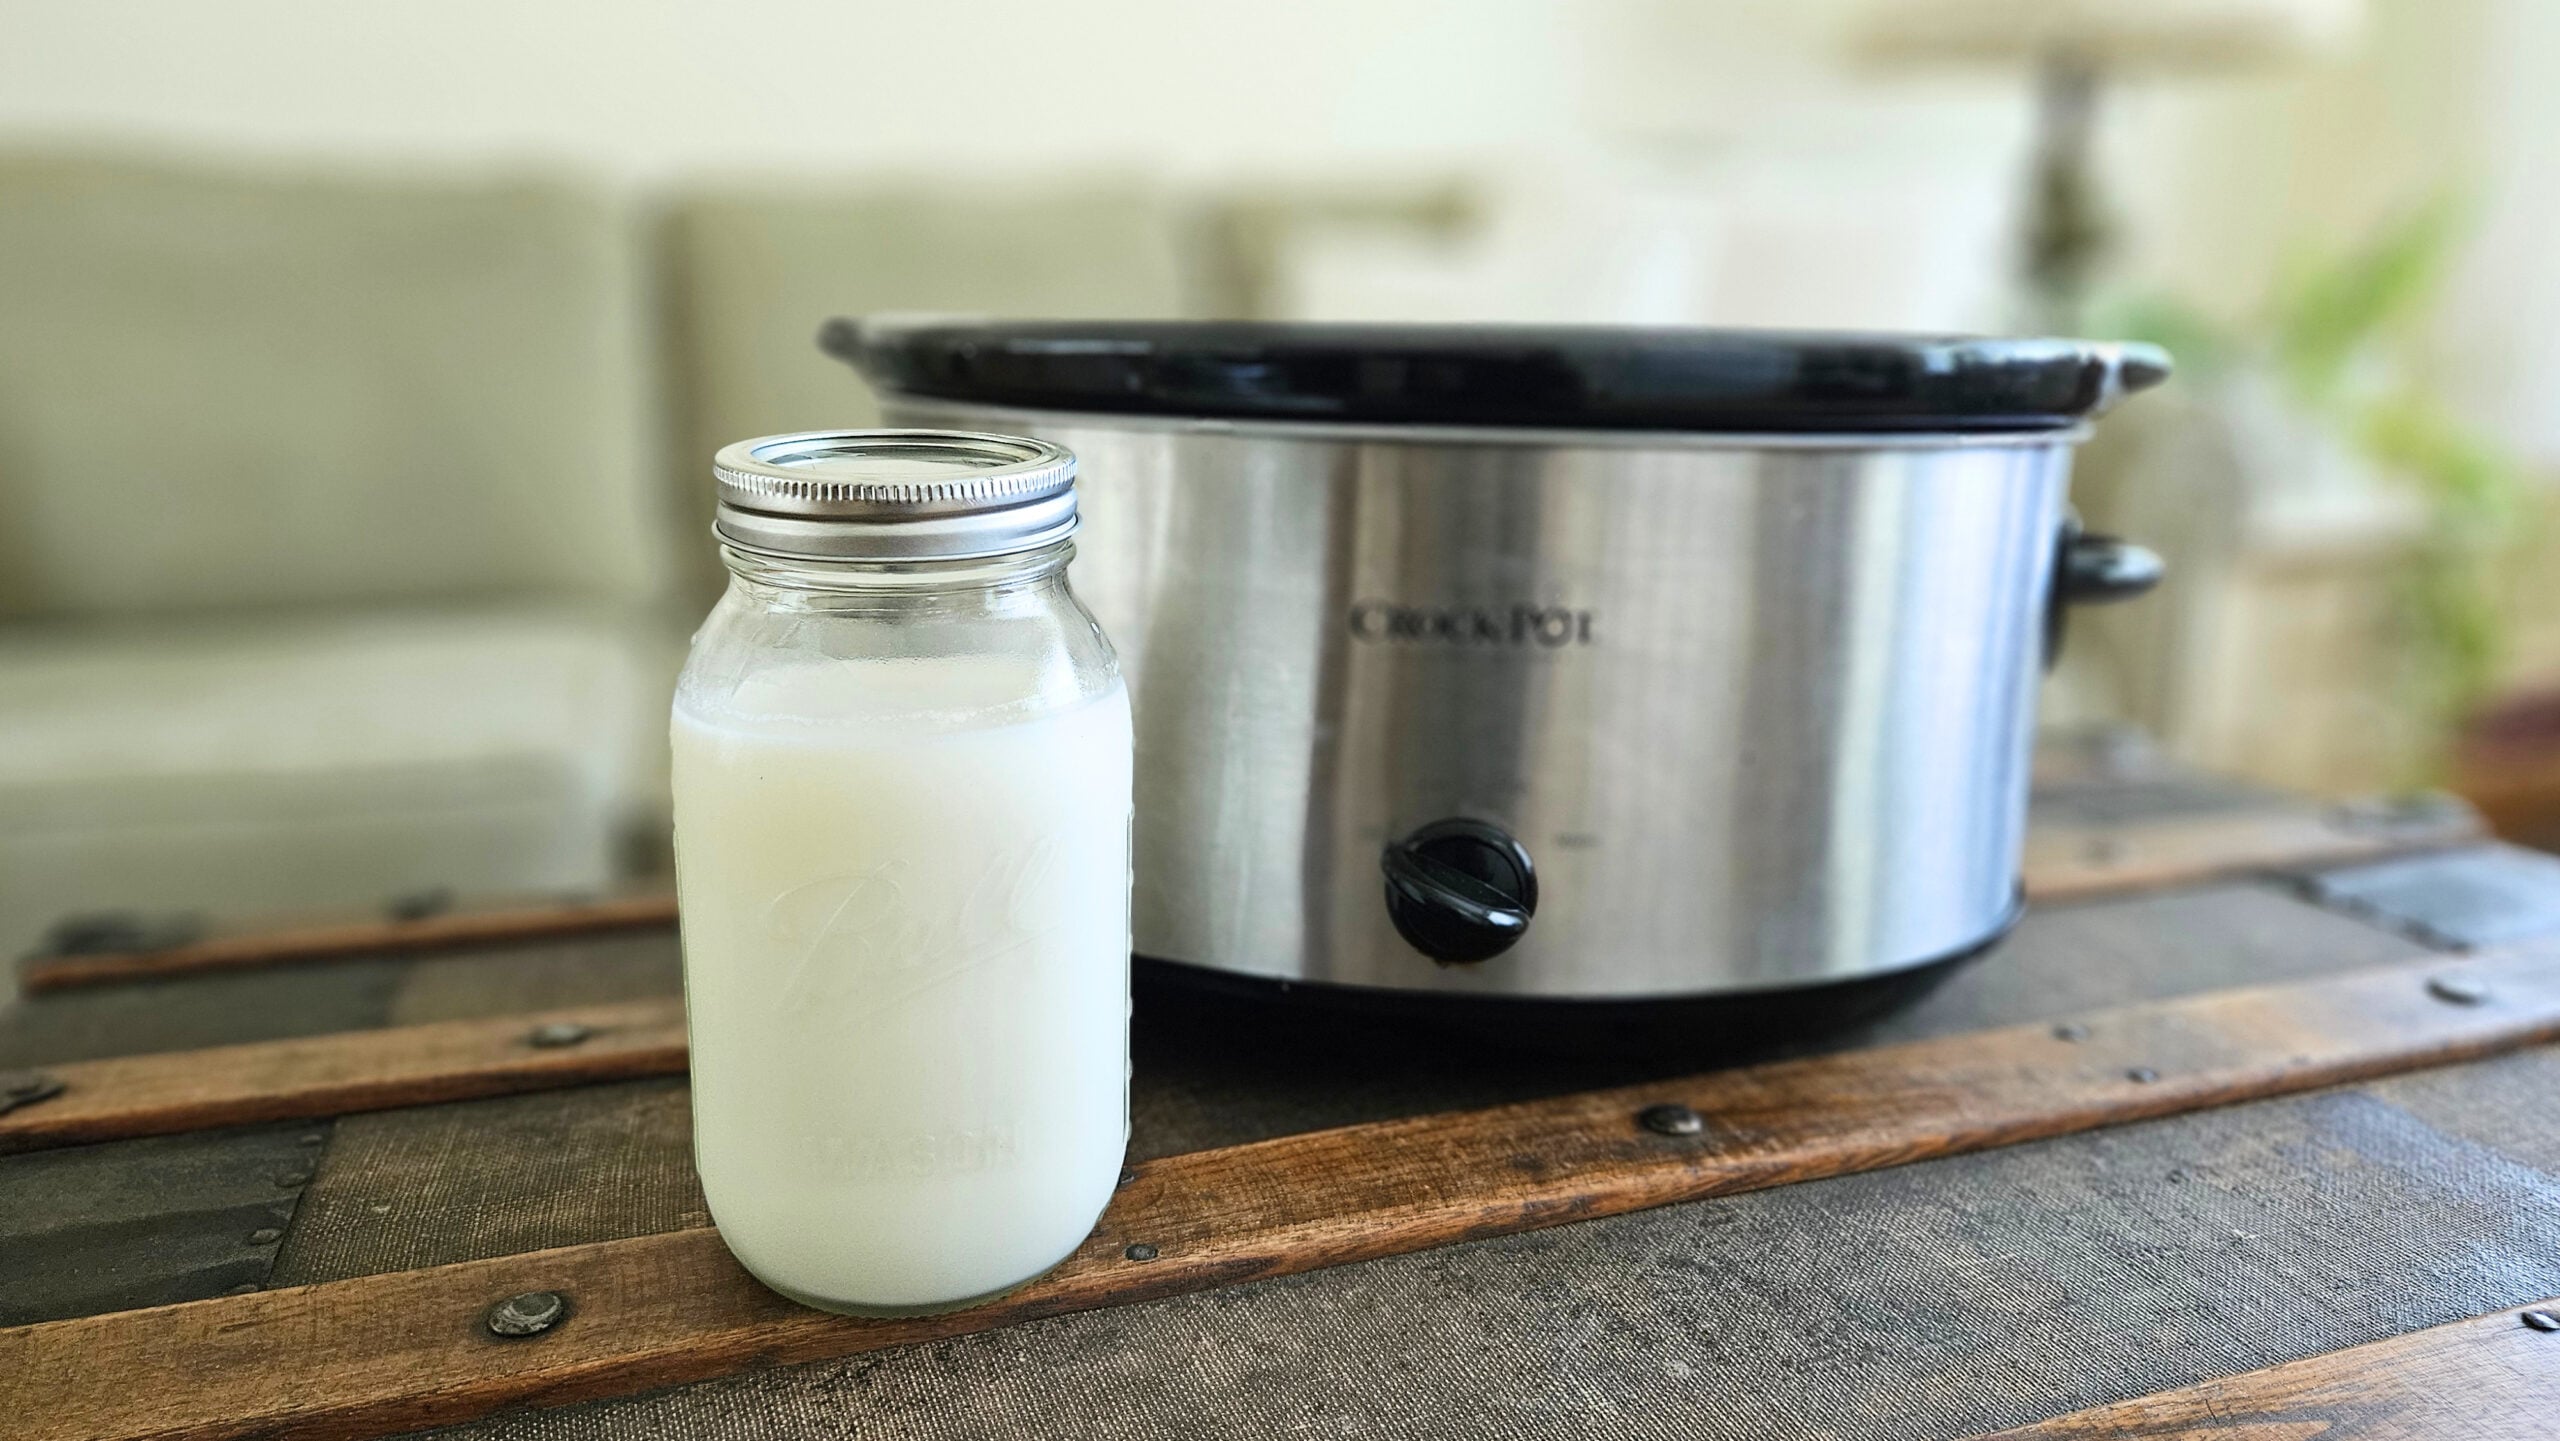
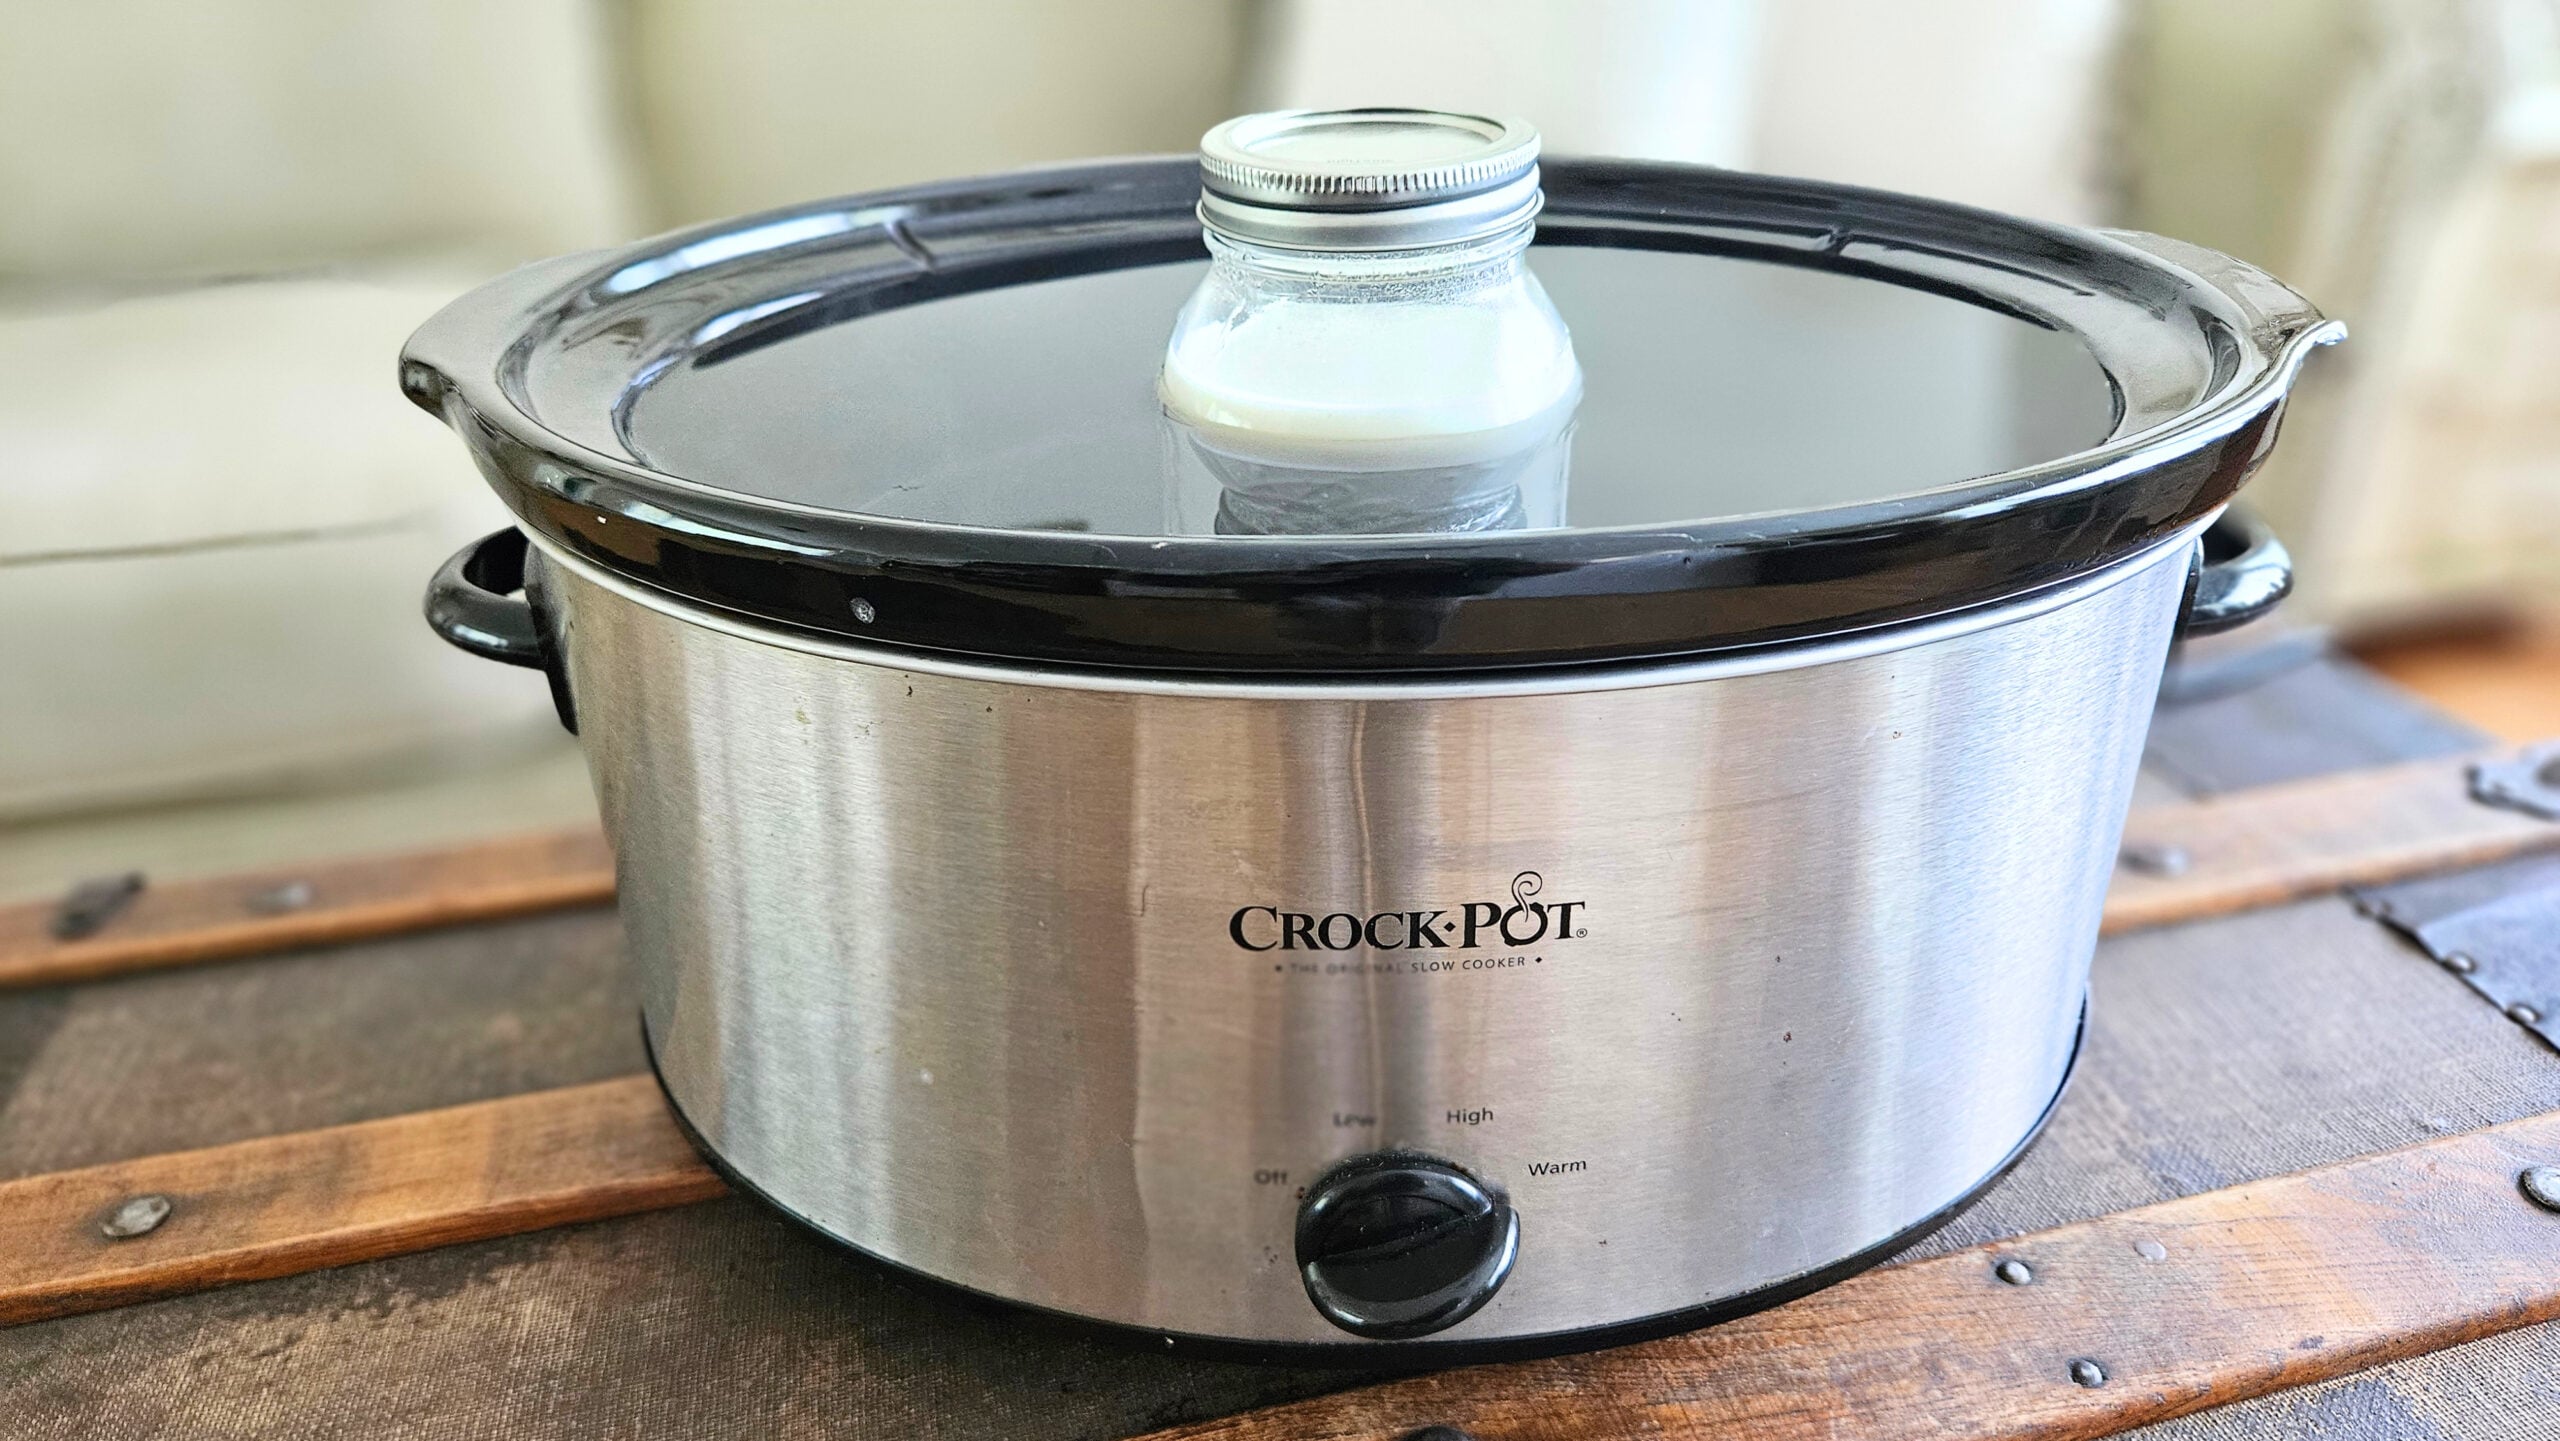

Step #1: Start by pouring your cold raw milk into a quart size mason jar. Close with a lid and place in your crockpot.
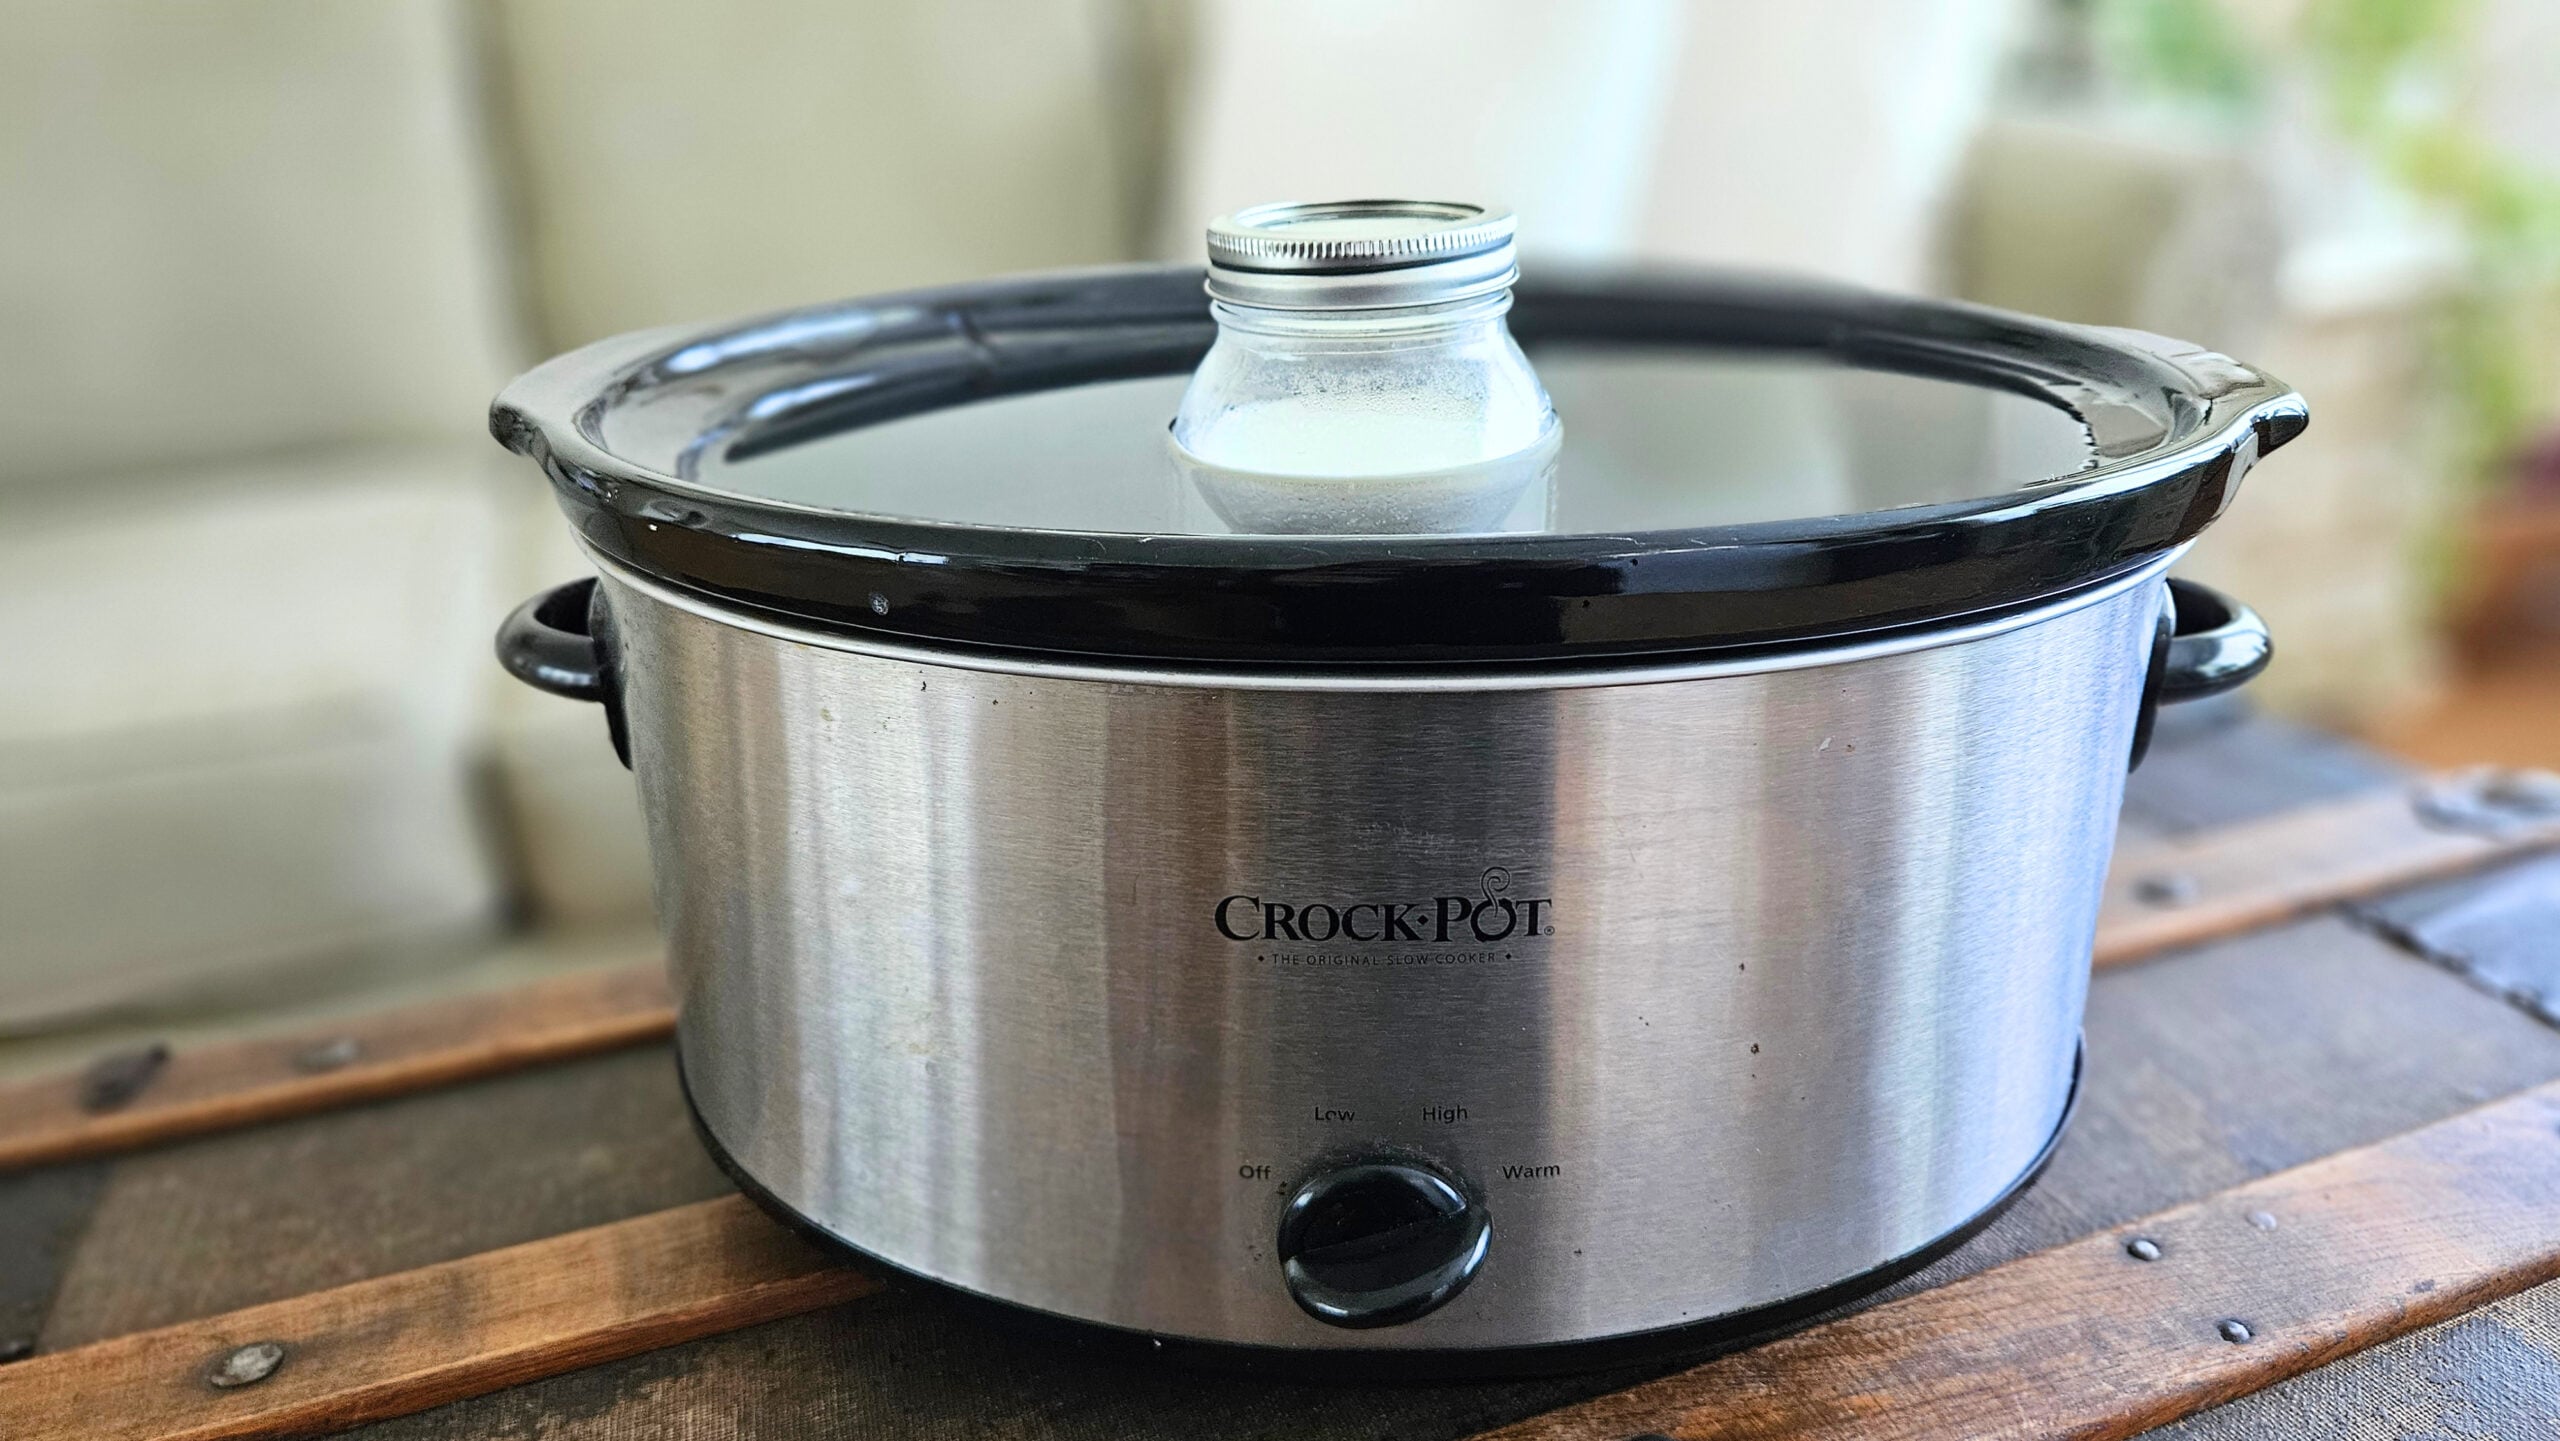
Step #2: Next, fill your crockpot with water until it reaches the top. The water should be below the lid of your mason jar. Set the crockpot to warm.
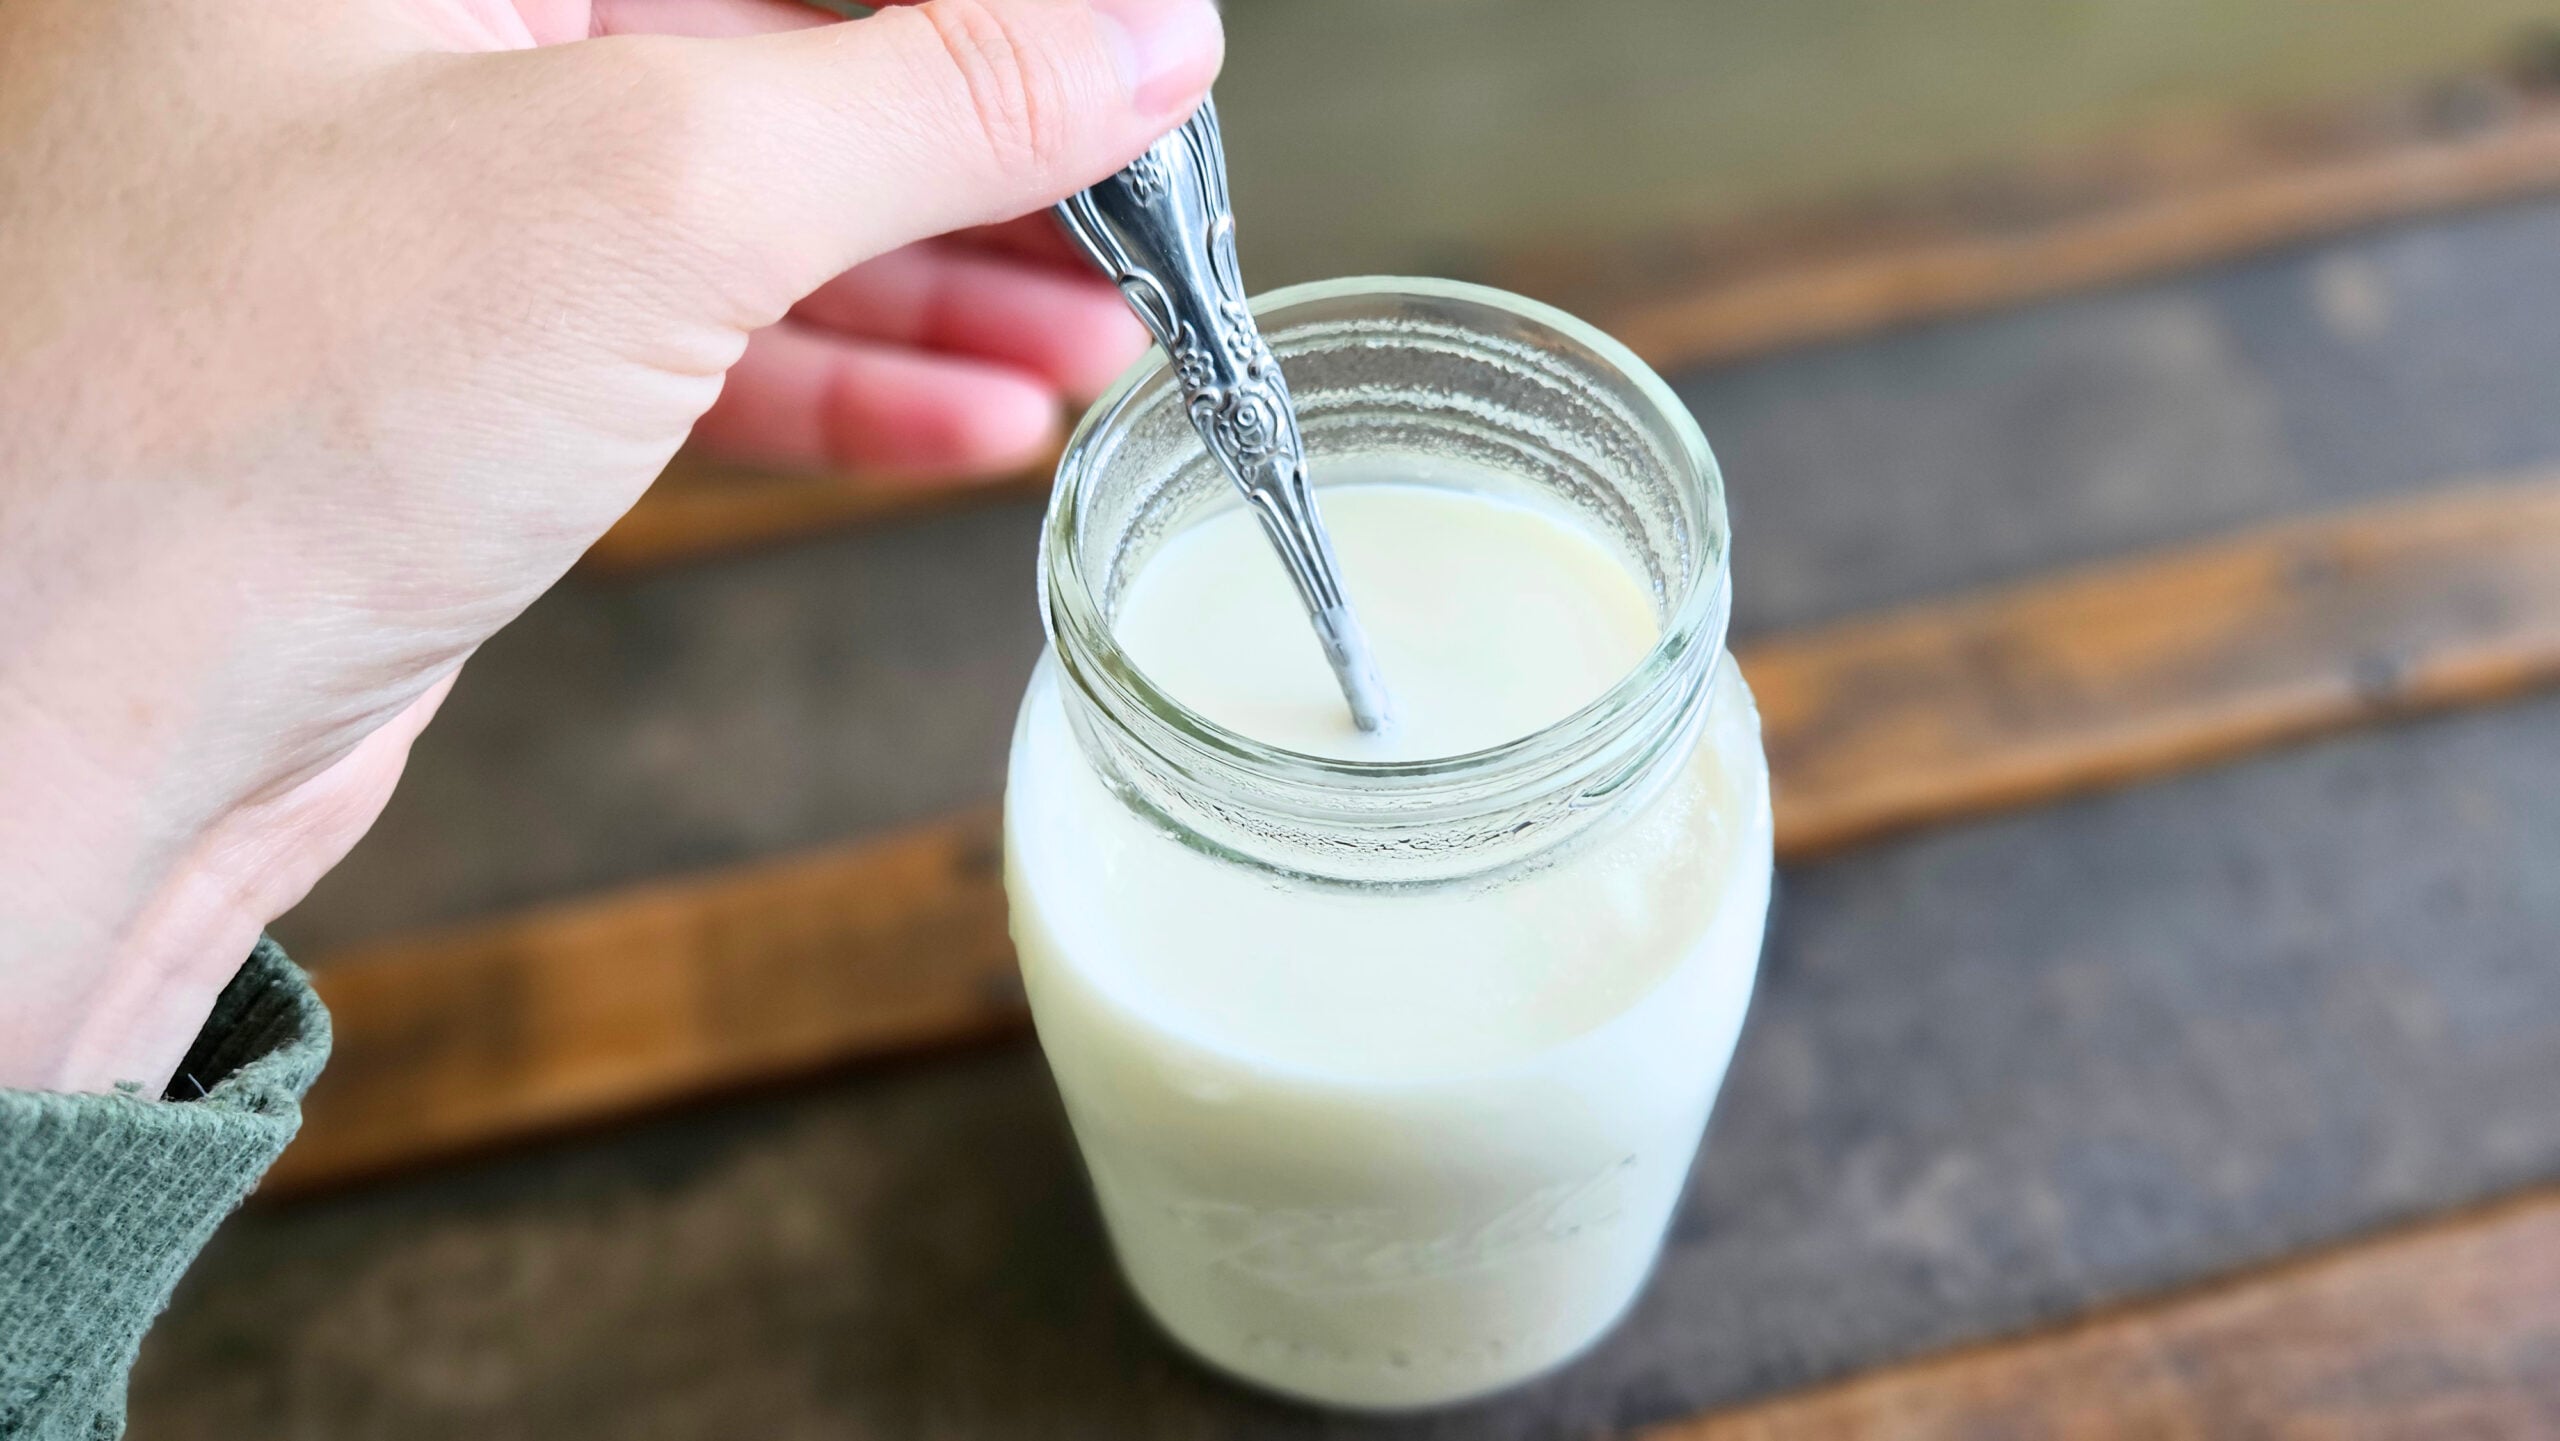
Step #3: After 2 hours on warm, take your quart size mason jar out of the crockpot and add in 1 tbsp of yogurt. Stir in the yogurt to mix it well with the raw milk. Then, place your mason jar back in the crockpot and leave the crockpot on warm.
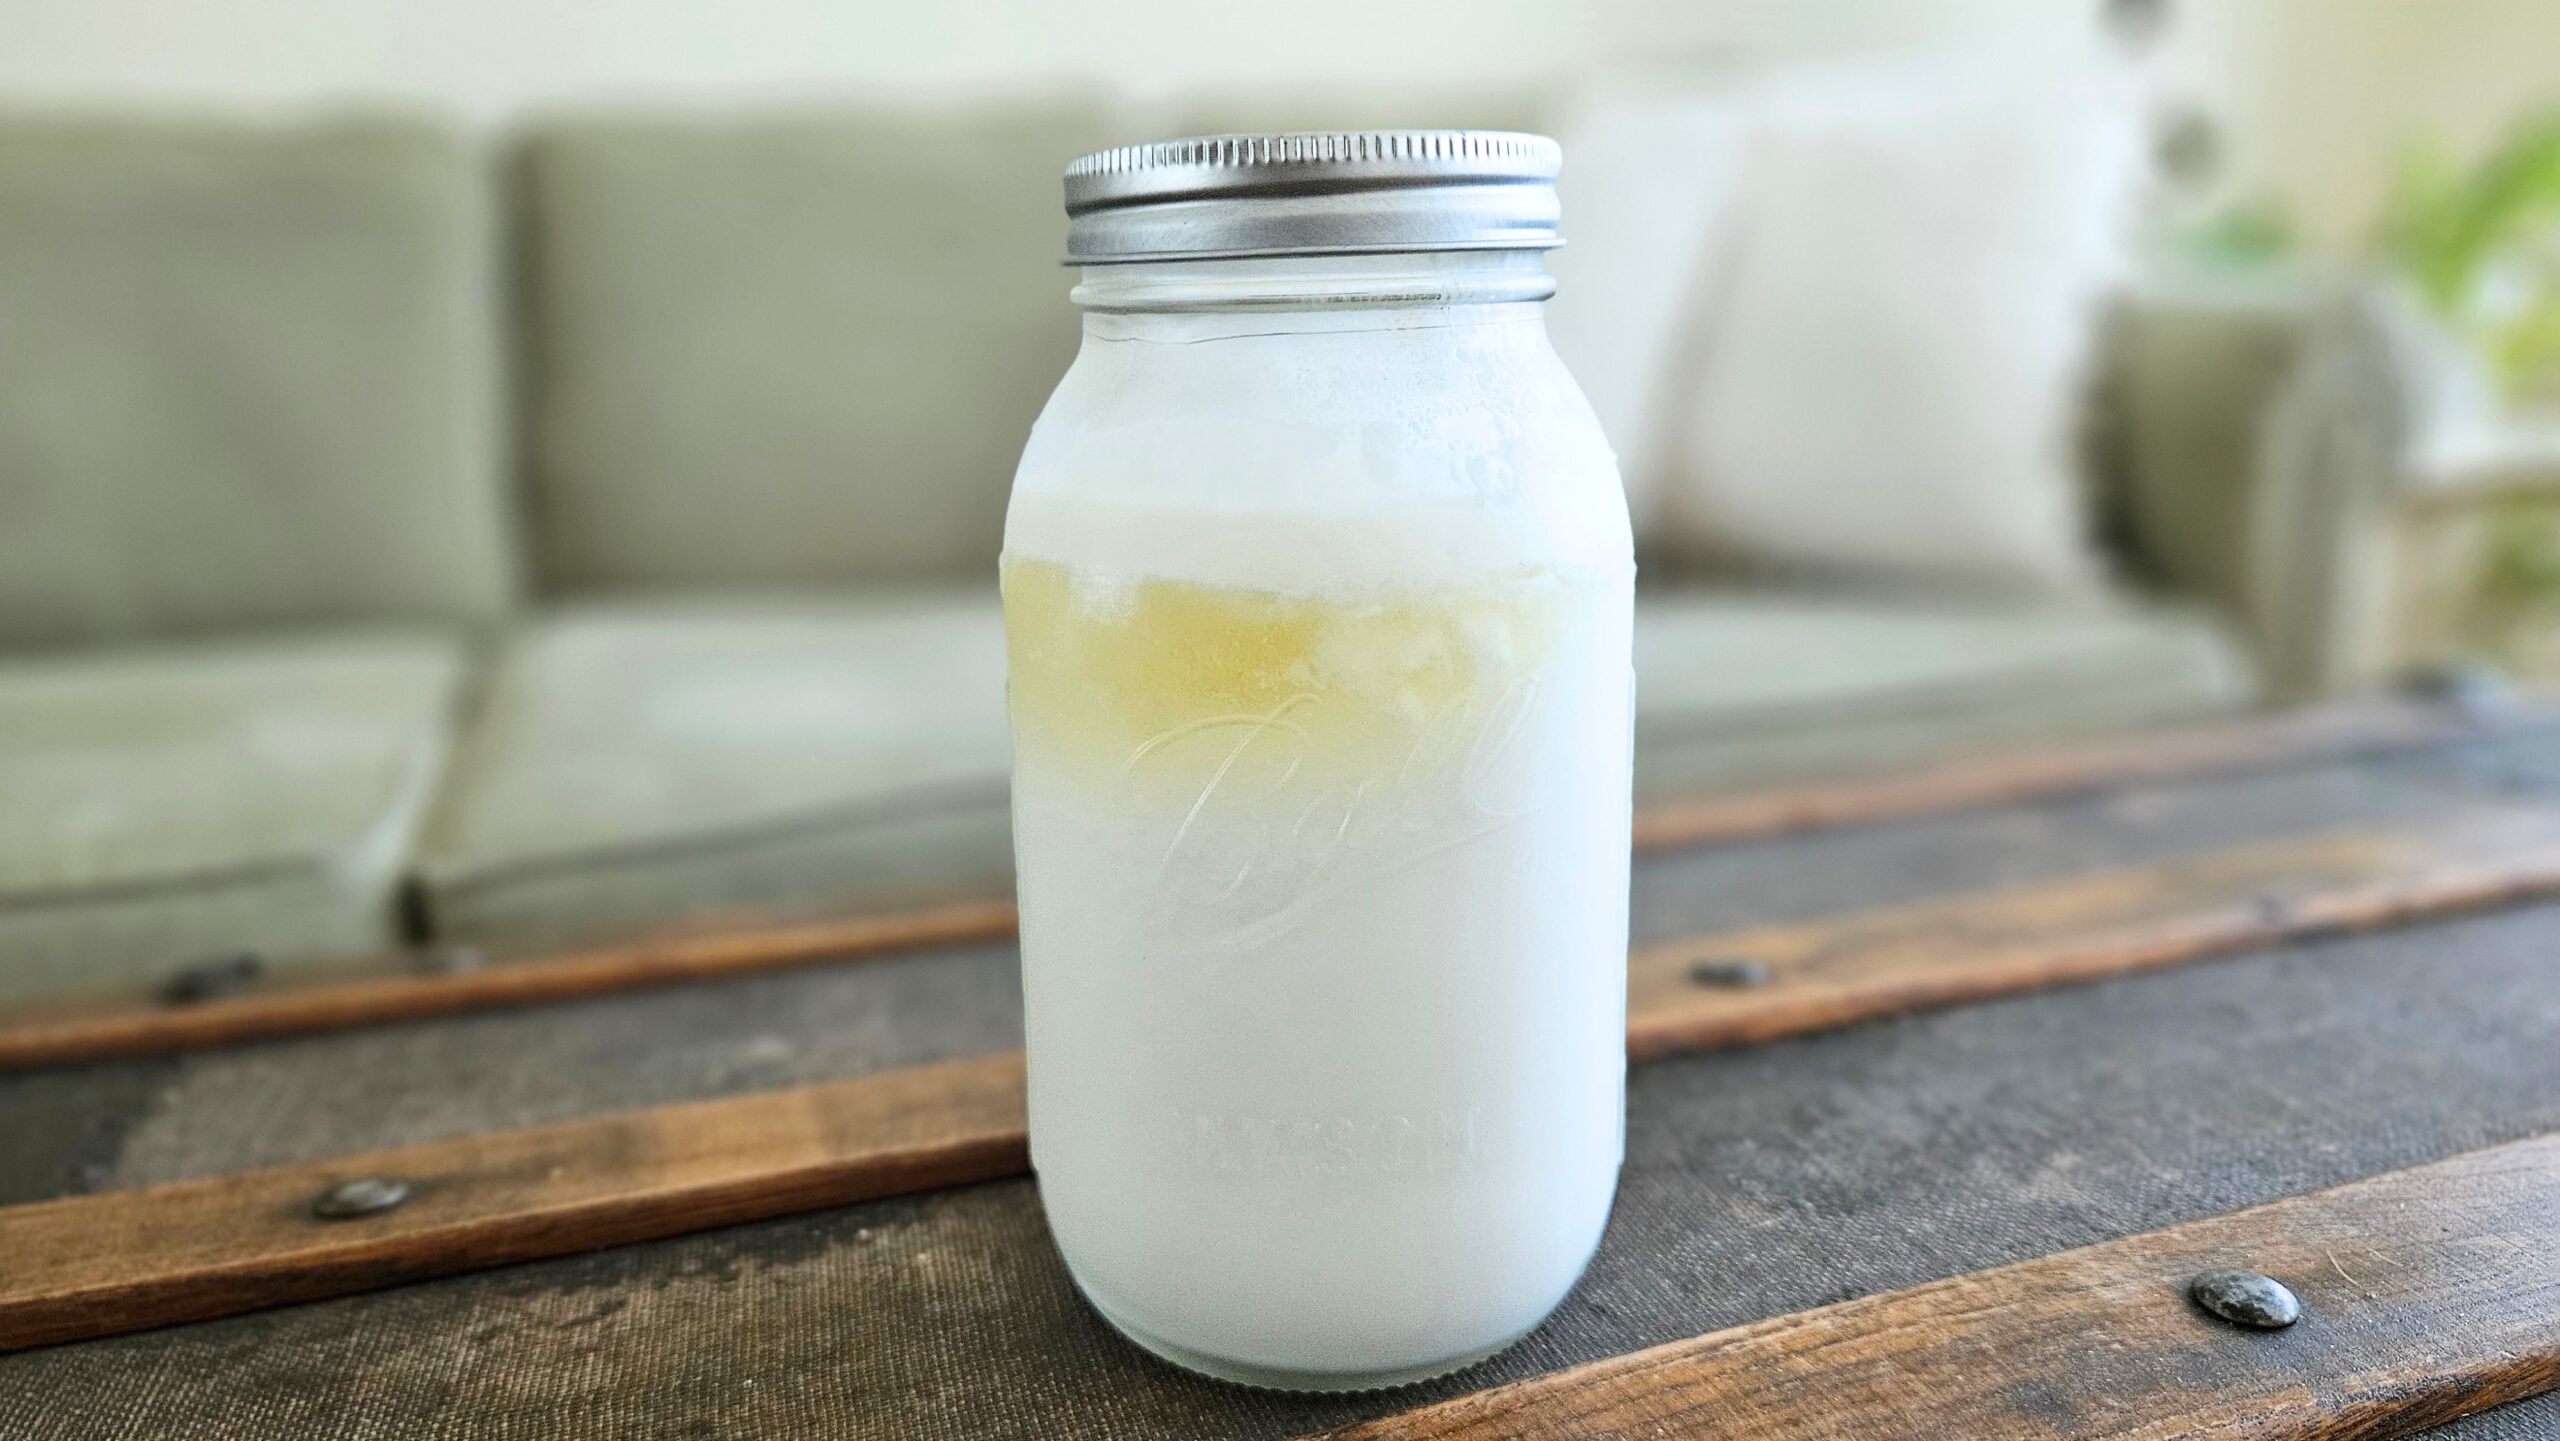
Step #4: After about 6-8 hours (timing may vary), the raw milk should now be cultured into yogurt. If you take the mason jar out of the crockpot and tilt it, you should see that it has solidified and it will jiggle a little. You may also notice some whey separation.
Step #5: Allow your mason jar yogurt to cool on the counter. After it has reached room temperature, place in the refrigerator overnight, or for 12-24 hours.
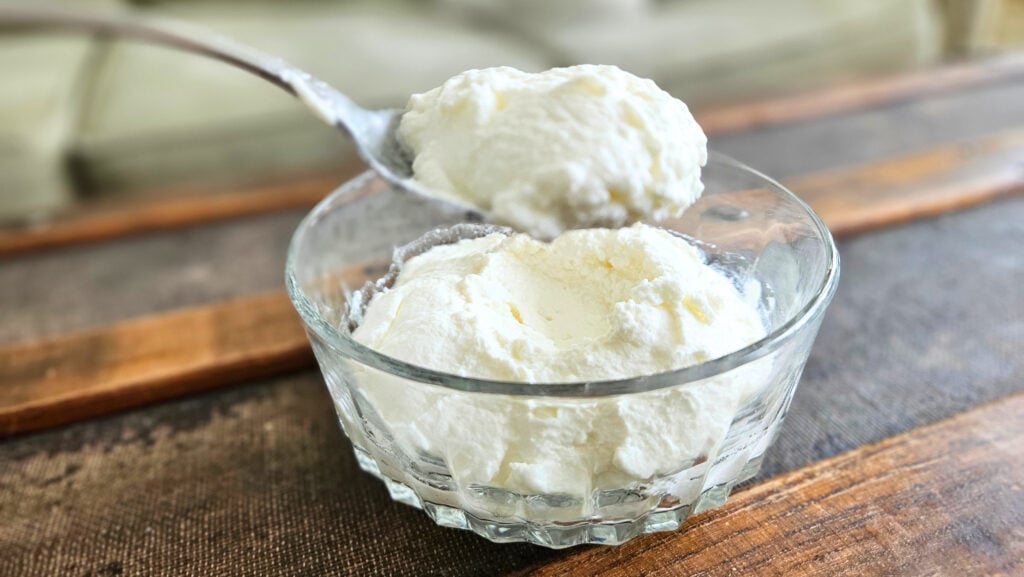
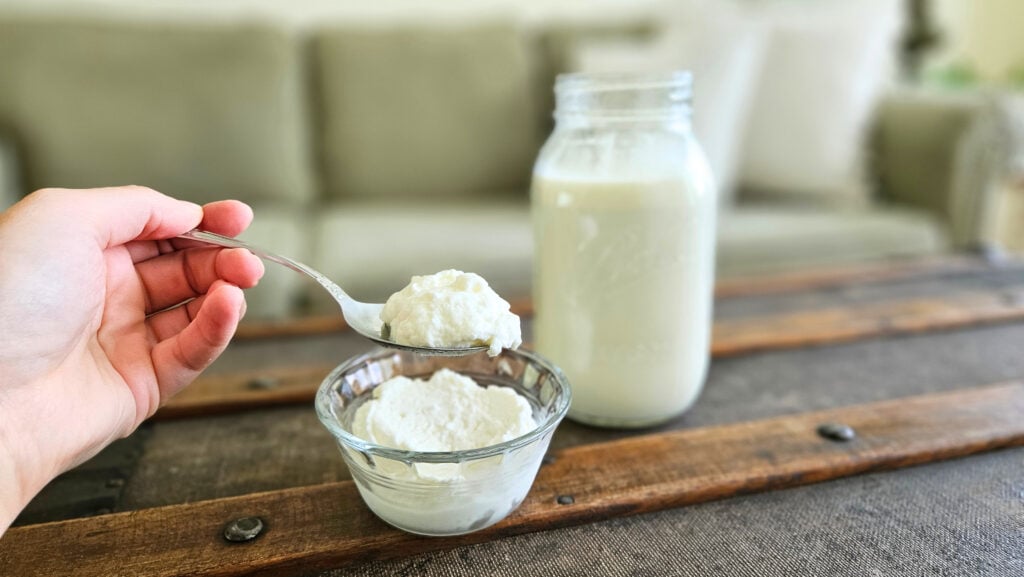
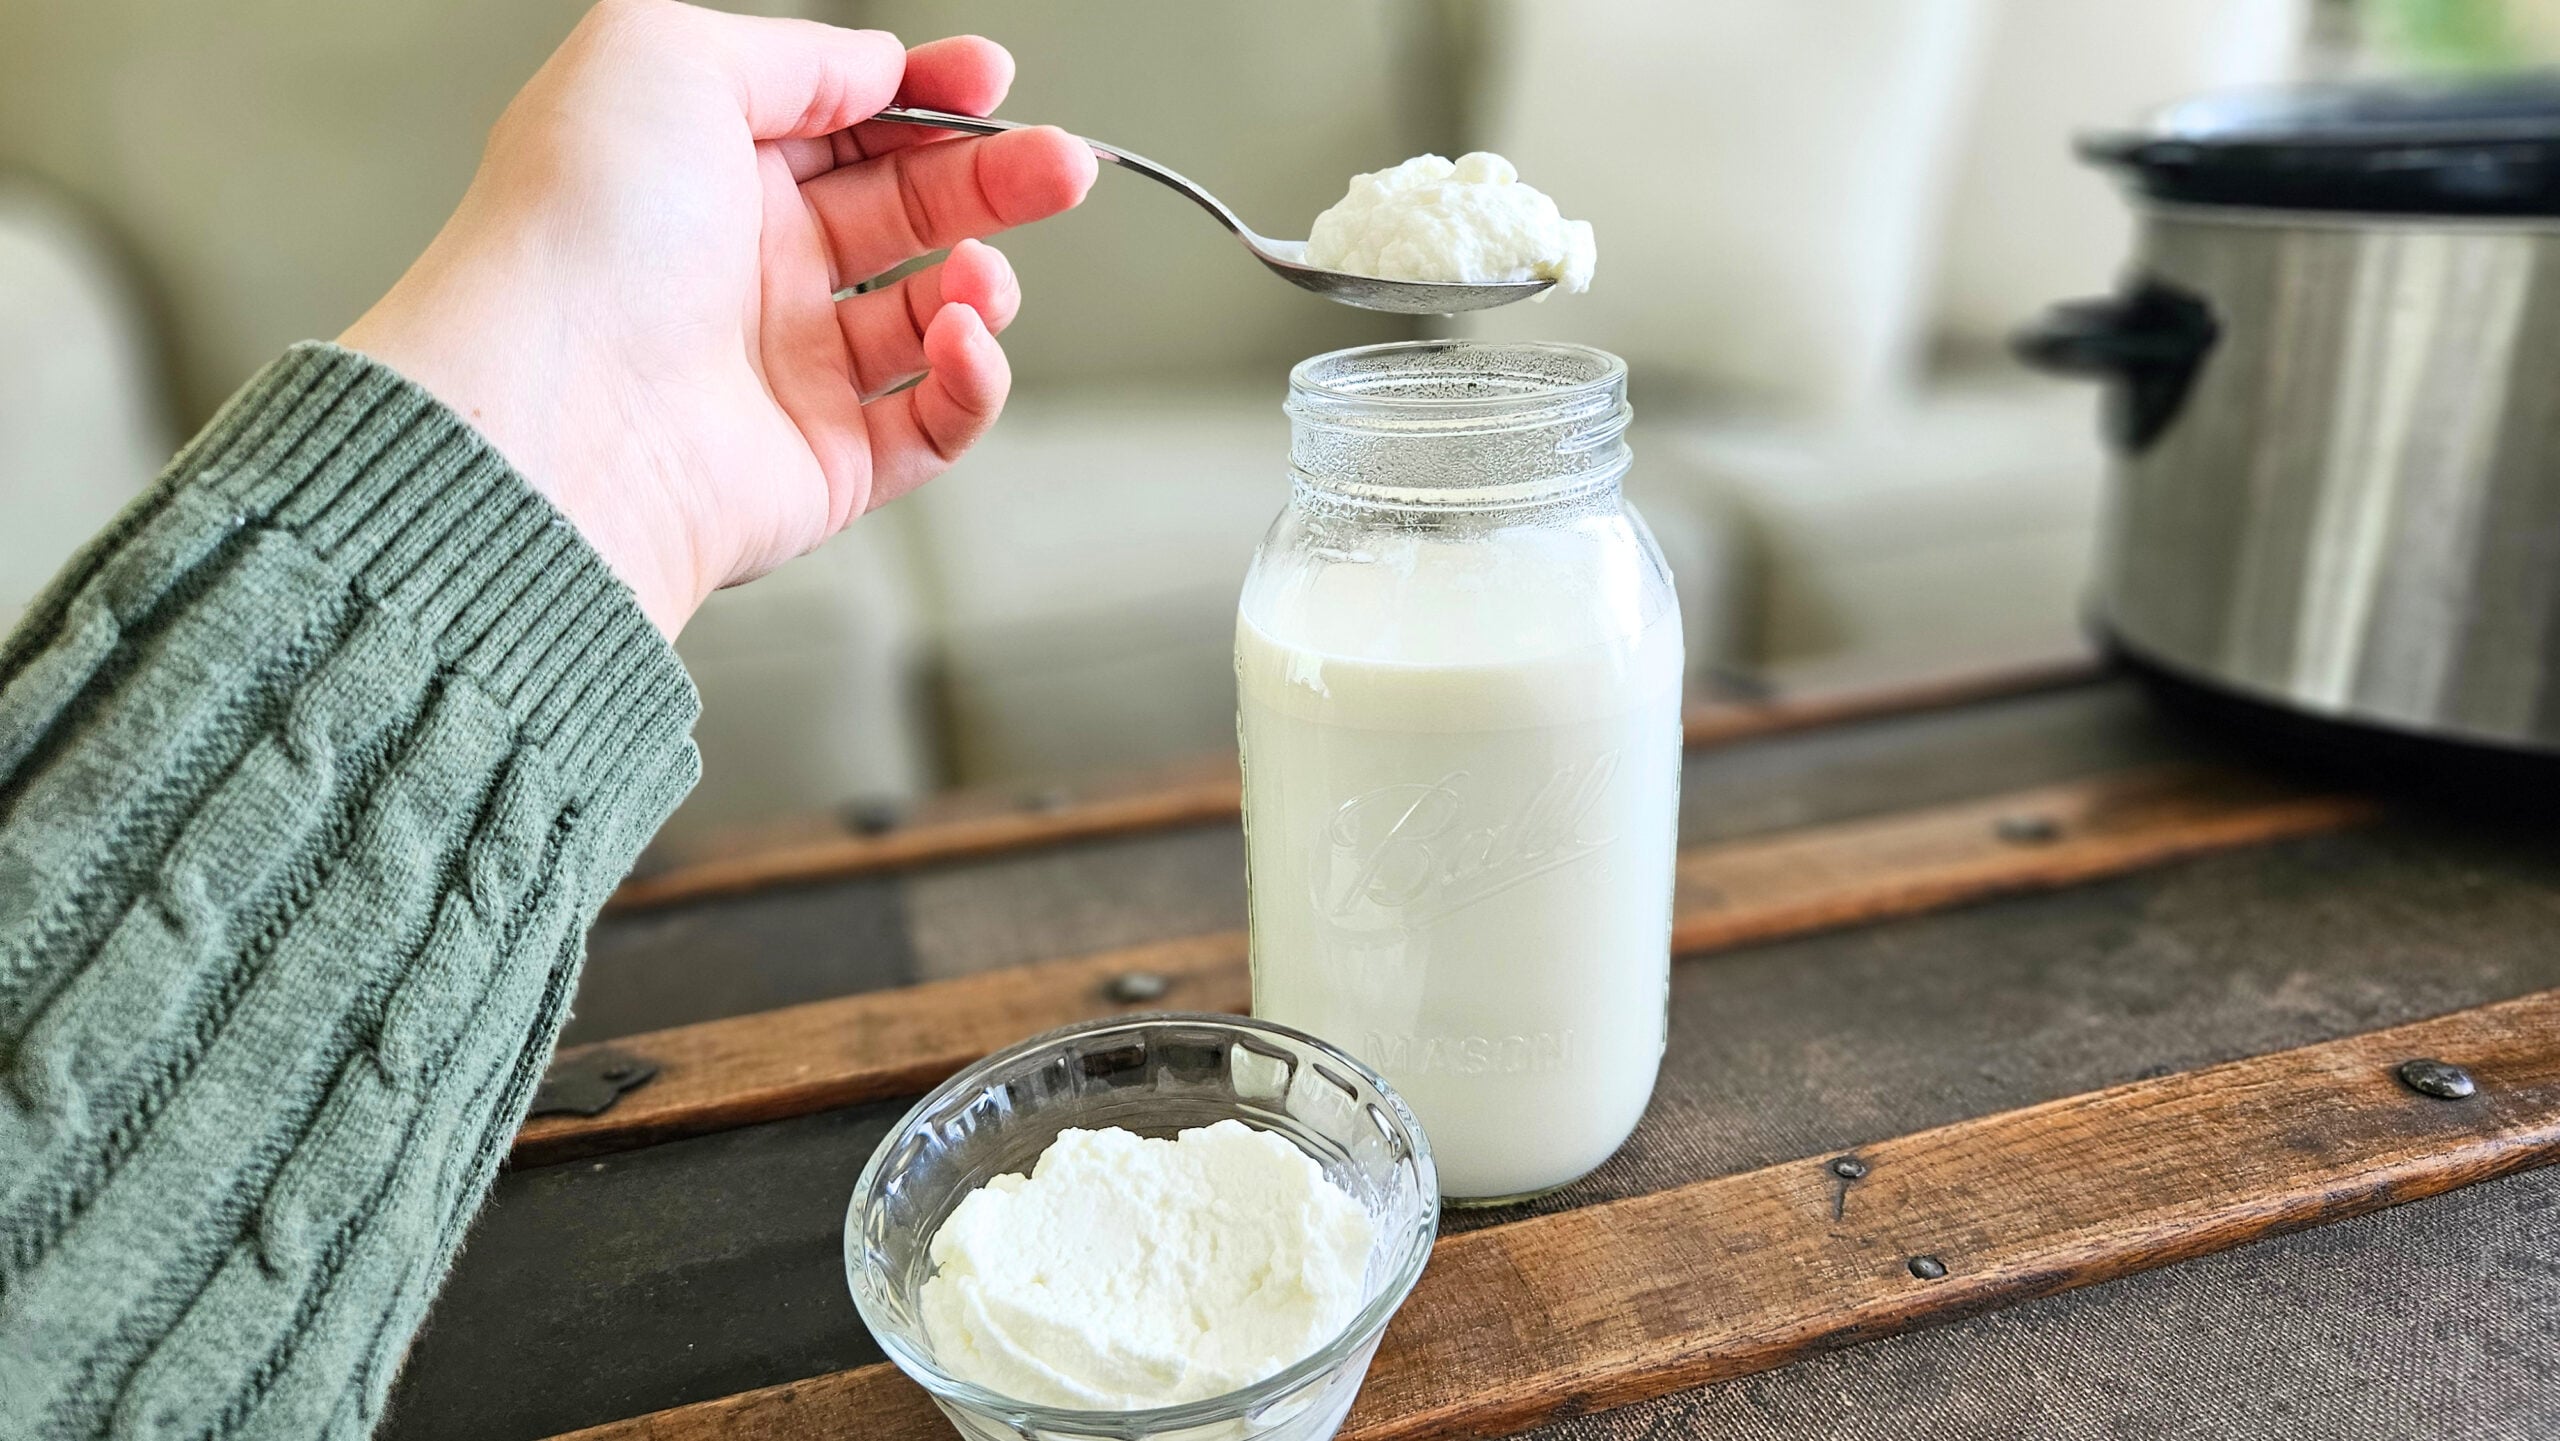
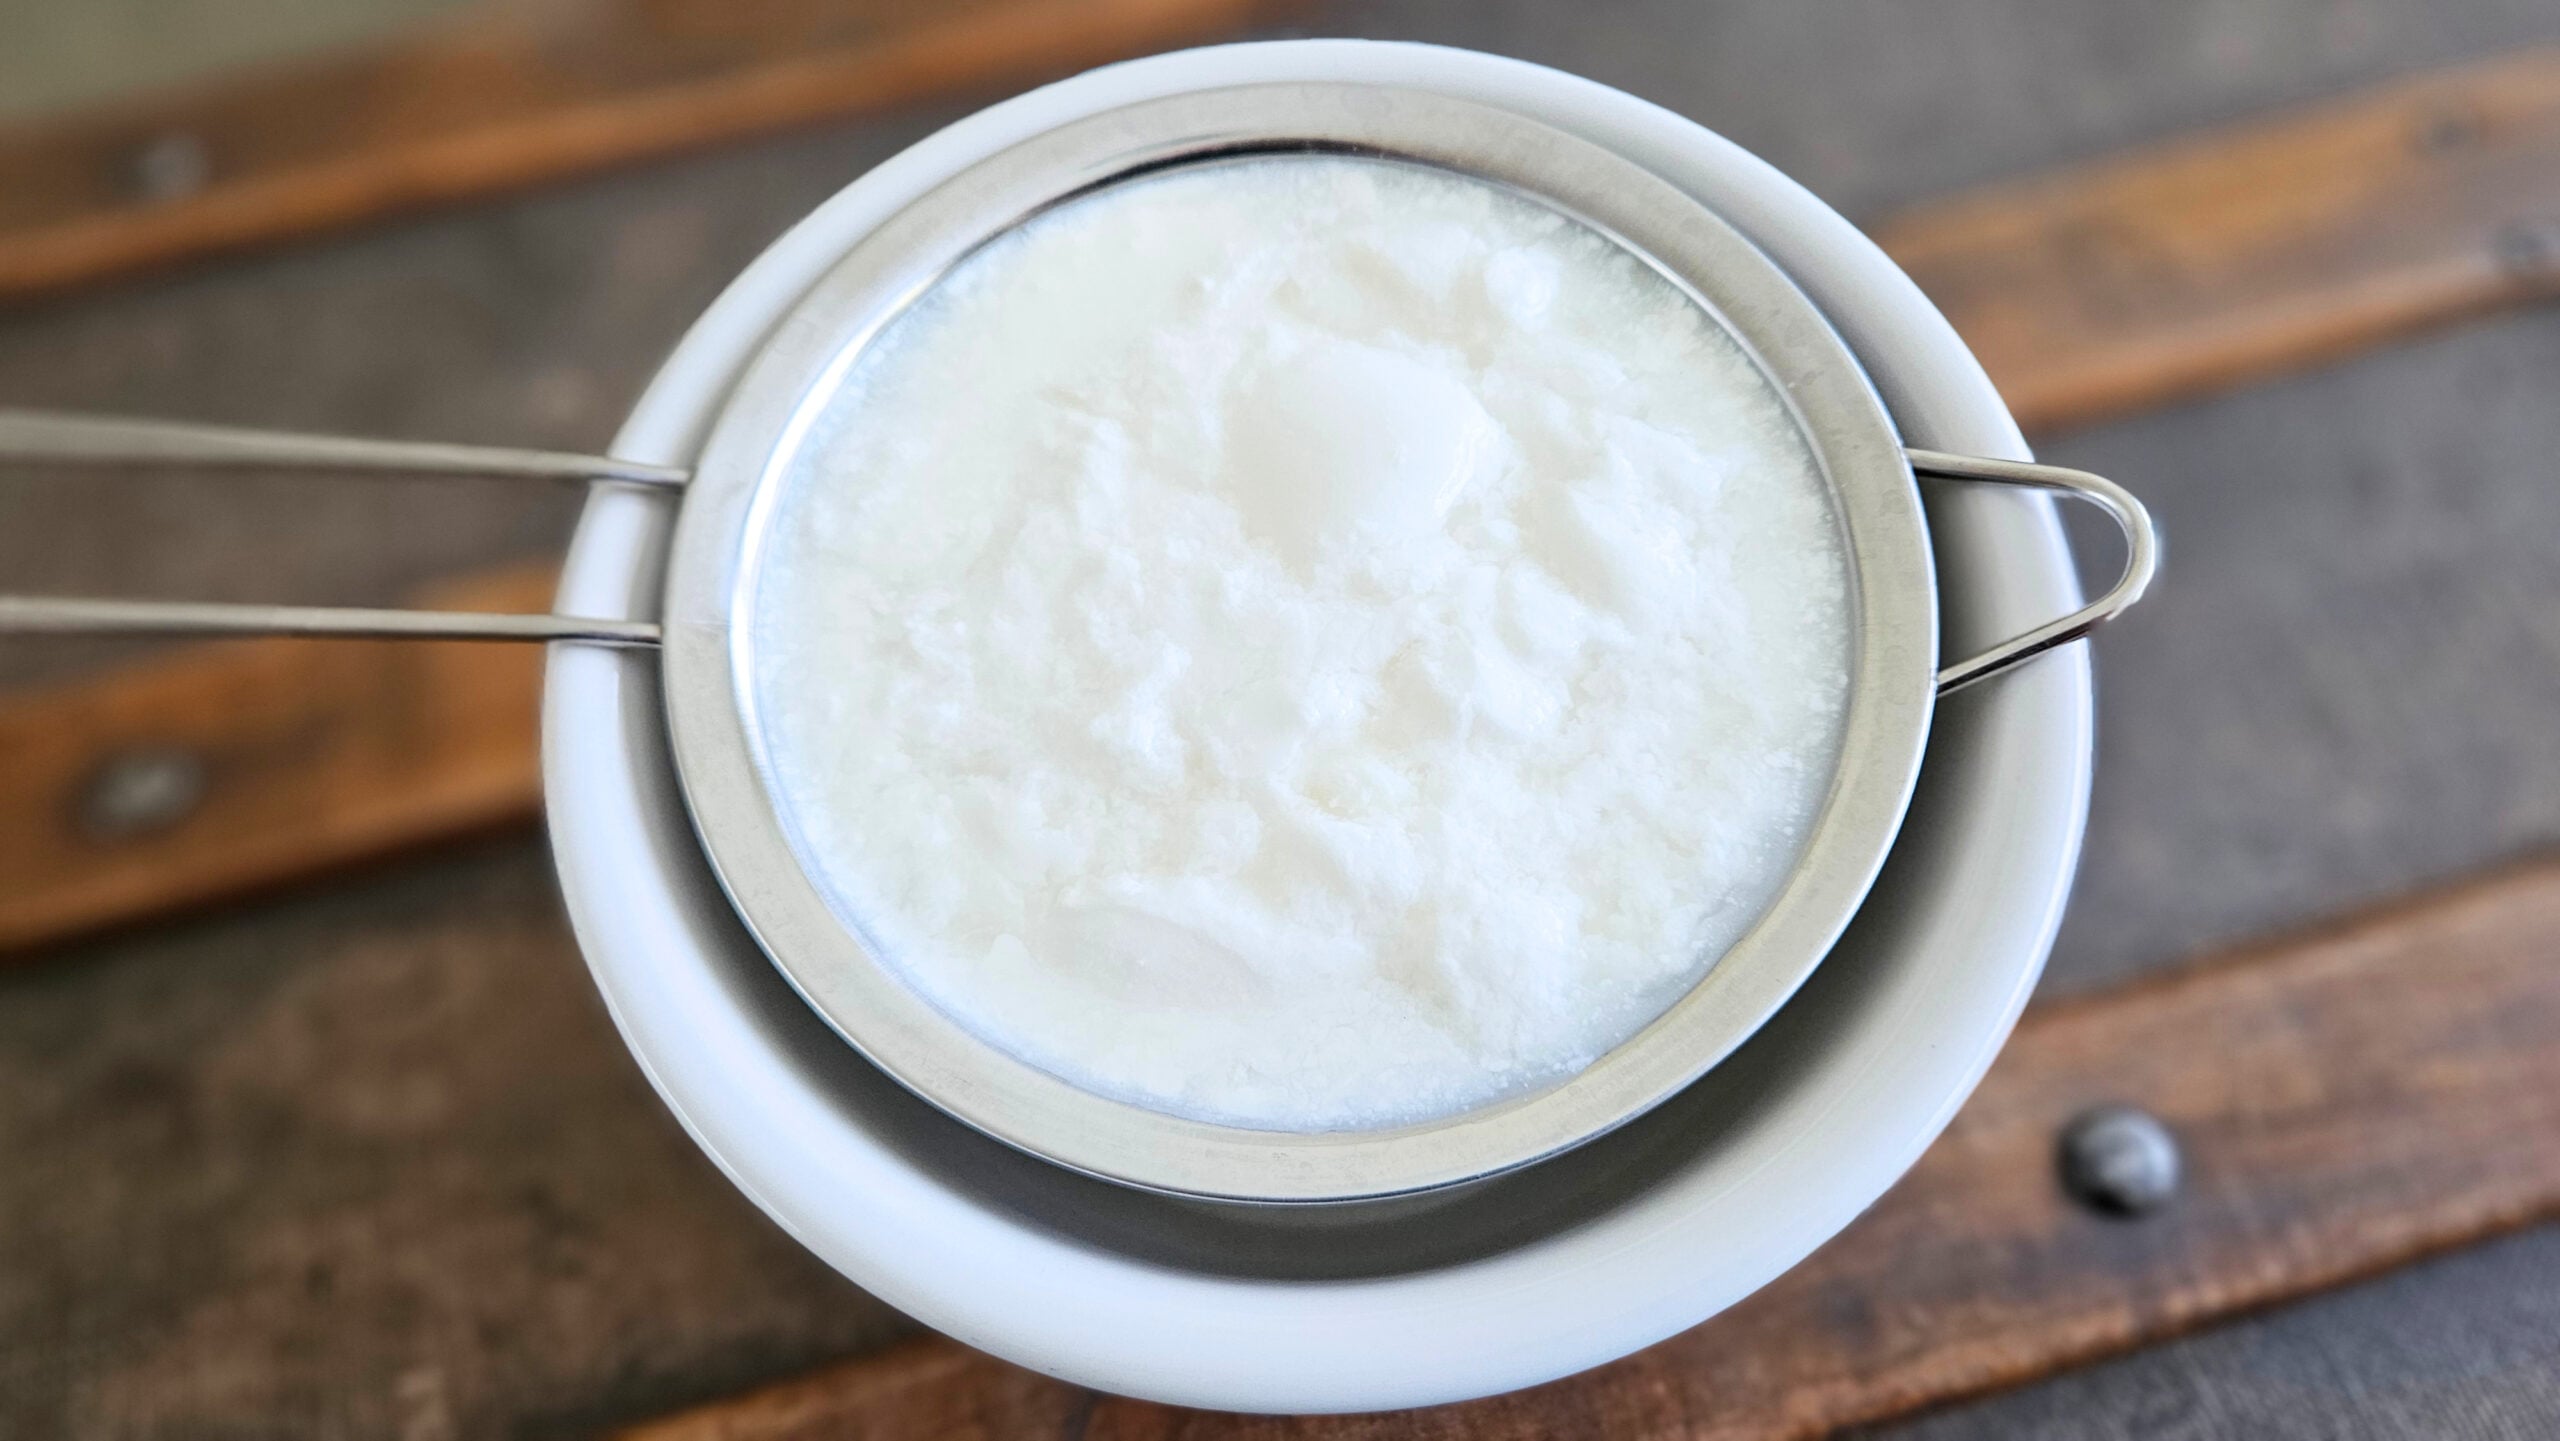
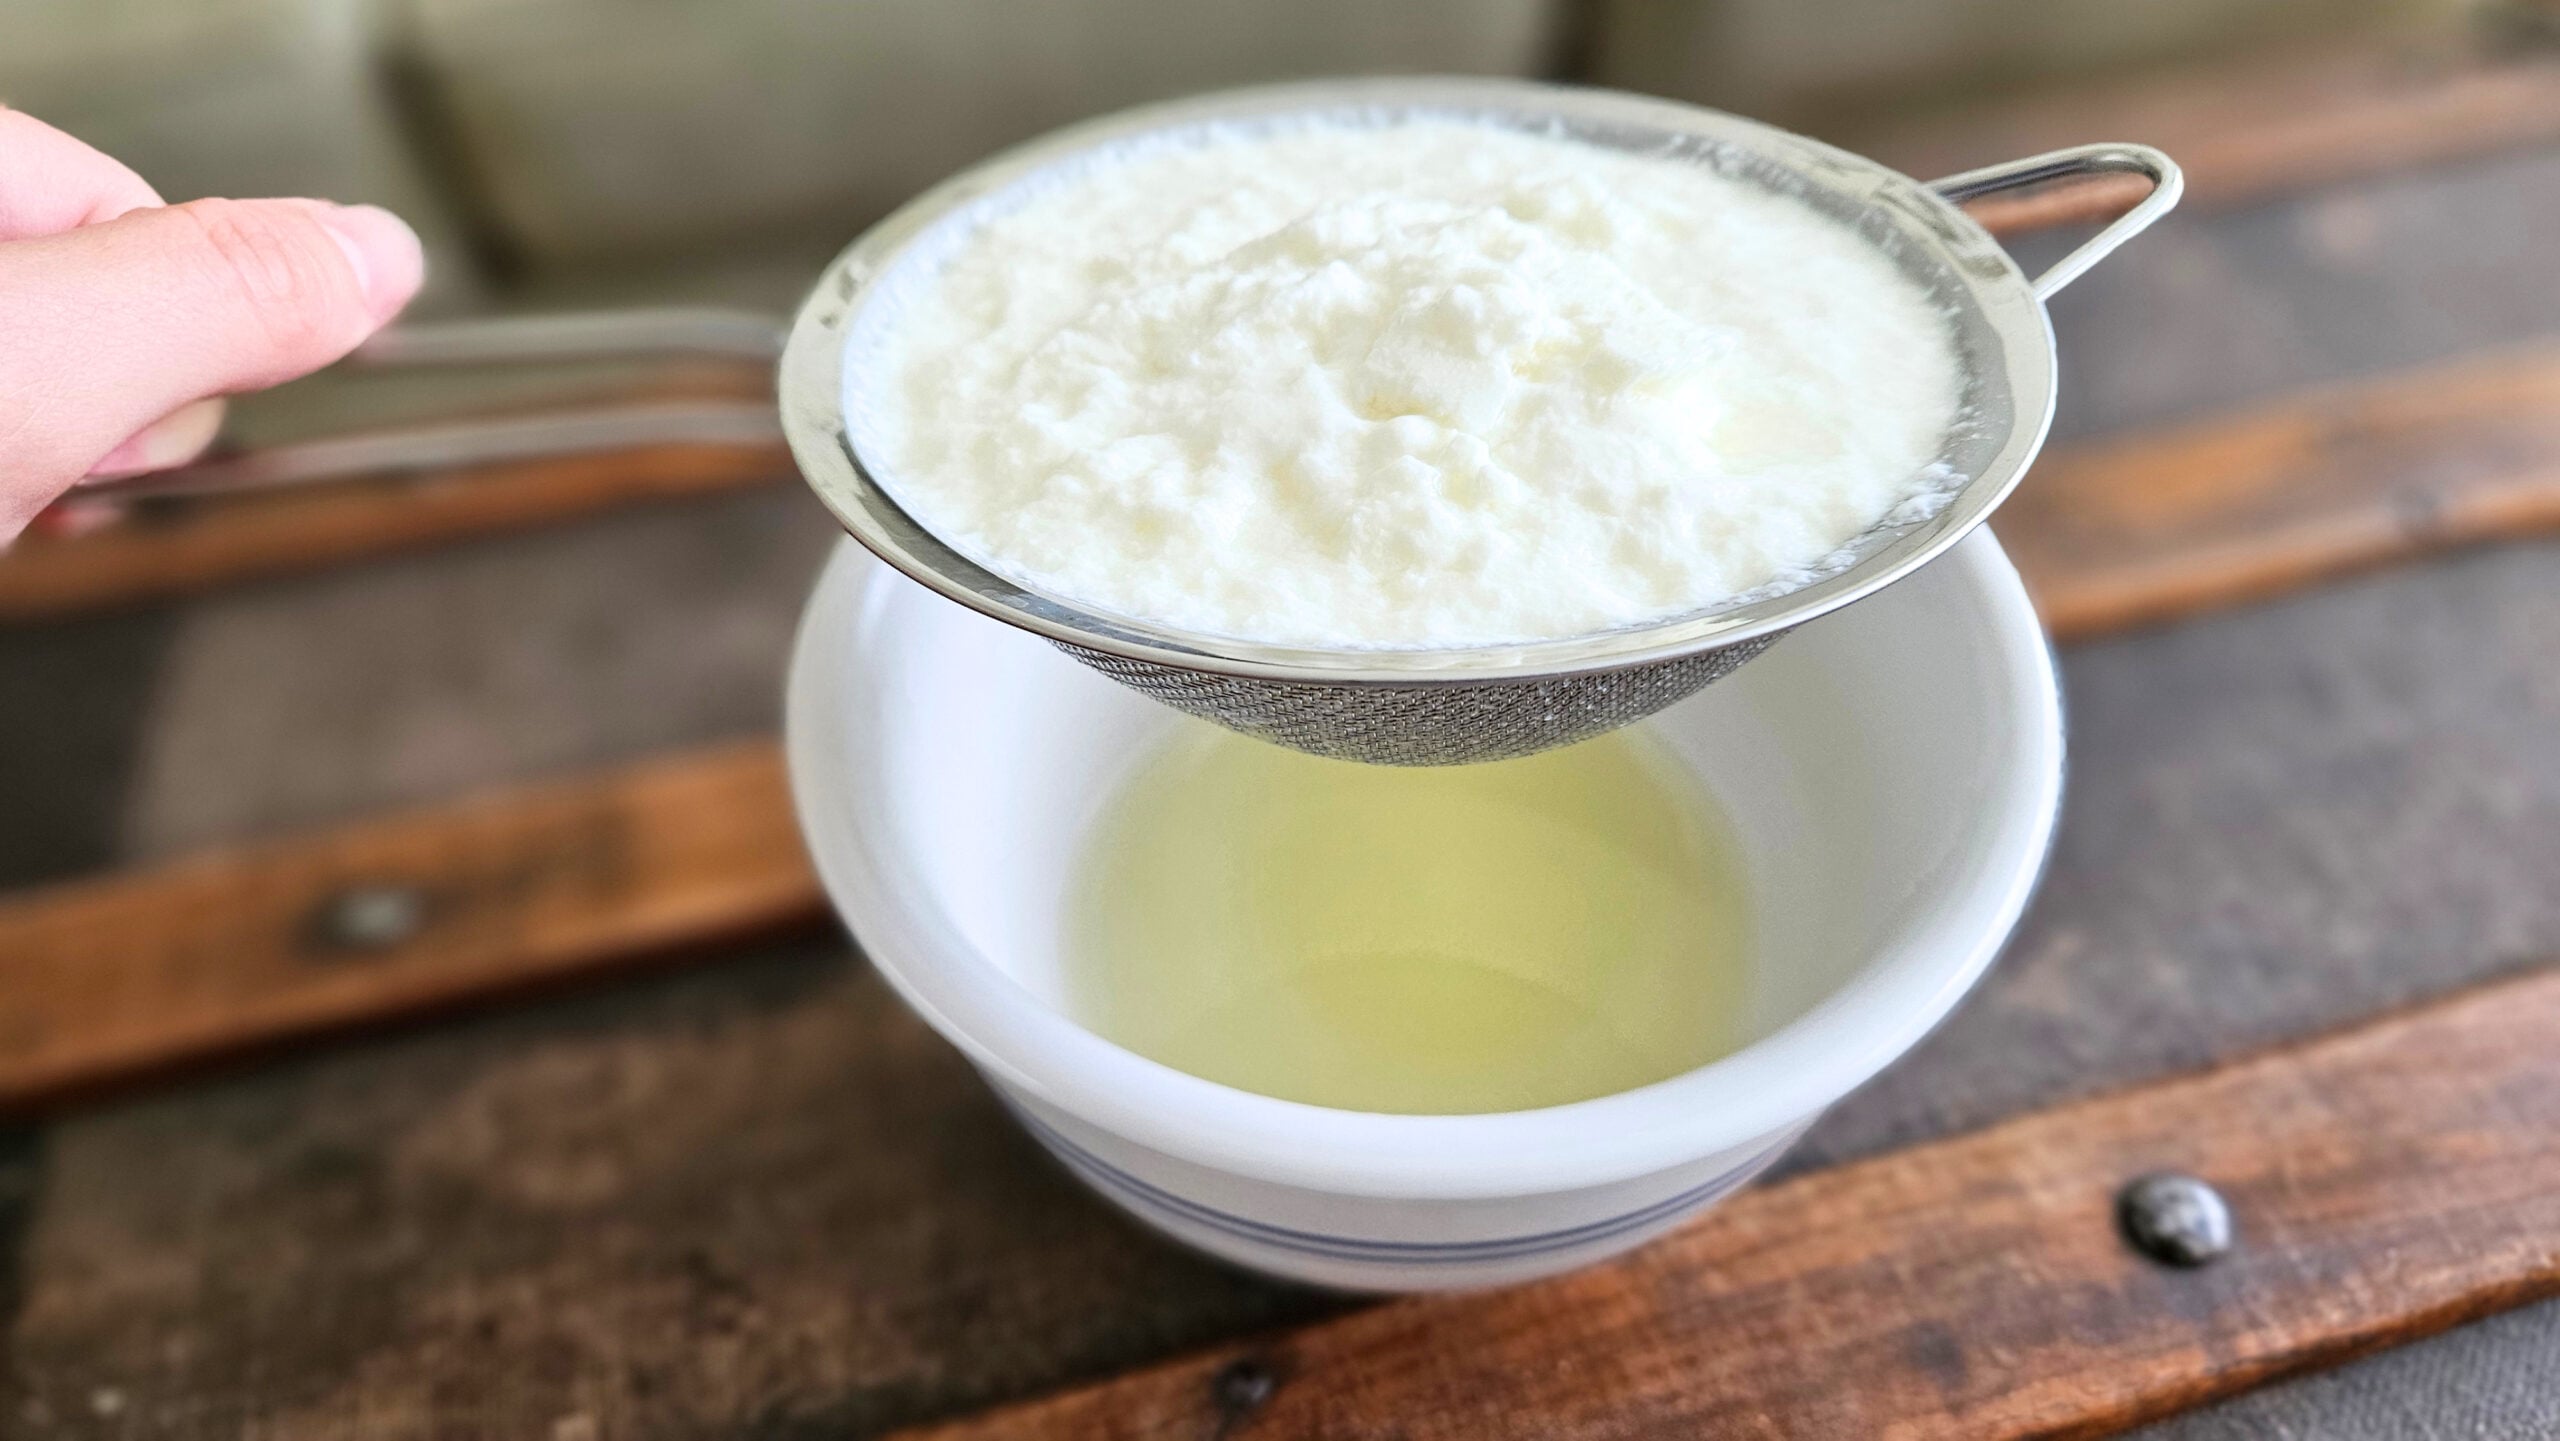
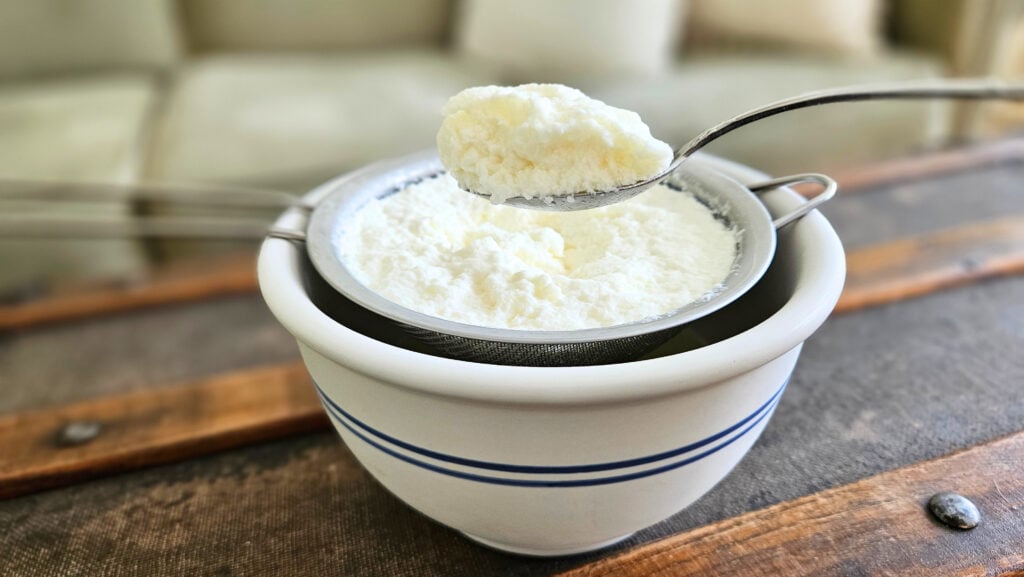
Step #6: The next day, in order to have true Greek yogurt, strain your yogurt over a fine mesh strainer collecting the whey in the bowl underneath. The longer you strain, the thicker the yogurt will be. I usually place it in the refrigerator and let it strain for at least an hour.
Step #7: Store your freshly made homemade Greek yogurt in a sealed container in your refrigerator and enjoy! Be sure to save enough yogurt for future batches and re-culture every 7 days.
Tips
- Most yogurt recipes recommend heating your milk to about 160-180 degrees Fahrenheit and then allowing it to cool down to about 110 degrees before adding your starter culture or previous batch of yogurt. Since I want to keep my milk raw, I never heat my milk that high. Therefore, I never go above the warm setting on my crockpot.
- If you add your yogurt culture to hot milk, the bacteria will die. If you add your yogurt culture to cold milk, the bacteria won’t be able to culture it and it will stay milk. You want a happy medium of a nice warm temperature of about 100-110 degrees.
- You can use a thermometer to monitor the water temperature in your crockpot.
- I recommended starting this process either first thing in the morning and placing your mason jars of yogurt in the refrigerator before you go to sleep at night, or starting this a couple of hours before bed and letting it culture in the crockpot overnight and placing the jars in the refrigerator in the morning. The one thing you don’t want to do is start this in the middle of the day.
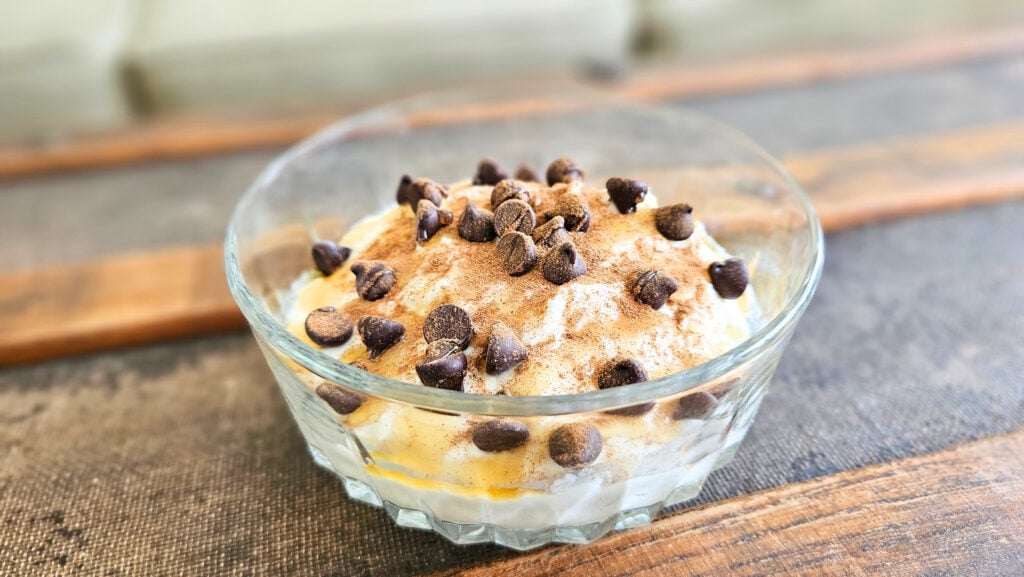
Ways to Enjoy
- Plain
- Toppings
- fruit
- granola
- honey
- dark chocolate chips
- cinnamon
- fruit
- granola
- honey
- dark chocolate chips
- cinnamon
- Baking
- Smoothies
- Sour cream or mayonnaise replacement
- Marinades
- Sauces and dips
- Frozen yogurt
Cost-Benefit Analysis
For this cost-benefit analysis, I will be comparing homemade raw milk yogurt with Nancy’s Plain Whole Milk Greek Yogurt. It’s not an exact comparison because I can’t purchase raw milk Greek yogurt near me, but Nancy’s is the best option available and it is a great yogurt.
As of May 2026 in Tennessee:
Homemade Raw Milk Greek Yogurt
1 quart raw milk
- 1 gallon = $10.00
- 4 quarts = 1 gallon
- $10.00 % 4 = $2.50
- 1 quart = $2.50
1 tbsp yogurt
- 1 quart = $2.50
- 1 quart = 64 tbsp
- $2.50 % 64 = $0.04
- 1 tbsp = $0.04
Total: $2.54 (about 2 cups of strained Greek yogurt)
Nancy’s Plain Whole Milk Greek Yogurt (see here)
- $6.98 for 24oz
- 24oz = 3 cups
- $6.98 % 3 = $2.33
- $2.33 = 1 cup
- $2.33 x 2 = $4.66
Total: $4.66 for 2 cups of Greek yogurt
As usual, the homemade version of Greek yogurt is less expensive. Of course more time and effort is involved, but if you are looking to cut down on your grocery bill, while still eating well, homemade Greek yogurt may be something worth trying!
FAQs
Related Posts
I hope you find this recipe helpful in discovering a new way to make homemade Greek yogurt! Cheers to a healthy breakfast!
Raw Milk Greek Yogurt
Equipment
- 1 quart size mason jar
- 1 crockpot
- 1 bowl
- 1 fine mesh strainer
- 1 thermometer (optional)
Ingredients
- 1 quart raw milk
- 1 tbsp yogurt (from a previous batch of homemade yogurt or from store-bought yogurt with live active cultures)
- water
Instructions
- Pour cold raw milk into a quart size mason jar. Close with a lid and place in your crockpot.
- Fill your crockpot with water until it reaches the top. The water should be below the lid of your mason jar. Set the crockpot to warm.
- After 2 hours on warm, take your mason jar out of the crockpot and add in 1 tbsp of yogurt. Stir in well. Place your mason jar back in the crockpot and leave the crockpot on warm.
- After about 6-8 hours (timing may vary), the raw milk should now be cultured into yogurt. If you take the mason jar out of the crockpot and tilt it, you should see that it has solidified. Whey is commonly noticed.
- Allow your mason jar yogurt to cool on the counter. After it has reached room temperature, place in the refrigerator overnight, or for 12-24 hours.
- After refrigeration, strain your yogurt over a fine mesh strainer, collecting the whey in a bowl underneath, for at least an hour. The longer you strain, the thicker the yogurt will be.
- Store your homemade Greek yogurt in a sealed container in your refrigerator and enjoy! Be sure to save enough yogurt for future batches and re-culture every 7 days.
Notes
- Most yogurt recipes recommend heating your milk to about 160-180 degrees Fahrenheit and then allowing it to cool down to about 110 degrees before adding your starter culture or previous batch of yogurt. Since I want to keep my milk raw, I never heat my milk that high. Therefore, I never go above the warm setting on my crockpot.
- If you add your yogurt culture to hot milk, the bacteria will die. If you add your yogurt culture to cold milk, the bacteria won’t be able to culture it and it will stay milk. You want a happy medium of a nice warm temperature of about 100-110 degrees.
- You can use a thermometer to monitor the water temperature in your crockpot.
- I recommended starting this process either first thing in the morning and placing your mason jars of yogurt in the refrigerator before you go to sleep at night, or starting this a couple of hours before bed and letting it culture in the crockpot overnight and placing the jars in the refrigerator in the morning. The one thing you don’t want to do is start this in the middle of the day.
This is a personal blog. All posts, recipes, recommendations, and how-tos are for informational use and personal viewing pleasure only. Blog posts are not written by AI.


subscribe